How to Cover Exterior Paint Scratches on Your Ford
Image Credit: Original Work - Photoshop filter
By John Linden
They are inevitable, but an unsightly scratch can quickly ruin an otherwise beautiful paint job. When you love your Ford, you can only stand looking at these dings and marks for so long before being driven mad. Luckily, there are alternatives to the hundreds of dollars you will pay (just for the paint!) for a professional all-over repainting.
There are various touch-up kits out there that give you the tools you need to begin repairing paint scratches on your Ford, but your best bet is to go with Ford’s very own version. Ford Motorcraft makes sets made to match your vehicle's exact paint color.
Before You Start
Whether you go with the Motorcraft product or not, you should be aware of your vehicle's exact color shade. This will help you find paint that is either an exact or near match. Your vehicles id tag will have the color code; otherwise, you can use something like the Find Your Color tool from Duplicolor.com to find your color code.
The next thing you will want to do is evaluate the amount of damage you are repairing. Scratches that have gone down to metal will require more effort to blend back into the surrounding area accurately and thus will require an increase in needed supplies. We don’t recommend you sanding areas on your vehicle unless you have prior experience doing so before.
What You Will Need
- Car Cleaning Supplies (Soap, Water, Soft Rags)
- Touch Up Kit
- Wax and Grease Remover
- Optional:
- Primer Pen
- Rubbing compound (cutting creme)
- 600, 800, 1200+ Grit Sandpaper
The Steps
Step 1: Clean and Prep the Area
Wash the area of dirt and use the wax and grease remover. You don’t want anything getting between the paint and the car surface. If you are looking at metal, you will have to use the primer on it. Apply the primer very carefully (primer pen is best). Primer will take around 30 minutes to dry.
You can use high grit sandpaper after the primer has been applied to remove imperfections. Use a block sanding technique to avoid causing damage.
Step 2: Apply Multiple Light Coats
Apply the base coat patiently. By rushing this stage, you can create a real uneven mess. You will do multiple light coats. Give them time to dry in between one another. Usually around 20-40 minutes. Do not paint in direct sunlight.
You can once again use high grit sandpaper to remove imperfections after the paint has dried. Be very careful you don’t cause further scratches by having too low a grit or pressing too hard.
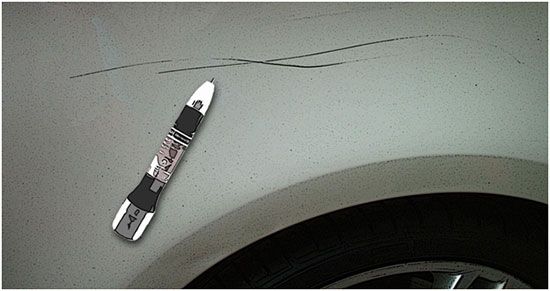
Image Credit: Original Work - Photoshop filter
Step 3: Apply the Clear Coat
Apply the clear coat and be careful not to push or smear as you do so. The clear coat will take away all that work you did with the base paint if you spread it on forcefully.
If the damage to your vehicle stops at the clear coat, and not the paint coat, you only have to use the Motorcraft Clear Topcoat color.
Step 4: Further Blending
After everything has dried once again, you can use the rubbing compound to shine the newly painted spot, but wait at least 24 hours before doing so. This will help it match the surrounding paint better. It will never be perfect, but you can use methods like wet/dry sandpapering to dry and blend the area further if you are already familiar with such techniques. Wait at least 30 days before applying wax
Updated