How Do You Put a Car Cover On When It's a Two-Person Job? Step-by-Step Guide
Published
Why Some Vehicle Covers Are a Two-Person Job
If you've ever stood next to a full-size pickup holding one corner of a cover while the other half drags across your freshly waxed hood, you already know the answer to how do you put a car cover on a two-person job vehicle: carefully, and not alone. Long or tall vehicles like full-size trucks, three-row SUVs, vans, and RVs come with covers that are simply too big and too heavy for one person to drape cleanly. Try it solo and you'll end up scraping fabric against paint, snagging mirrors, or just giving up halfway through.
It's not only about length. Thicker multi-layer or weatherproof covers weigh noticeably more than the lightweight indoor covers you can toss on with one hand. That extra material is great for protection, but it makes the fabric stiffer and harder to maneuver by yourself. Add wind into the mix and a single installer is fighting a losing battle.
Everything below works for any vehicle, but it's written with oversized and heavy-duty installs in mind, think trucks, vans, SUVs, and RVs rather than a compact sedan with a thin indoor cover.
Step 1: Prep the Vehicle and Cover Before Lifting
Wash and fully dry the vehicle before you even unfold the cover. Trapping dirt, grit, or moisture underneath is one of the fastest ways to scratch paint or grow mildew, and nobody wants to pull a cover back off a week later to find swirl marks.
Fold in the mirrors, retract the antenna, and pull off any loose roof racks or accessories that could snag or tear the fabric as it slides over. A five-minute check here saves a ripped cover later.
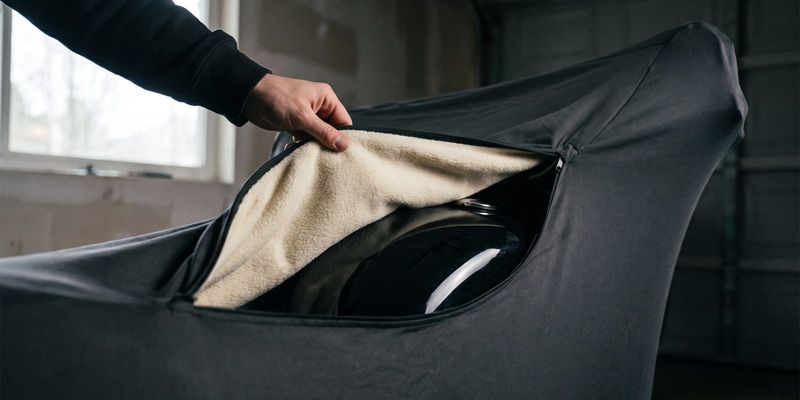
Lay the cover flat on the ground near the vehicle and find the front and rear labels or tags. Both people need to know orientation before anyone lifts anything, because repositioning a half-draped cover on a tall SUV is a miserable do-over. If you're using a custom-fit car cover, check the fit guide first. Custom covers have a specific drape direction built into the pattern, and starting it backwards means pulling the whole thing off and starting again.
Step 2: Position One Person at Each End of the Vehicle
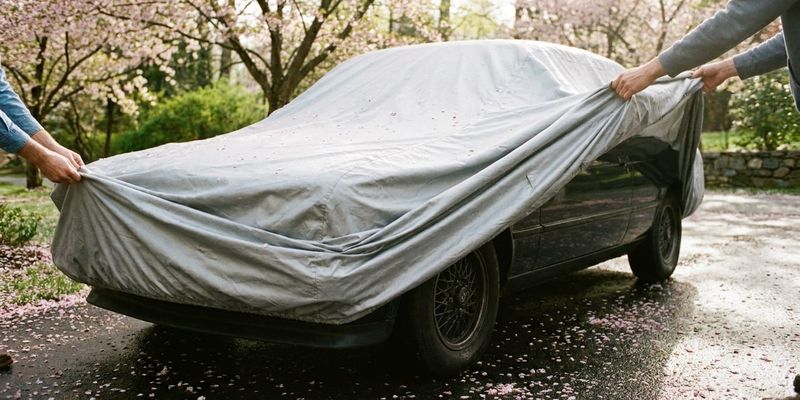
One person takes the front bumper area, the other takes the rear bumper or tailgate. Each person picks up their half of the folded cover and walks toward the vehicle at the same pace, in sync, so the fabric doesn't twist across the roof.
This is the point where the two-person approach actually pays off. On an extra-long vehicle like a full-size Ford F-150 or Toyota Tundra, a cover without a second set of hands will sag into the middle and drag across the hood or bed rails before it ever gets positioned. With two people moving together, that sag never has a chance to happen.
Step 3: Drape the Cover Over the Roof Together
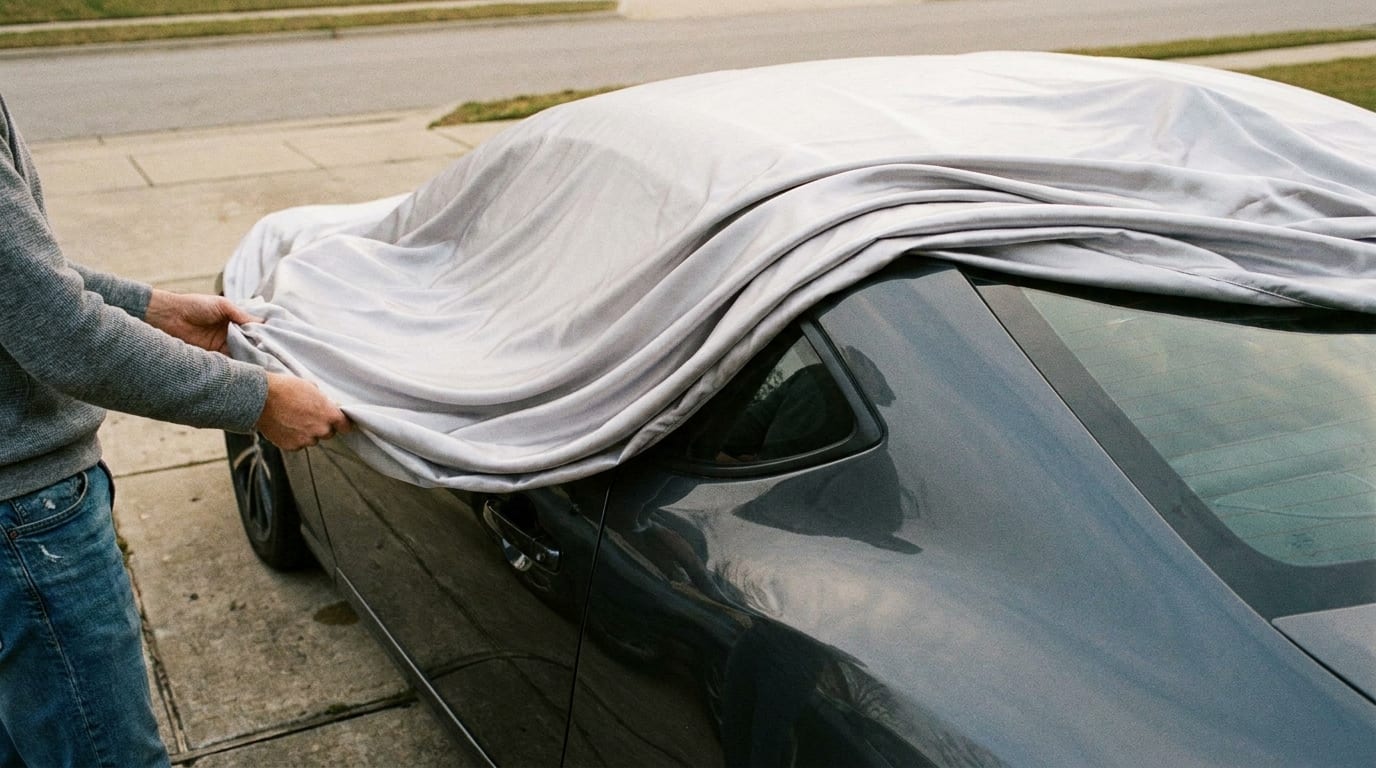
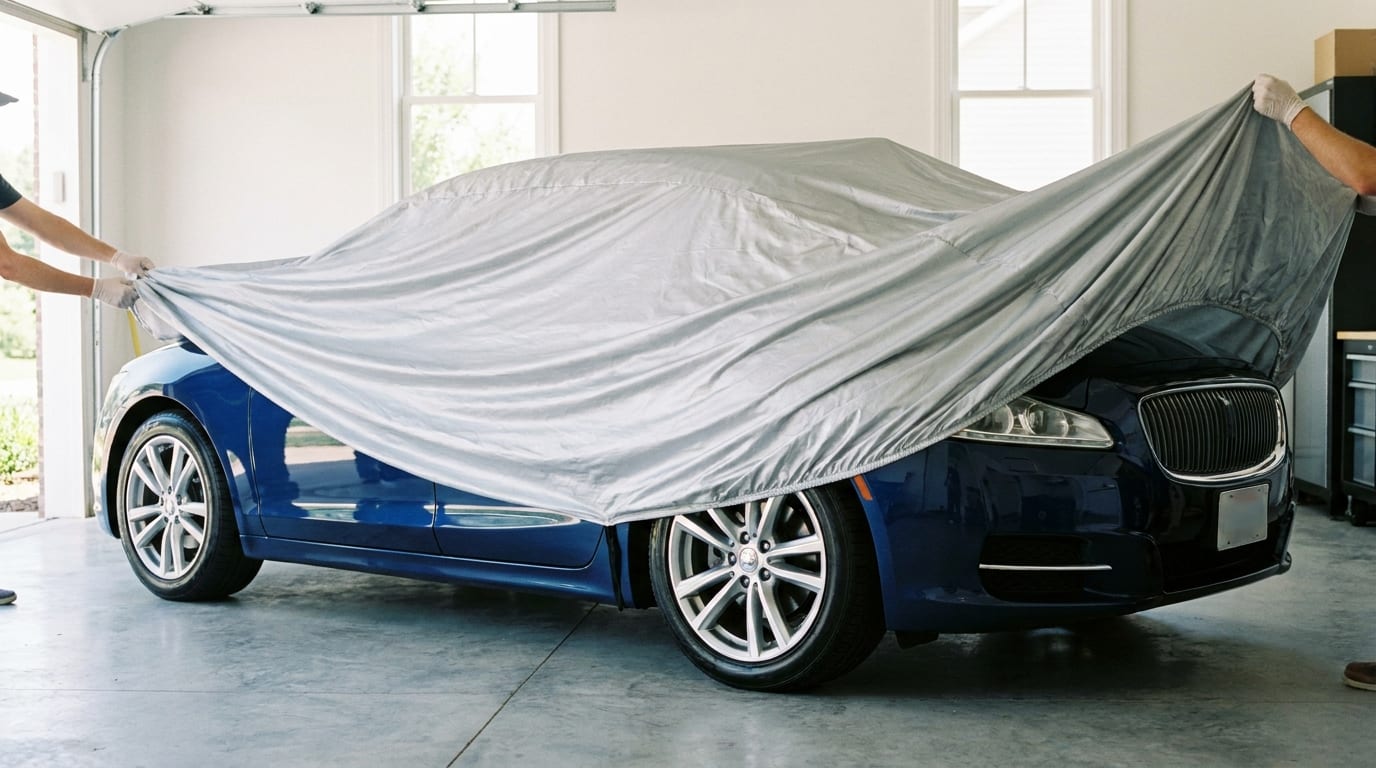
Both people lift and lay the cover over the roofline at the same moment, starting at the center and working outward toward their own end. This is the step most solo installs botch, because without someone matching your pace on the other side, the cover shifts off-center before it even settles.
Keep even tension on both sides. If one person pulls harder than the other, the whole cover drifts and bunches up over mirrors or door handles, and you'll spend the next ten minutes tugging it back into place. For taller vehicles, like a lifted SUV, you may still need a step stool in addition to a second person just to safely reach the center of the roof.
Step 4: Align Front and Rear, Then Work Down the Sides
The front person pulls the cover snug over the hood and grille. The rear person does the same over the trunk, tailgate, or RV rear cap. Do this before touching the sides, otherwise you're fighting loose fabric from both ends at once.
Once front and rear are set, both people move to the sides at the same time and pull the cover down evenly along the doors and wheel wells. Going one side at a time is how you end up with a lopsided fit where one door is snug and the other is billowing. Before moving to the securing step, check that elastic hems or grommets along the bottom edge are seated correctly, not twisted or caught on a wheel or exhaust tip.
Step 5: Secure Straps, Cables, and Support Poles
Fasten any under-vehicle straps or buckles together with one person holding tension while the other clips the strap into place. Trying to do this alone usually means the strap goes slack the second you let go to reach the buckle.
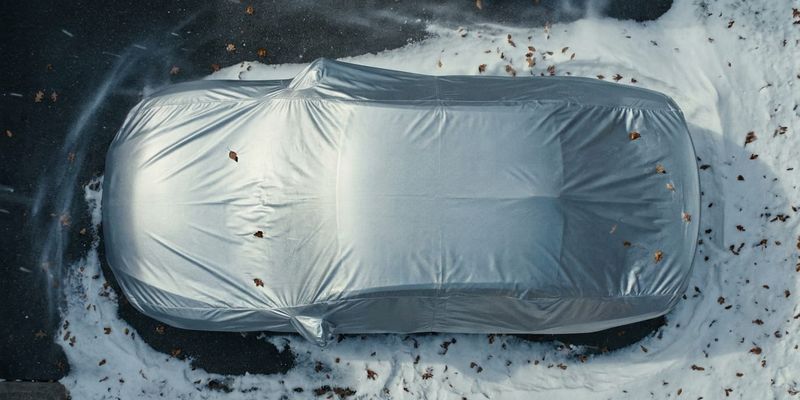
If you're storing outside or somewhere exposed, this is also where you'd attach gust and wind straps for extra hold. A cover that isn't anchored against wind will work itself loose overnight no matter how well it fit that afternoon.
Some covers use a cable and lock threaded through the bottom hem for security. On a large vehicle, two people can install the cable lock in a fraction of the time it takes one person walking the perimeter alone, since one person feeds the cable while the other guides it through each grommet.
Trucks and RVs with a flat roof section often need a support pole to keep water from pooling. One person should hold the pole upright and in position while the other adjusts the cover over it. There's a truck-specific support pole guide and a separate RV cover installation walkthrough if you're setting this up for the first time, since pole placement differs between the two.
Step 6: Final Walkaround Check
Walk the full perimeter together, checking for loose fabric, uneven hems, or spots rubbing against trim, antennas, or roof rails. Rubbing spots now mean wear marks later, so it's worth the extra two minutes.
Confirm mirrors and side markers are fully tucked under the cover and not pressing against it from the outside. A mirror poking through the fabric will wear a hole faster than almost anything else.
Do this same check again after the first windy night. Straps settle, fabric shifts, and what looked snug on day one can loosen within 24 hours. If you want a broader walkthrough beyond this specific scenario, the general installation guide hub covers variations for different cover types and vehicle shapes.
Getting the Right Fit Makes the Two-Person Job Easier
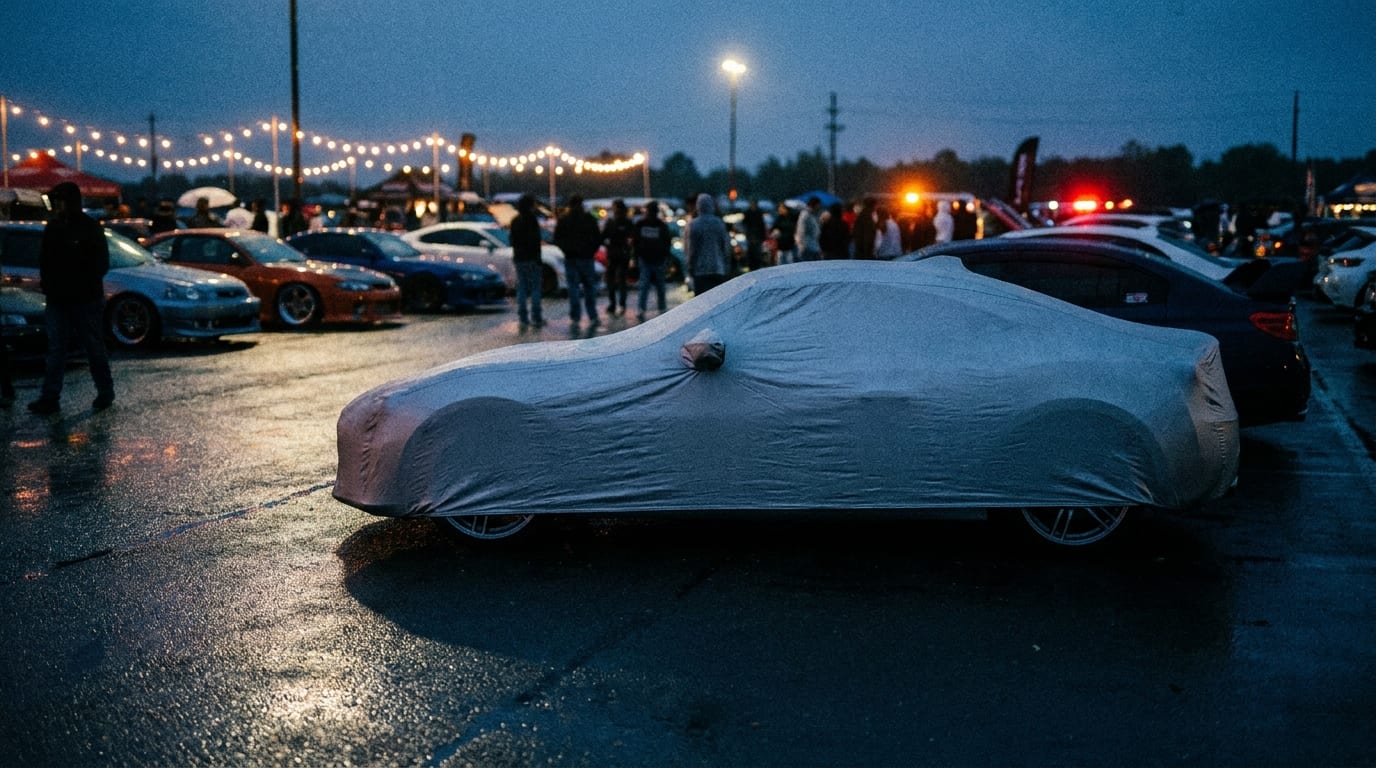
A properly sized, custom-fit cover is dramatically easier for two people to install than an oversized universal one. Universal covers look like they'll "fit anything," but in practice that extra slack is exactly what causes the sagging, bunching, and constant readjustment that makes installs drag on. The real answer to how do you put a car cover on a two-person job vehicle without the hassle starts well before install day: it starts with buying the right size in the first place.
If you're still not sure which fit is right for a larger vehicle, sort that out before you buy rather than after. And honestly, once the cover itself fits correctly, most of what made this a "two-person job" in the first place just gets easier.
If this guide helped, take a look around the rest of our installation content for more tips on keeping your cover fitted, secured, and in good shape season after season.