


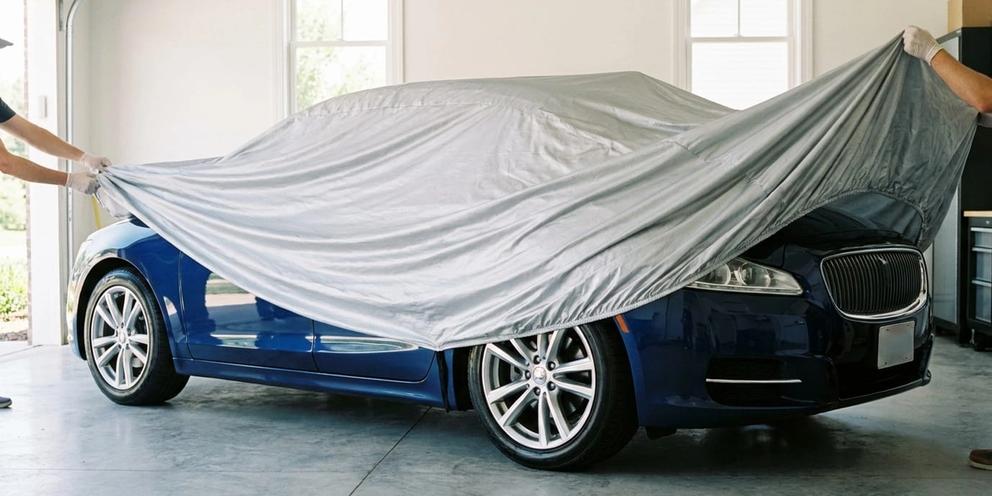
Car Cover Maintenance Tips: A Step-by-Step Guide to Keep Your Cover Working Longer
Dirt left on a cover isn't just cosmetic. It works into the fabric, holds moisture against your paint, and starts breaking down coatings faster than most owners realize. That's the whole case for car cover maintenance tips: a cover is a wear item, not a set-it-and-forget-it accessory. Treat it right and it'll protect your vehicle for years. Ignore it and you're basically just draping a dirty rag over your car every night.
Why Regular Car Cover Maintenance Matters
Grit, pollen, sap, and moisture trapped against a cover don't just sit there quietly. They grind into the weave every time wind moves the fabric, and they feed mildew growth in the dark, damp space between cover and paint. A neglected cover can actually damage a vehicle faster than no cover at all, since it's holding contaminants directly against the surface instead of letting them blow off.
Indoor and outdoor covers age differently, too. An indoor cover mostly deals with dust and the occasional scuff, so its maintenance is light. An outdoor cover fights UV, rain, snow, and wind on a daily basis, so it needs a more active routine. Matching your care schedule to how the cover is actually used, not a generic timeline, is where most owners go wrong.
There's a warranty angle here as well. Most manufacturers cover material defects, not damage from neglect, so if you ever need to make a claim, showing a cover was cleaned and stored properly matters. Check the specifics on your lifetime warranty on car covers before assuming a torn seam or degraded coating is automatically covered.
Step 1: Clean Your Cover Before Every Storage Period
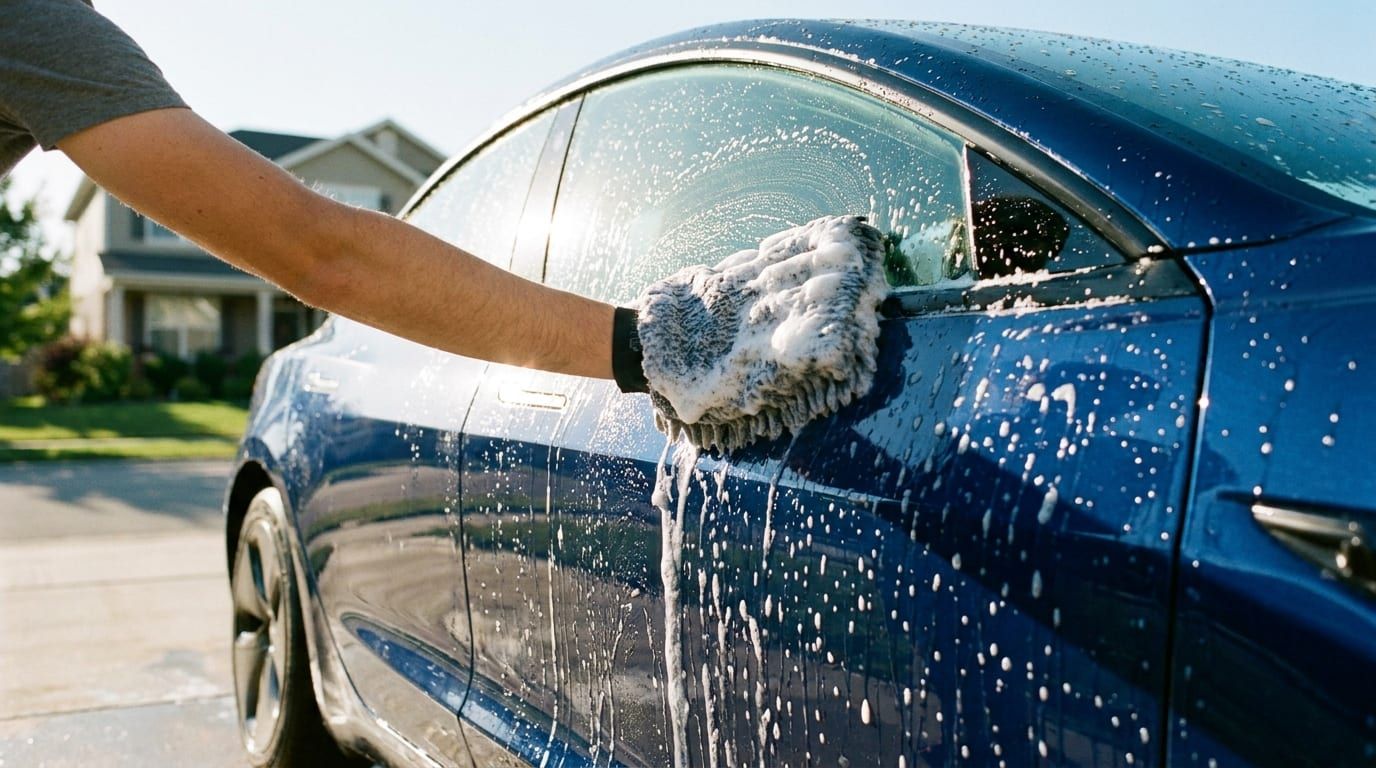
Skip the household detergent. Dish soap, laundry pods, anything with strong degreasers, all of it can strip the waterproof and UV coatings that make your cover worth owning in the first place. Stick with a mild soap, a soft brush or sponge, and a light touch.
Rinse thoroughly. Road salt, tree sap, pollen, bird droppings, they all sit on the surface long enough to stain or actually eat into the fibers if you let them dry in place. A quick hose-down after a rinse cycle removes most of what causes long-term damage.
And don't put it in the washing machine or dryer unless the manufacturer says the fabric is machine-safe. Agitation and heat can warp seams, crack coatings, and shrink elastic hems in ways you won't notice until the cover doesn't fit right anymore. For a full walkthrough, our step-by-step guide to cleaning a car cover covers the exact process, and this cover care resource is worth bookmarking too.
Step 2: Dry It Completely Before Folding or Bagging
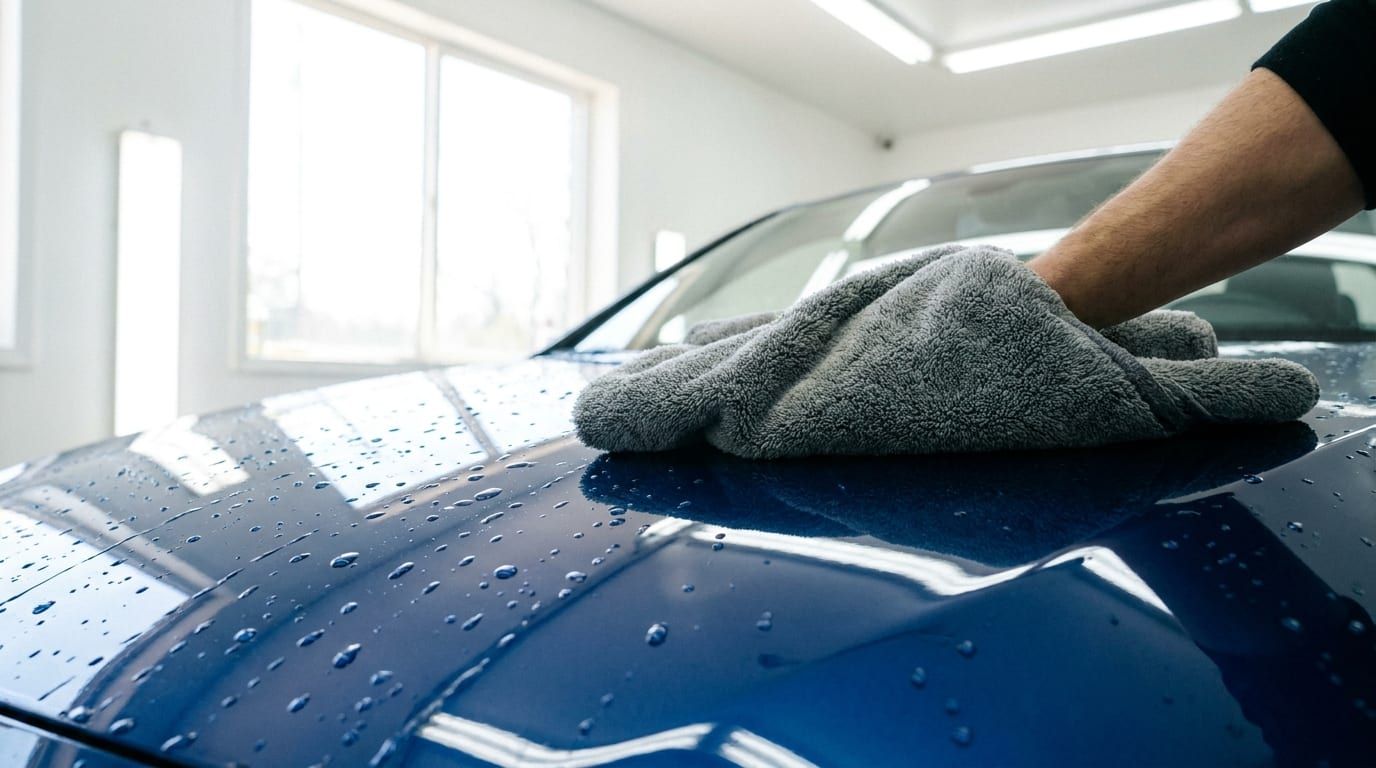
Air dry it flat, or hang it on a line in the shade. Direct high heat, whether that's a dryer or blasting sun on hot pavement, can warp seams and break down the waterproof membrane underneath the outer fabric.
Here's the non-negotiable part: never fold or bag a damp cover. Trapped moisture turns into mold and mildew fast, and once that musty smell sets in, it's genuinely hard to get rid of. This is one of the most common mistakes we see, and it's the single fastest way to ruin an otherwise good cover.
If the cover got soaked while it was installed, say a storm rolled through overnight, pull it off and let it dry completely before you pack it away for any extended period. A cover that goes into storage even slightly damp is a cover that comes out smelling like a basement.
Step 3: Inspect for Wear and Damage Every Few Uses
Make this a habit, not a once-a-year event. Check the seams, elastic hems, grommets, and straps for fraying, stretching, or stitching that's started to pull loose. These are the first parts to fail, long before the main fabric panel shows any trouble.
Look closely for pinholes or thin spots too. A simple water test tells you a lot: splash a little water on the fabric and watch whether it beads up or soaks in. Beading means the coating's still doing its job. Soaking in means the waterproofing is breaking down, and you're on borrowed time before leaks start.
If something looks like a genuine material defect rather than normal wear and tear, flag it and check it against your warranty before assuming you need a replacement. It's worth reading up on waterproof fabric types too, since not every material breaks down the same way or at the same rate.
Step 4: Store It the Right Way Between Uses
Use a breathable storage bag, not a sealed plastic one. Plastic traps humidity, and humidity is exactly what mildew needs to take hold. Most quality covers ship with a breathable bag for this reason. Use it.
Keep the folded cover somewhere cool and dry, away from sharp tools, pests, and direct sunlight. A garage shelf works. The floor of a shed next to your hedge trimmers does not.
Fold it loosely. Compressing a cover tightly for months at a time creases the fabric hard enough to weaken the fibers along those fold lines, and you'll eventually see cracking right where the creases are. For more on this, our guide to properly storing a car cover when it's not in use walks through it in more detail.
Step 5: Secure and Adjust It Properly on the Vehicle
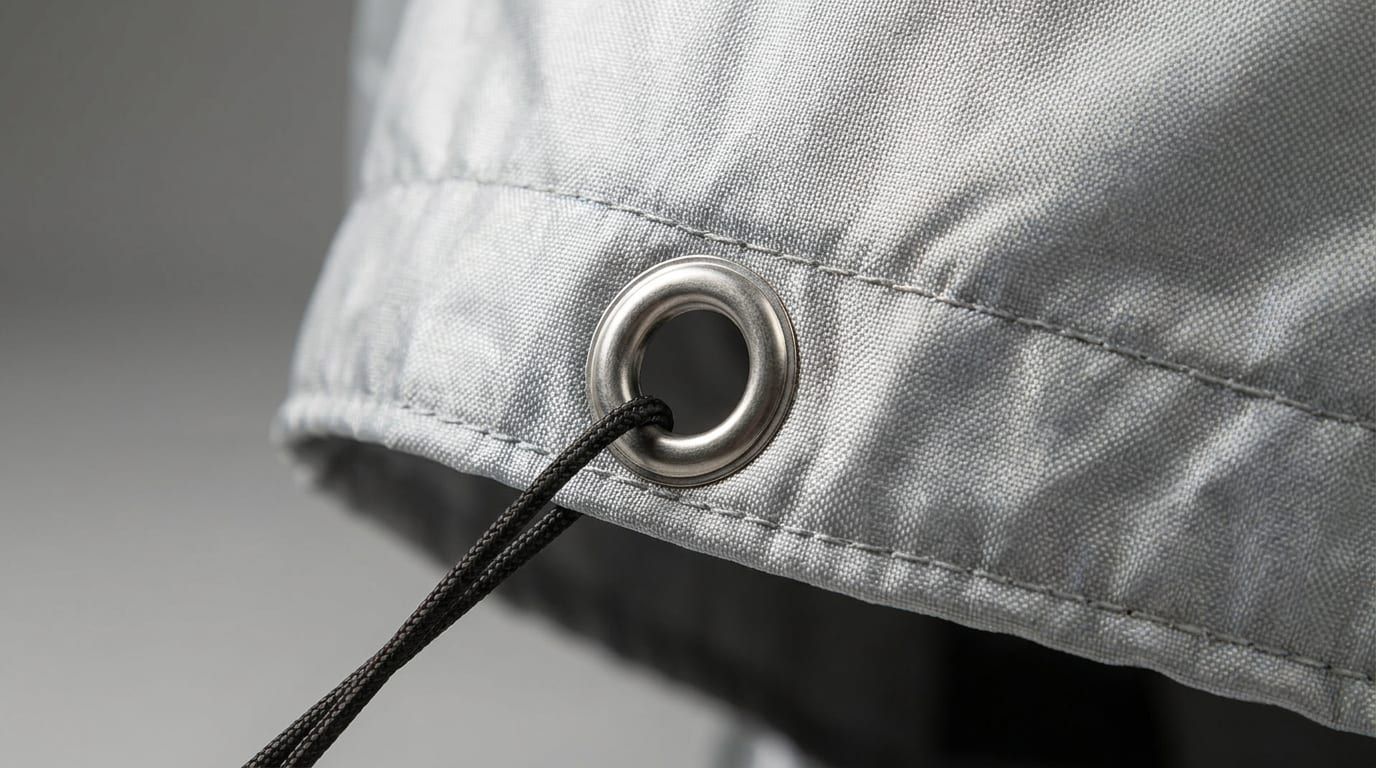
Flapping is the enemy. A cover that isn't secured against wind will whip against your paint and wear through at the friction points far faster than one that stays put. If you're parking outdoors regularly, gust straps or wind straps are one of the cheapest ways to extend a cover's life.
Where security and wind-lift are both concerns, especially overnight outdoor parking, a cable lock adds another layer without much extra hassle.
Every time you install it, double-check the fit at the mirrors, hem, and antenna. These are the spots where fabric rubs against hard points on the car, and uneven wear here shows up faster than anywhere else. Our simple guide to installing a car cover covers the fit points worth checking.
Adjust your routine with the seasons. After a storm or a heavy snow, check the cover more often. During a stretch of mild, dry weather, you can ease off. For anyone parking outdoors most of the year, it's worth reading our guide to using a car cover outdoors for how wind, UV, and moisture each demand a slightly different response.
Car Cover Maintenance Checklist (Quick Reference)
- Before storing: clean, rinse, and fully dry the cover.
- After every rain or snow event: check for pooling water or ice buildup and remove it promptly.
- Monthly (outdoor covers): inspect seams, straps, and grommets for wear.
- Every storage cycle: fold loosely into a breathable bag, never a sealed plastic one.
- Seasonally: reassess whether your current cover type still matches the weather it's actually facing.
Print this out, tape it in the garage, whatever gets it in front of you regularly. Most of these car cover maintenance tips take five minutes. Skipping them costs you a full replacement a year or two early.
Keep Your Cover Protecting Your Car for Years
A few minutes of cleaning, drying, and inspecting after each use is really all it takes to add years to a cover's working life. It's not complicated. It's just easy to skip, until the cover fails right when you needed it most.
A cover in good shape protects paint, trim, and glass far better than one that's stiff, stained, or starting to crack. That gap in protection is bigger than most owners expect. If your current cover already shows more wear than routine care can fix, it might be time to look at car care and detailing products or browse current cover options built for how and where you actually park. And if you're still on the fence about whether a cover is worth the upkeep at all, our piece on why you should buy a car cover lays out the case plainly.
Worth subscribing to our articles for more guides like this one, especially if you're trying to get the most life out of your gear without overthinking it.
Updated