


How to De-Winterize a Jet Ski: A Step-by-Step Guide
How to De-Winterize a Jet Ski: A Step-by-Step Guide
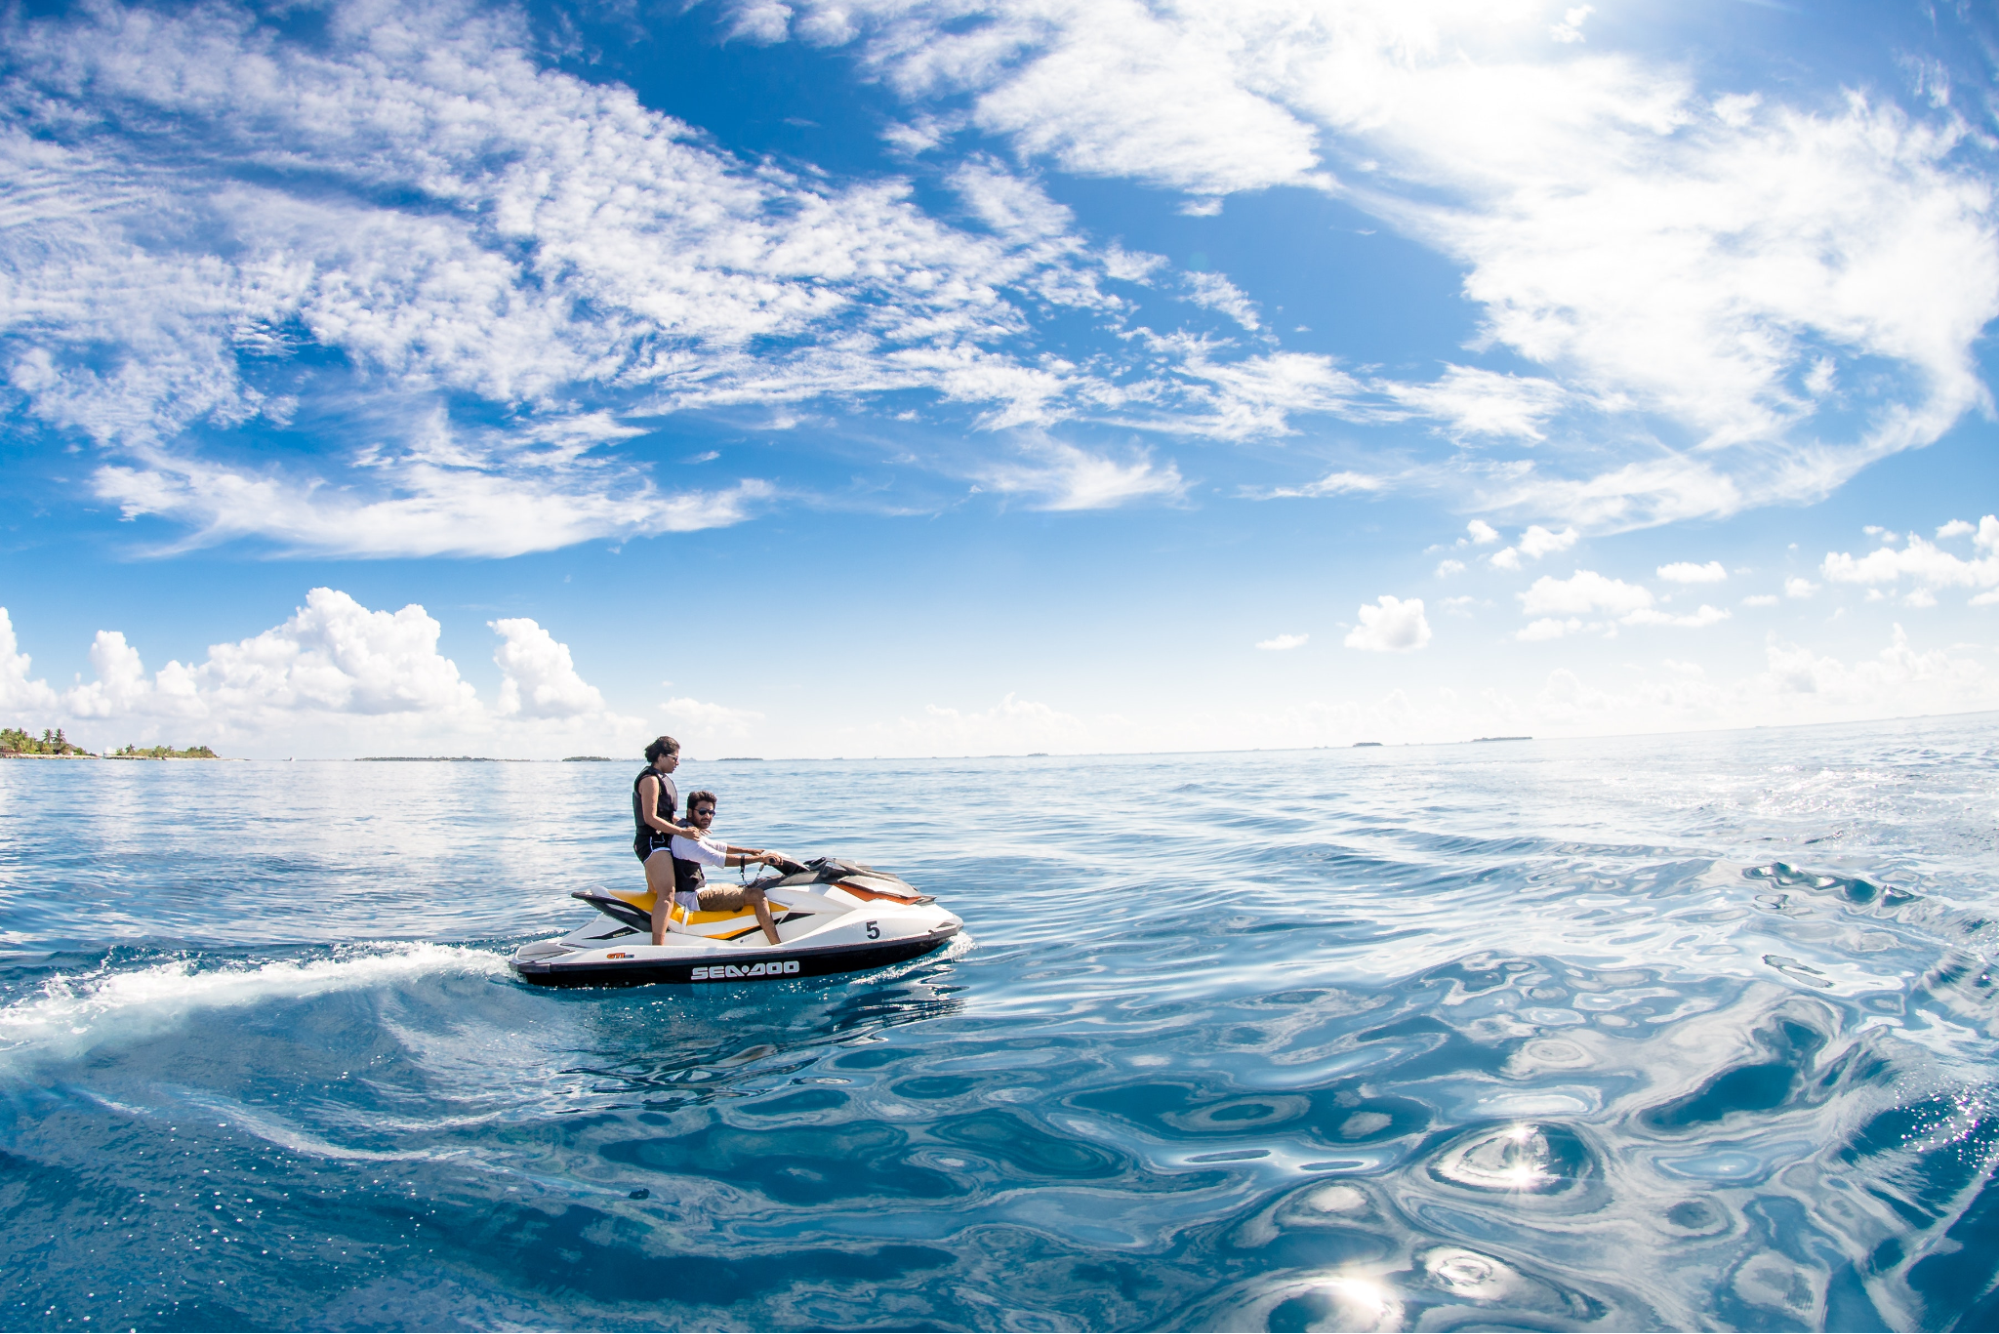
Summer is the riding season; with the warm weather approaching your jet ski needs routine maintenance. De-winterizing your jet ski is the most important maintenance feature during which you check all the important parts of the jet ski and make sure that everything is in perfect condition. Proper de-winterization ensures that your jet ski runs smoothly and efficiently during the summer season.
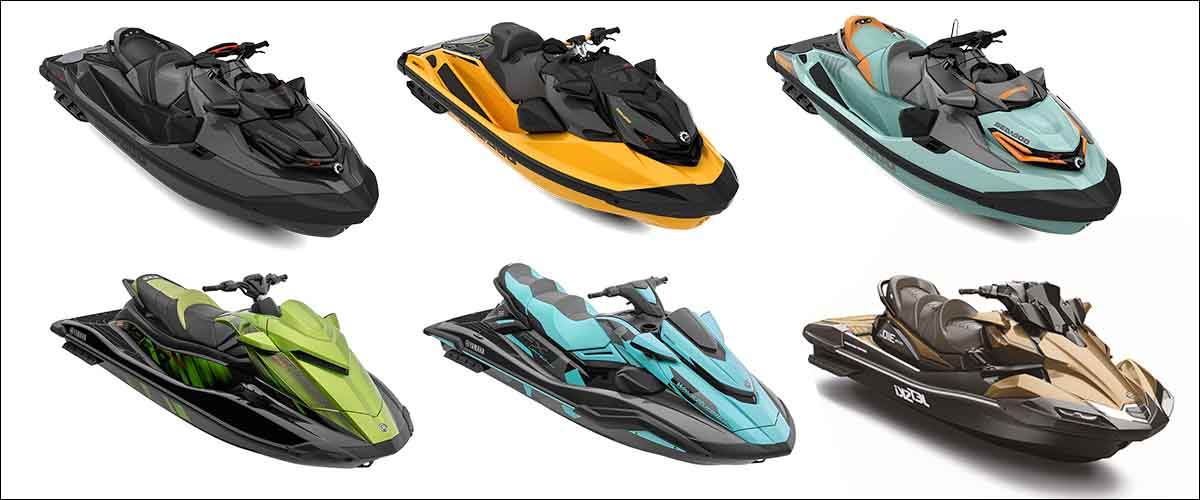
Whether you want to know how to de-winterize a Yamaha WaveRunner, or you have a jet ski or any other brand such as Sea-Doo, or Kawasaki Jet Ski, the process is generally the same. This article will discuss how to de-winterize your jet ski and provide specific instructions for each brand.
What is Jet Ski De-Winterization
De-winterization is a follow-up process; when the winter season approaches you take certain precautionary measures before storing your jet ski. In case you don't know, you winterize your jet ski by draining it, cleaning it, filling it with gas, lubricating it, covering it, and storing it correctly. The winterization ensures that next summer will be as fun as the one that just passed. De-winterization is the process to get your jet-ski summer ready. The process is the same for all brands (Yamaha, WaveRunner, Seadoo, Kawasaki, etc). You start with inspecting your jet ski, recharging the battery, changing plugs, and oils, checking for leaks, and draining the jet ski.
Inspect the Jet Ski
Before starting the de-winterization process of your jet ski, you need to inspect for any surprise maintenance work. Remove the seat and inspect the given components of the jet ski:
- Check fuel and cooling lines for cracks or damage.
- Make sure that the fuel and cooling lines are properly secure and connected.
- Check your electronic system for any melted wires, cables, or other damaged lines that might cause a problem later.
- Check the zip ties to make sure cables are properly routed and out of the way of any moving or hot parts such as the driveshaft or exhaust.
- Once the interior of your ski is checked properly, head to the back and check the impeller, ride plate, intake grate, reverse gate (if equipped), and any other moving parts for damage or wear. Replace the part if you notice anything unusual.
Charge the Battery
Once the inspection is done, the next step is to check your jet ski batteries. Usually at the beginning of a new riding season, if anything is going to give you trouble it's more than likely going to be the battery. Here is how you can prevent it:
- Charge the jet ski battery using a smart battery charger the night before the de-winterizing.
- The next day, disconnect the battery charger, and before putting it in the jet ski, test it with a load tester to make sure that it is not dead.
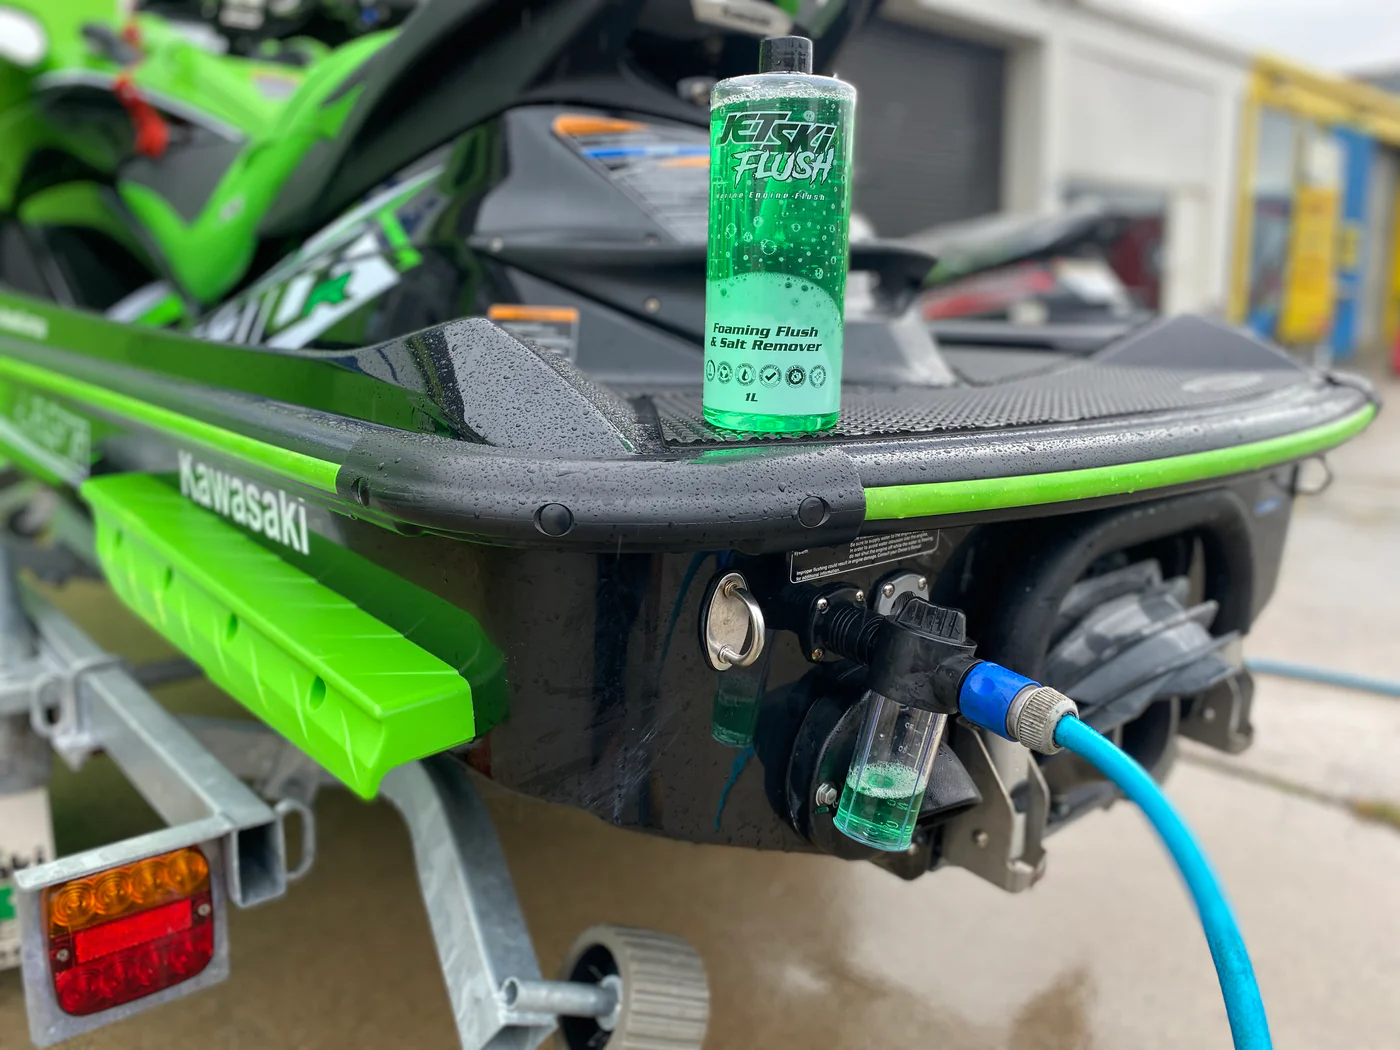
Flush the Jet Ski Engine
Flush the jet ski by attaching a garden hose to the flushing port. Once the hose is attached start the engine right after you turn the water on. Check the engine compartments for any leaks and run the engine for two minutes to make sure that everything is working properly.
Change the Oil Filter
You can skip this step if you changed the filter when you were winterizing the equipment, however, it is suggested that you do the step during de-winterization. While replacing the oil filter, make sure that there are no bubbles in the oil line.
Change Spark Plugs
Change the spark plugs of the jet ski once a year; usually before starting the new riding season as the process of winterizing your jet ski can cause the old plugs to foul. Stick to the spark plugs recommended by the manufacturer.
Check the Drain Plugs
The drain plugs are one of the most essential components of your jet ski. You need to get a new drain plug or o-ring if either of these is damaged or missing. It is important to know that a damaged drain plug or its o-ring can cause your jet ski to sink.
How to De-Winterize Yamaha WaveRunner
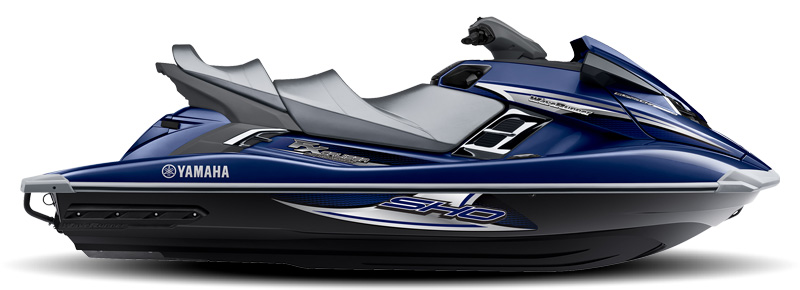
Yamaha WaveRunners are known for their durability and reliability; however, proper maintenance is essential to keep them running smoothly. Here are the steps to de-winterize your Yamaha WaveRunner:
Inspect the WaveRunner
Check the WaveRunner for any damage or wear and tear that may have occurred during storage. Look for any cracks, dents, or leaks.
Check the fuel and oil levels:
Check the fuel and oil levels and add a fuel stabilizer to the gas tank. This will help prevent the fuel from degrading and ensure that the engine runs smoothly.
Charge the battery:
A dead battery can cause starting problems, so make sure it is fully charged before attempting to start the engine.
Check the spark plugs:
Check the spark plugs and replace them if necessary. Old or damaged spark plugs can cause starting problems and reduce engine performance.
Check the impeller:
Check the impeller for any damage or wear and tear. Replace it if necessary. A damaged impeller can reduce performance and cause lasting damage to the engine.
Test Your Yamaha WaveRunner:
Turn on the WaveRunner and let it idle for a few minutes to let the oil and fuel circulate. Check for any leaks or abnormal sounds. Take the WaveRunner for a test ride in a safe and suitable location. Make sure it runs smoothly and there are no issues.
How to De-winterize Your Sea-Doo
Sea-Doos are one of the most popular personal watercraft and are known for their speed and agility on the water. Here are the steps to de-winterize your Sea-Doo:
Inspect the Sea-Doo:
Check the Sea-Doo for any damage, cracks, dents, leaks or wear and tear that may have occurred during storage.
Check the fuel and oil levels:
Check the fuel and oil levels and add a fuel stabilizer to the gas tank.
Charge the battery:
Check the batter as described above. A dead battery can cause starting problems, so make sure it is fully charged before attempting to start the engine.
Change the oil and filter:
Drain the old oil and replace it with fresh oil. Change the oil filter if necessary.
Check the spark plugs:
Check the spark plugs and replace them if necessary.
Check the impeller:
Replace the impeller if there are signs of wear and tear.
Flush the System
The closed-loop cooling system uses a mixture of antifreeze and water to cool the engine, and it's important to flush the system before starting the engine. Here are the additional steps for de-winterizing a Sea-Doo with a closed-loop cooling system:
- Disconnect the hose from the flush kit fitting on the Sea-Doo.
- Attach a garden hose to the flush kit fitting.
- Turn on the garden hose and let the water flow through the system for about 5 minutes.
- Turn off the garden hose and disconnect it from the flush kit fitting.
- Reconnect the hose to the flush kit fitting and turn on the Sea-Doo. Let it idle for a few minutes to circulate the oil and fuel.
Test the Sea-Doo : Take the Sea-Doo for a test ride.
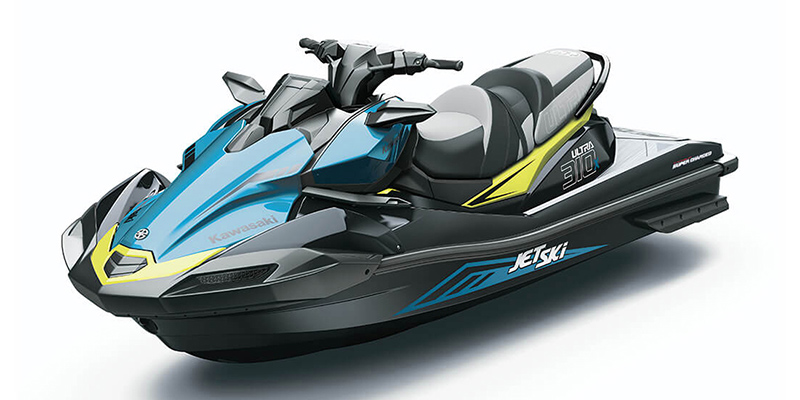
De-winterizing a Kawasaki Jet Ski
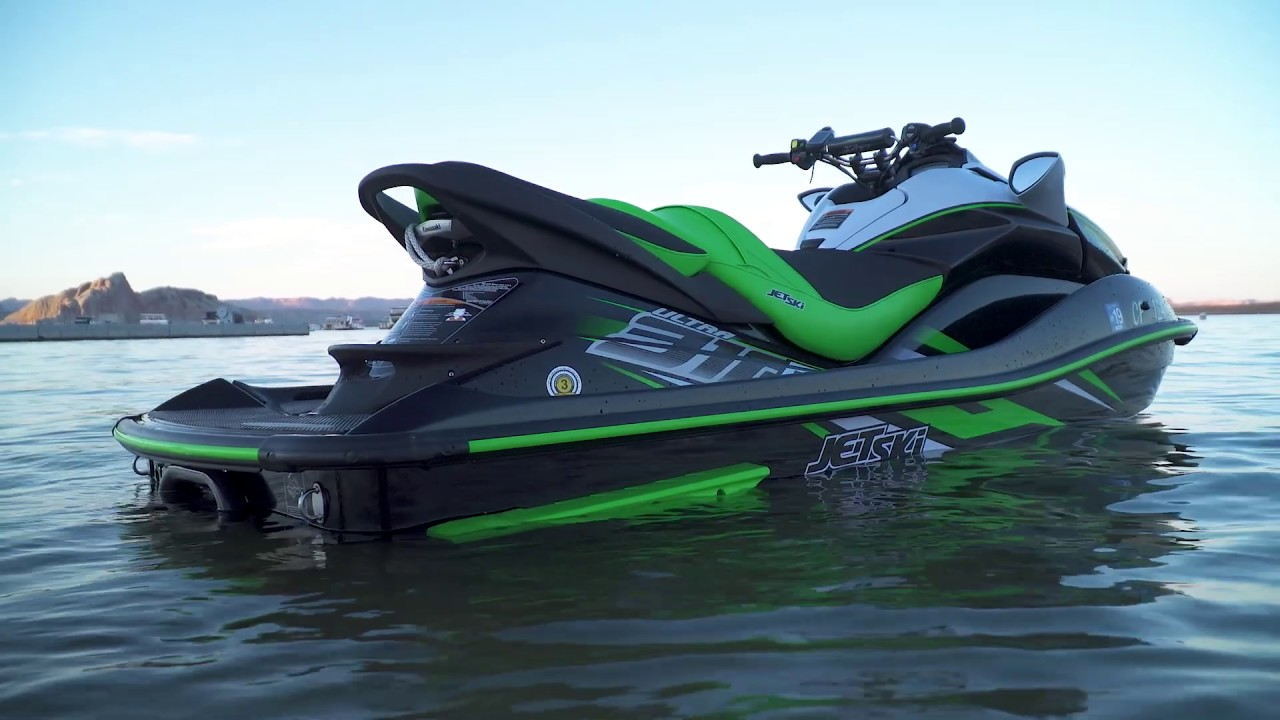
Let's have a look at how to de-winterize Kawasaki Jet Skis:
Inspect the Kawasaki
Inspect your Kawasaki jet ski for any damage, cracks, dents, leaks, or wear and tear.
Check the fuel, oil levels, and oil filters:
Check the fuel and oil levels. Add the fuel stabilizer to the gas tank. Drain the old oil and replace it with fresh oil, and change the oil filter if necessary.
Charge the battery:
A dead battery can cause starting problems, so make sure it is fully charged before attempting to start the engine. The process to check the battery's health is described above.
Check the spark plugs:
Inspect the spark plugs with a plug tester and replace them if needed.
Check the impeller:
Check the impeller for any damage or wear and tear.
Test the Kawasaki Jet Ski:
Turn on the Jet Ski and let it idle for a few minutes to circulate the oil and fuel. In case there are any abnormal sounds or leaks address the problem before taking the jet out for a ride.
De-winterizing a Polaris Jet Ski
Pre-season check (de-winterizing) Polaris Jet Skis is quite simple. Here are the steps to de-winterize your Polaris Jet Ski:
Inspect the Jet Ski:
Inspect the Polaris Jet Ski for any damage or wear and tear that may have occurred during storage. The inspection will give you an idea of what type of maintenance work is needed.
Check the fuel, oil levels, and oil filters:
Fuel, oil levels, and oil filters should be changed after winterization.
Charge the battery:
Check the condition of the battery and charge it before starting the jet ski. In case there are unusual cracks, dents or any other abnormal behavior replace the battery.
Check the spark plugs and Impeller:
Check the spark plugs and impellers, and replace them if necessary. Old or damaged spark plugs can impact engine performance, whereas a damaged impeller can cause serious damage to the engine.
Test run the Polaris Jet Ski:
Turn on the Jet Ski and let it idle for a few minutes to circulate the oil and fuel. Check for any leaks or abnormal sounds. If all sounds well, take your Jet Ski for a test ride in a safe and suitable location.
Updated