How to Remove Paint Residue
Waxing your car may sound like a daunting task, but it’s an important part of any exterior maintenance routine. Not only will it reduce the visibility of scratches and other damages, but it will help slow the corrosion process as well. If you don’t know how to wax your car, we have step-by-step instructions to help you!
What will I need?
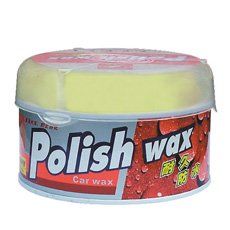
- Quality car wax
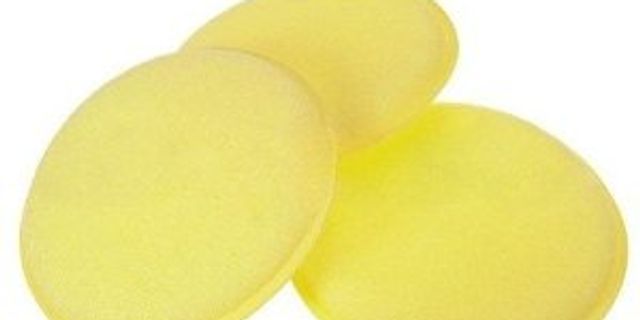
- A soft sponge
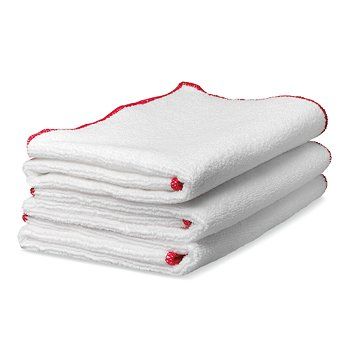
- A soft cloth
- A clean, dry car
Okay, I’m ready!
- Liquid wax requires that you shake the bottle before use. Apply wax to the sponge and spread it on a single section of the car. It is usually best to start at the top of the car.
- You should now have an even layer of wax on one section of the car. Avoid applying the wax to surfaces such as window trim. The wax will leave a small white stain if applied to this type of surface.

- Wait a couple minutes for the wax to haze before buffing it with the cloth. When buffing, remember to rotate the cloth often. You want to ensure you are always buffing with a clean part of the cloth.

- Repeat the steps above until your entire car is waxed. Clean the wax from unpainted surfaces with window spray cleaner or a similar solution.

- Repeat the steps above every three to four months. Remember, wax does not last forever. Eventually, your car will lose its shine and require another application of wax.
If your not into all of the hand waxing you can step up your game and use an electric buffer to apply and remove the car wax too. These machines will bring out the shine and high gloss finish on your vehicle. Giving you the professional advantage over your neighbour. Just be sure to use caution so you don't burn the finish on your vehicle.
On another note after waxing your vehicle be sure to wait approximately one week before you use your car cover to allow enough time for your fresh coat of wax to cure completely.
Updated