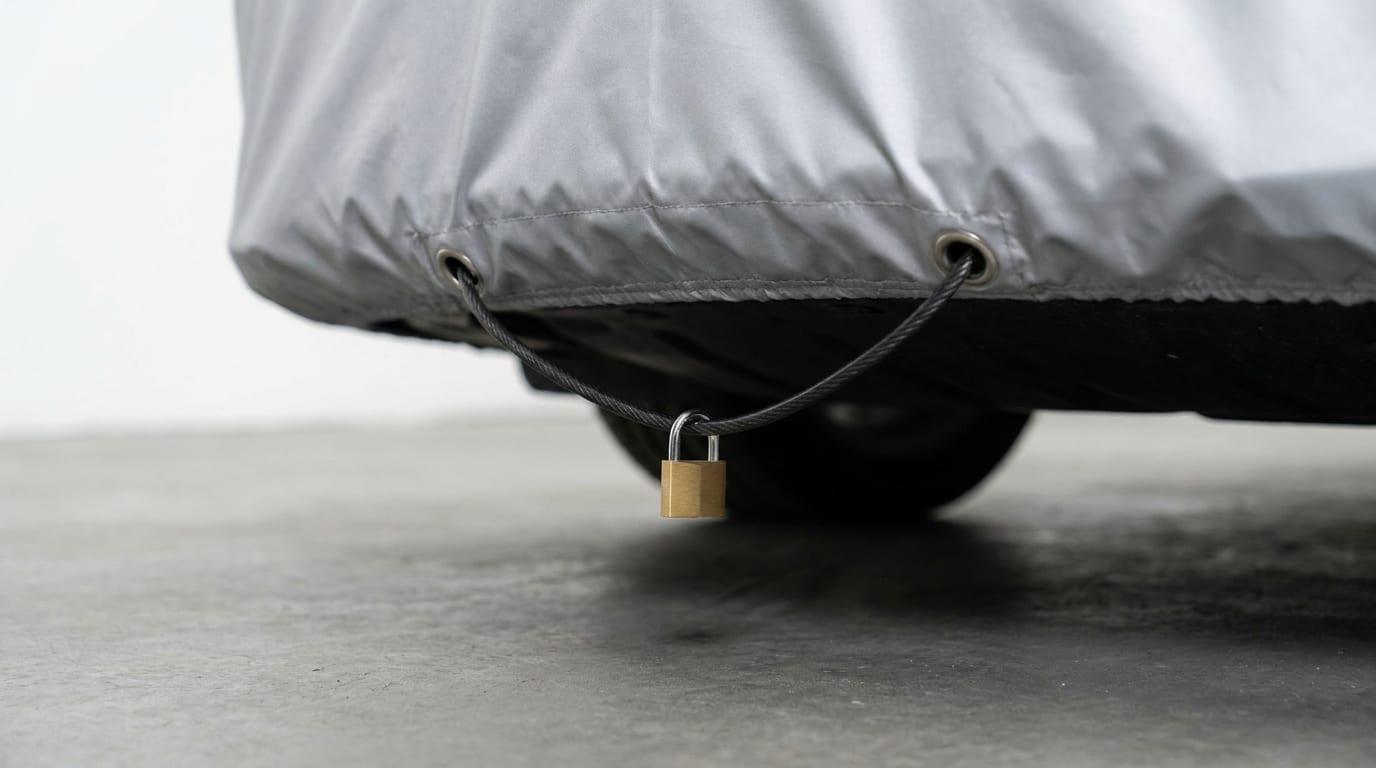
Why Your Car Cover's Cable and Lock Matters
A car cover that isn't locked down is just a very expensive beach towel. Wind gets under the hem, lifts the fabric, and before long you've got a cover flapping around your paint or sliding off entirely. The cable and lock system exists to stop that: it pins the cover low on the vehicle so gusts can't get underneath, and it keeps anyone from simply pulling the cover off your car in a parking lot or driveway.
So how do you use a car cover's cable and lock? It's less complicated than it sounds, and once you've done it a couple of times, it's a two-to-five-minute step you tack on after the cover is already positioned. Mid-range and premium covers usually come with grommets sewn into the bottom hem specifically for this, so if yours has them, you're meant to use them every time, not just when you're worried about theft.
What You'll Need Before You Start
Before locking anything down, gather what the job actually requires:
- Grommets or eyelets along the cover's bottom hem (these are built in on most mid-range and premium covers)
- A cable, typically vinyl-coated steel, which is usually included with the cover
- A padlock, sometimes included in the kit, sometimes something you supply yourself
Before any of that matters, though, check the fit. A cover that's too big for your vehicle will never cinch down tight no matter how well you thread the cable, it'll just bunch up and leave gaps. If you're not confident the cover you have is actually sized right, it's worth reviewing outdoor car covers built for your specific vehicle before you worry about the locking step at all.
Also take a minute to actually look at where the grommets sit on your specific cover model. Most put them front and rear, near the wheel wells. Some add side grommets too. Knowing the layout before you start saves you from fumbling around under the car later.
Step 1: Position the Cover Correctly
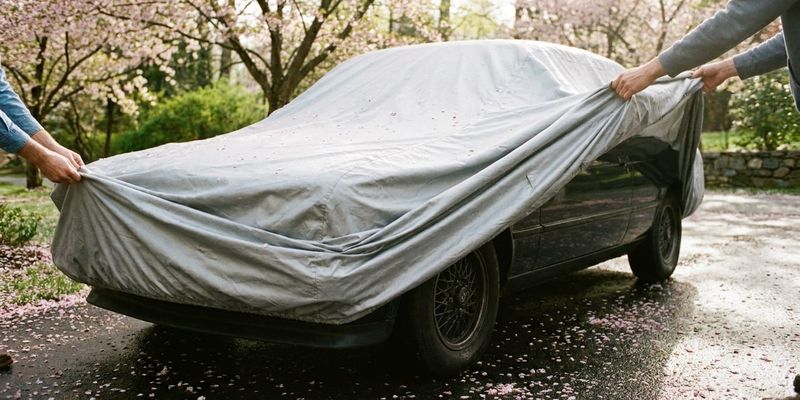
Drape the cover over the vehicle fully before you touch the cable. Line up the mirror pockets, get the elastic hems seated where they belong, and make sure any logo tag or label is oriented to the correct end of the car (usually the front). This isn't cosmetic. A cover that's on backwards or twisted won't sit evenly, and that throws off where the grommets land relative to the wheels.
Once it's draped, smooth out the fabric. Run your hands along the roof, hood, and sides to knock out loose flaps and bunching. Any slack fabric left up top is just extra sail area for wind to grab, and it defeats half the purpose of locking the bottom down.
Last thing before you move to the cable: confirm the grommets are actually reachable. They should sit near the wheel wells, at the lowest point of the hem. If you can't easily get a hand on them, the cover probably isn't seated right yet.
Step 2: Thread the Cable Through the Grommets

This is the core of the whole process, so here's how do you use a car cover's cable and lock in practice: locate the reinforced grommet holes along the bottom hem. Most covers put one near each front wheel and one near each rear wheel.
Feed the cable through the first grommet, then route it underneath or around the wheel and frame area, depending on how your specific cover is designed. Some cables are meant to pass behind the tire, others loop around the lower suspension or frame rail. Check your cover's instructions if you're not sure, since designs vary more than people expect.
Keep threading the cable through each remaining grommet in sequence, working your way around the car. By the time you're done, the cable should form a continuous loop that runs low along the vehicle, behind all four wheels. That loop is what anchors the cover down and stops anyone from just lifting an edge and sliding it off.
Step 3: Secure the Cable with the Lock
Bring both ends of the cable together underneath the vehicle, as close to the center as you can manage. That spot is deliberately the hardest to reach from outside the car, which is the point.
Slide your padlock through the looped ends of the cable. Some cover kits use an integrated cable-end design instead of a separate loop, in which case the lock goes straight through the built-in ends. Either way, snap or turn the lock closed, then give the whole cable a firm tug. There shouldn't be any slack. If you can pull a few inches of give out of it, the cover can still be lifted or dragged off in a strong wind, which defeats the entire exercise.
Once it's locked, put the key somewhere you'll actually remember. This sounds obvious until you've lost one. There's no quick fix for a lost key either, your only real option at that point is cutting the cable, which means buying a replacement before you can lock the cover again.
For a closer look at this with diagrams specific to different cover styles, the cable lock installation guide walks through the variations in more detail than a general overview can.
Common Mistakes to Avoid

The biggest one: cranking the cable too tight against the grommets. It feels secure, but repeated over-tightening wears at the fabric around the eyelet and eventually tears it. Snug and tug-tested is enough. You don't need to choke it.
Second mistake, and a common one: only threading the front grommets and calling it done. That leaves the rear hem completely exposed, and wind doesn't care that you locked half the cover. Every grommet needs the cable through it, every time.
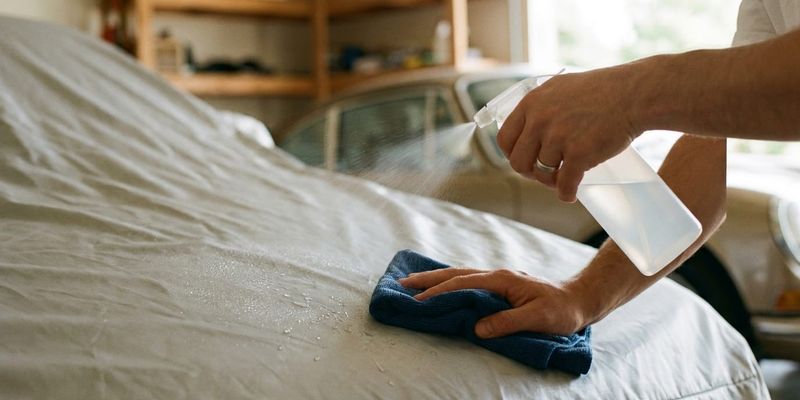
Third: ignoring the cable itself once it's installed. Standing water and road salt will rust a steel cable faster than you'd think, and a rusted lock has a bad habit of seizing shut right when you need it open. A quick wipe-down after wet weather goes a long way.
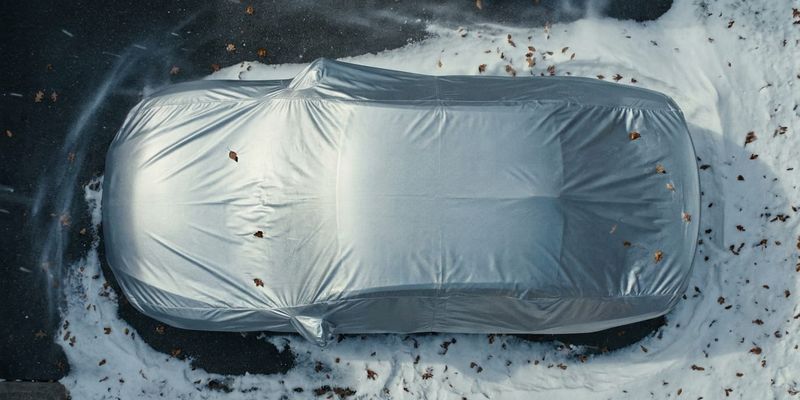
And on genuinely windy days, the cable and lock alone might not be enough. Pairing it with a wind strap gives you extra hold across the body of the cover, not just at the hem. The wind strap installation guide covers how to add one if your area sees regular gusts.
Caring for the Cable and Lock Over Time

Treat the cable and lock like any other piece of outdoor hardware, because that's exactly what it is. Wipe the cable down periodically, especially after rain, snow, or a salty winter drive, to keep corrosion from taking hold. A dry cloth is fine for most of it; it doesn't need anything fancy.
The lock mechanism deserves a little attention too. A light lubricant every few months keeps it from seizing up in cold weather, which is exactly when you don't want to be fighting with a frozen padlock in your driveway.
This really is just part of general cover upkeep. If you haven't already got a routine for the cover itself, the step-by-step cover cleaning guide and the broader cover care guide cover the rest of it, from fabric cleaning to storage between uses.
Final Thoughts: Lock It Down Every Time
The whole system only works if you actually use it every time you cover the car, not just on nights you're feeling paranoid about theft. Skipping it "just this once" is exactly when a gust of wind peels the cover back or someone walks off with it.
If you're setting up a cover for the first time and want the full picture beyond just the cable, the general cover installation guide and the installation guides hub are both good starting points.
If your current cover doesn't have grommets built in for this at all, it might be worth upgrading. Take a look through our custom-fit covers with integrated cable and lock grommets, and feel free to browse the rest of our articles for more care and maintenance tips while you're at it.