


How to Put On a Car Cover Properly: A Step-by-Step Guide
A car cover that's put on wrong causes more problems than it solves. Wind gets under a loose hem, sand grinds against the clear coat overnight, and you wake up to swirl marks you didn't have yesterday. Knowing how to put on a car cover properly isn't complicated, but the order of operations actually matters, and skipping steps is exactly what turns a protective cover into a scratch machine.
How Do You Put On a Car Cover Properly?
Wash and dry the car first. Fold in the mirrors, then drape the cover from front to back (or back to front, check the label) so it lands evenly across the roof before you work it down the sides. Line up any fitted seams with your car's actual body lines, pull the elastic hem down under the rocker panels, and finish by securing straps, cables, or grommets so a gust of wind can't get a grip on it.
That's the short version. The exact sequence shifts a bit depending on what kind of cover you own. A custom-fit cover behaves differently than a universal one, and some are designed to go on front-first while others are built for back-entry. Check the tag or the label sewn into the cover before you start draping anything. Five seconds of reading now saves you from redoing the whole process once you notice the mirror pockets are on backward.
What Should You Do Before Putting On a Car Cover?
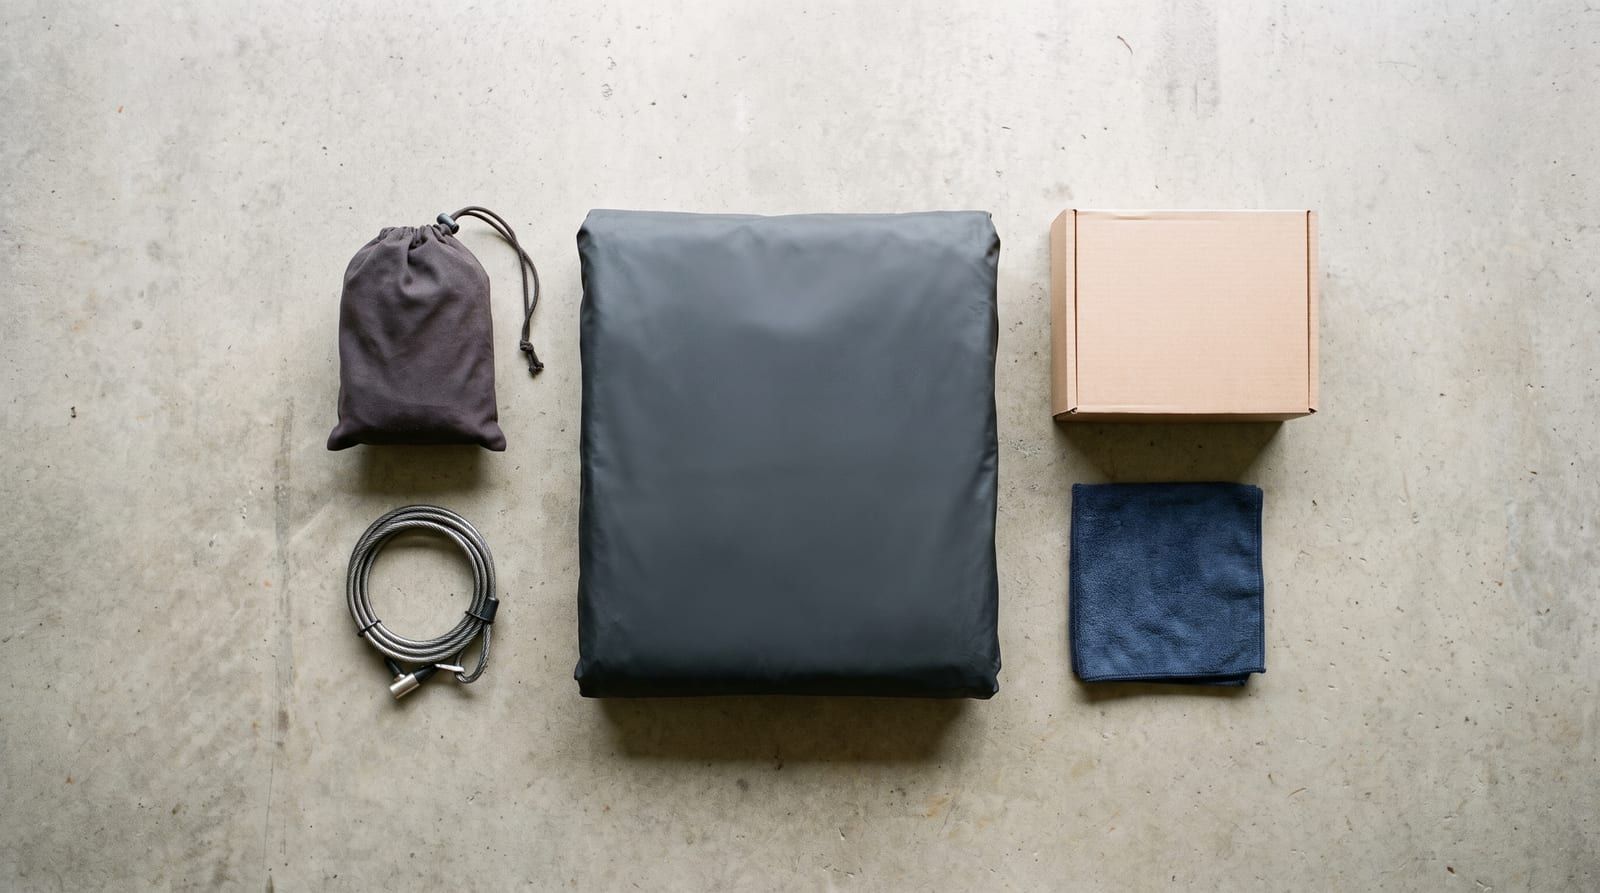
Wash the car and let it dry completely before the cover goes anywhere near it. This is the step people skip, and it's the one that causes the most damage. Dirt, dust, or road salt trapped between the paint and the fabric acts like sandpaper the moment the cover shifts in the wind. Even a light breeze is enough to grind micro-scratches into the clear coat overnight.
Once the car's clean, retract or remove antennas, fold in the side mirrors, and pull off any loose roof racks or accessories that could snag the fabric or tent it up in a weird spot. A snagged cover doesn't just look bad, it creates a weak point where wind can start working its way underneath.
Before you even unfold it, confirm the cover actually fits your make and model. Too loose, and it'll flap and rub against the paint all night. Too tight, and you're straining seams every time you wrestle it on. If you're not sure whether your current cover is the right fit, it's worth checking a sizing guide for your vehicle before you go any further, because no amount of careful installation fixes a cover that's the wrong size to begin with.
Last thing: unfold the whole cover on the ground first. Look for a labeled front, back, or "this side up" tag. Covers aren't symmetrical, most have mirror pockets, antenna patches, or a tighter panel at one end, and putting it on backward means redoing the entire job.
What Is the Correct Order to Put On a Car Cover?
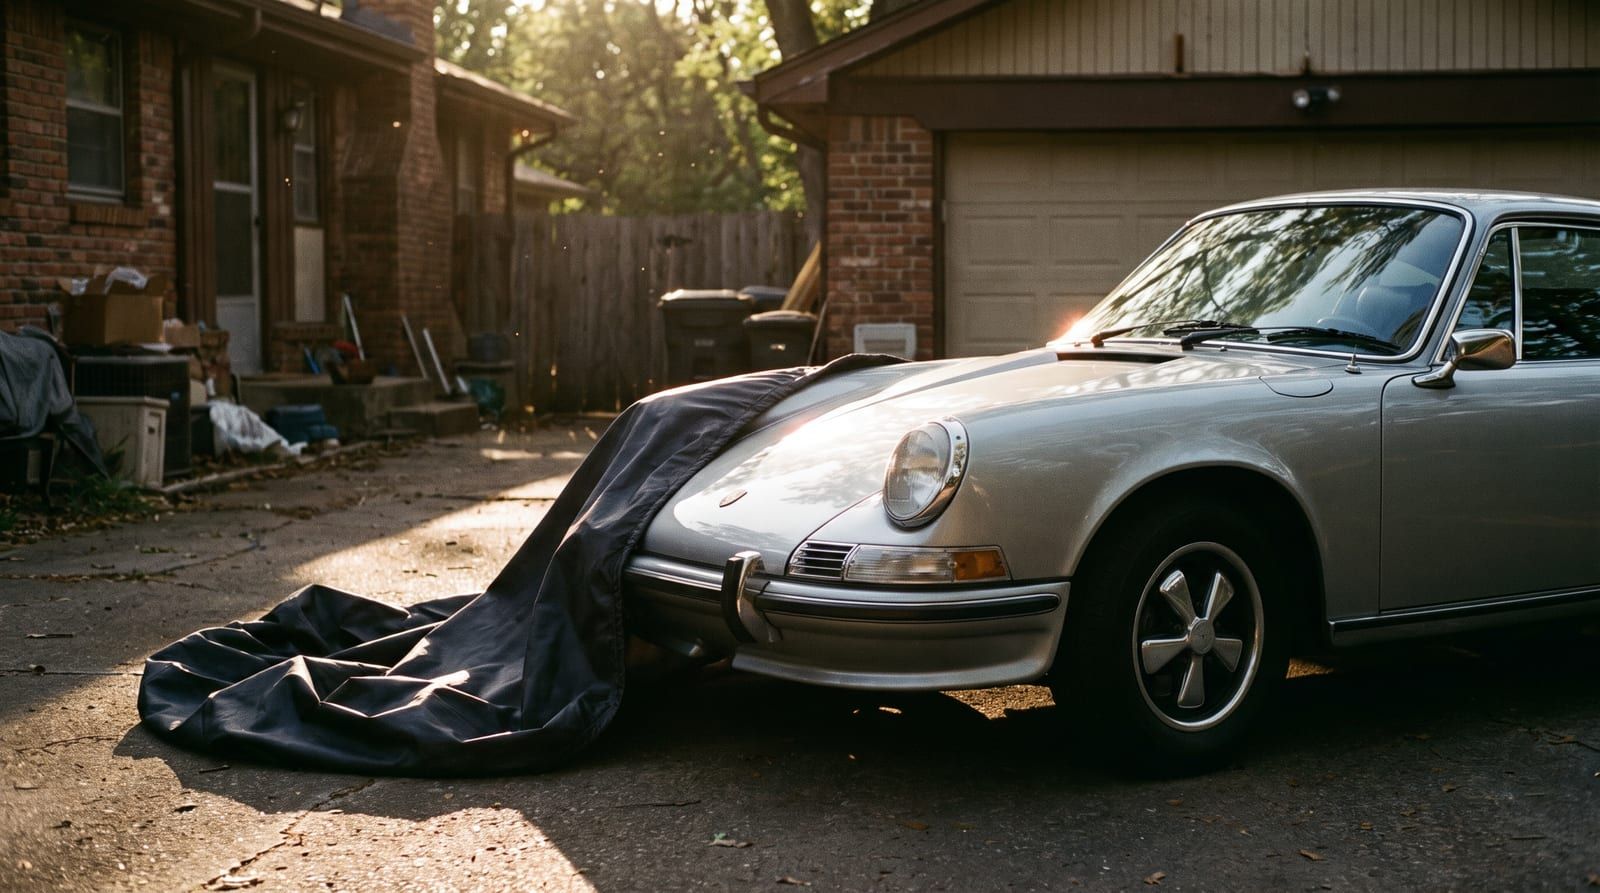
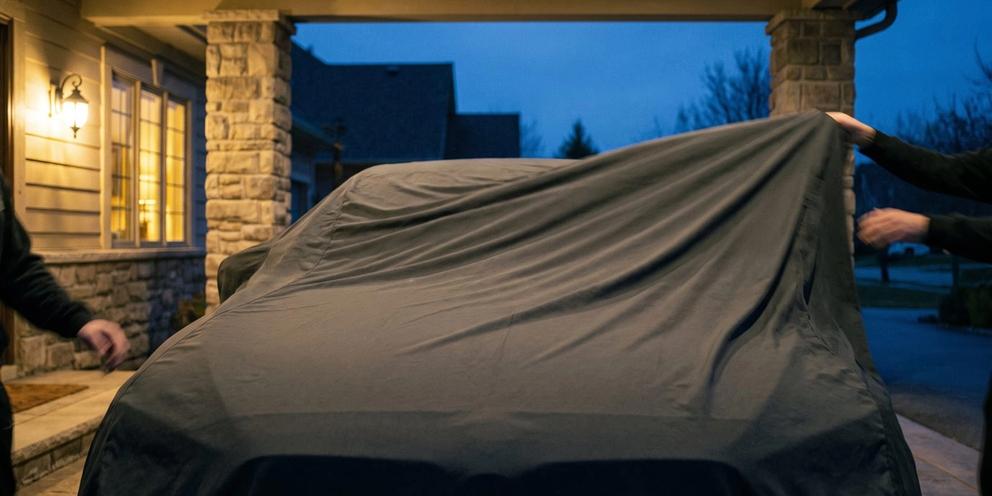
Start at whichever end the label calls for, front or back, and drape the cover loosely over the roof first since that's the highest point of the car. From there, work it down both sides at the same time, evenly, rather than pulling one side taut before touching the other. Pulling lopsided is how you end up with a cover that's crooked and straining at the seams by the time you reach the bumper.
Smooth the fabric out across the hood, roof, and trunk or hatch as you go. Bunched fabric isn't just sloppy, it traps little air pockets that wind can catch and lift. If your cover has built-in mirror pockets, antenna cutouts, or a logo patch, get those lined up with their actual spots on the car before you tighten anything else. Trying to shift a mirror pocket into place after the hem is already snug is a losing fight.
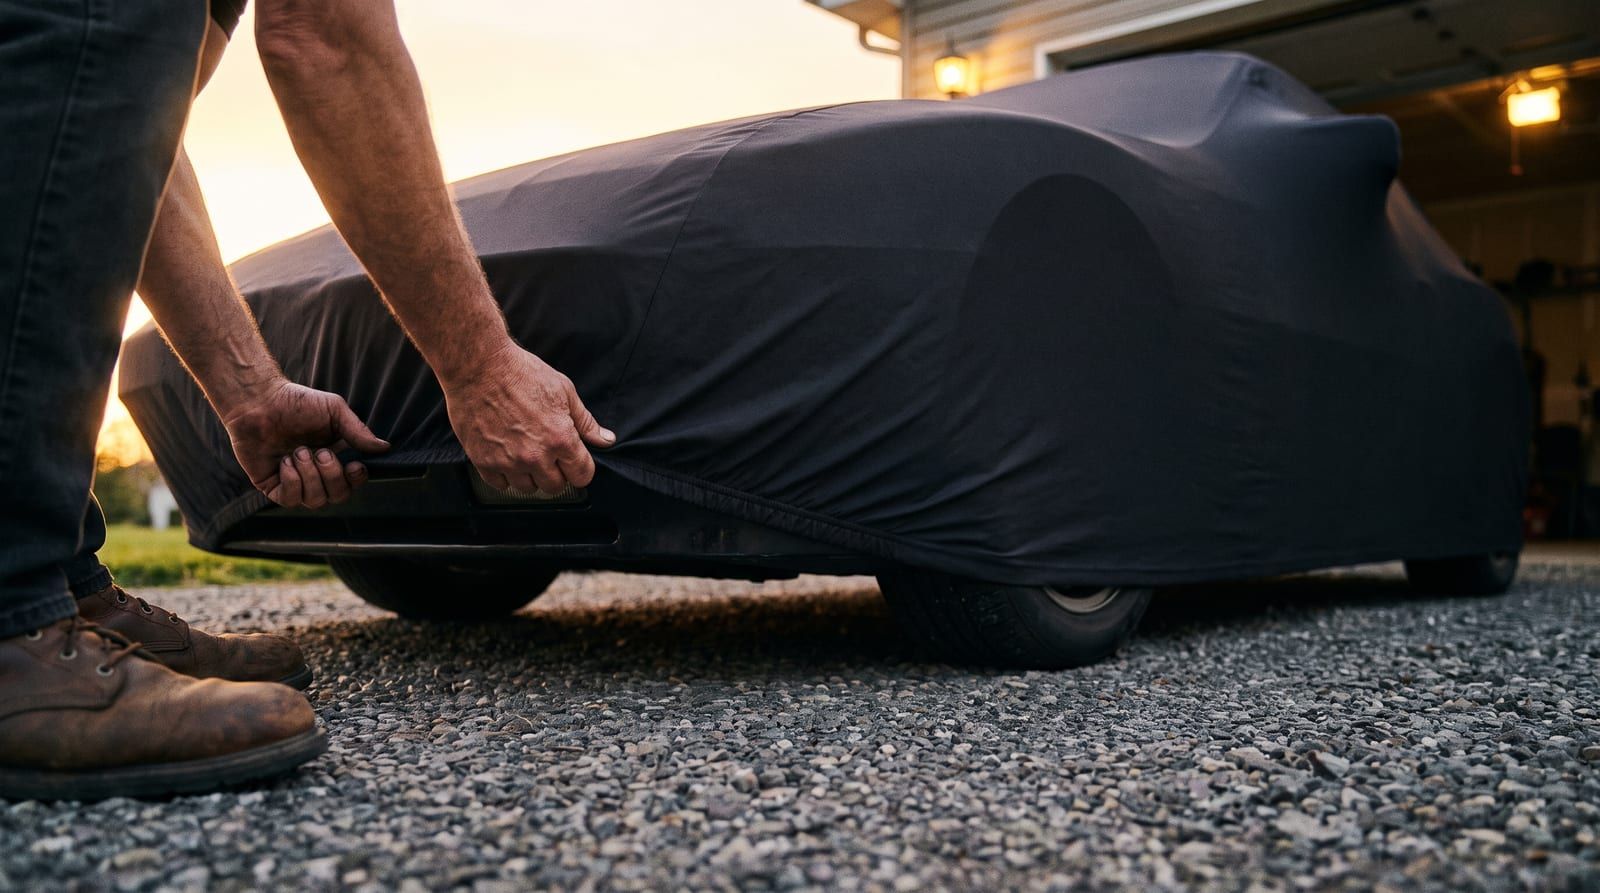
The elastic hem comes last. Once the top is smoothed and positioned, work that hem underneath the vehicle at the rocker panels and around the bumpers. This is deliberate: if you cinch the bottom before the top is set, you'll spend the next ten minutes fighting fabric that's now too tight to reposition.
If the car's going to sit outside for weeks at a time, add a support pole under the cover at the windshield or roof line. It stops water from pooling in a low spot and turning into a small lake every time it rains. Products like the platinum tripod support pole or, for trucks, a truck-specific support pole are built exactly for this.
How Do You Secure a Car Cover So It Doesn't Blow Off?
This is where most people cut corners, and it's the reason so many covers end up in a neighbor's yard after a windy night. Grommets aren't decorative. Run a cord or cable through them and cinch it down at the front and rear bumper areas so the cover has something anchoring it beyond just its own weight.
For daily driveway or street parking, especially anywhere windy, gust straps make a real difference. These cross-body straps buckle underneath the car and hold the cover down against gusts that would otherwise get underneath the fabric. If your cover didn't come with them, it's a cheap add-on and worth installing gust straps rather than skipping this step.
If the car's parked outdoors or anywhere public, run an anti-theft cable lock through the grommets too. It's not just about wind at that point, it's keeping someone from lifting the cover off entirely. Here's a full walkthrough on installing a cable lock if you haven't used one before.
Last check before you walk away: the elastic hem. It should sit snug against the body, tucked under the rocker panels, not riding up above them. A hem that's ridden up is the single most common failure point in wind, and it's the first thing to check if you find your cover half off the next morning.
What Mistakes Ruin a Cover's Fit or Damage the Paint?
Covering a dirty or wet car is the big one. Grit under the fabric acts like sandpaper the second there's any movement, and there's always some movement.
Using a universal cover on a car that really needs a semi-custom or custom fit is another common mistake. Universal covers are cut generously to fit a range of vehicles, which means excess fabric bunches at the mirrors, roofline, or spoiler and rubs there every time the wind picks up. If you've been making do with a generic cover, it might be time to look at a custom-fit car cover built for your exact model instead.
Skipping straps or a cable lock and trusting the hem alone is asking for trouble. The hem keeps the bottom snug, but it does nothing to stop wind from getting under the middle of the cover and flapping it against the paint like a sail.
Leaving a cover on for weeks without airflow in a humid climate is its own problem: trapped moisture breeds mildew and leaves water spots that are genuinely hard to buff out. And don't drag the cover across the driveway or the ground while you're positioning it. That's free dirt and gravel picked up right before it touches your paint.
How Do You Remove and Store a Car Cover Correctly?
Unhook straps, cables, or locks first. Then reverse the draping process, lifting from the hem up and off rather than yanking it from one corner, which just drags dirt across the paint on the way off.
Shake off leaves, debris, or standing water before you fold anything. Folding a damp cover and tossing it in a bag is how you end up with a musty, mildewed cover next time you unfold it. Fold along the cover's natural seams, and store it in its included storage bag somewhere dry, not balled up loose in the trunk where it'll pick up moisture and grime.
Every so often, give the cover an actual clean rather than just a shake-out. It keeps the water-repellent coating working and the fit consistent season after season. There's a full cover care and cleaning guide if you want the specifics on washing without stripping the coating. And if the car lives outdoors most of the year, it's worth reading up on using a car cover outdoors for what actually holds up against sun, rain, and wind long-term.
Get the Fit Right From the Start
Most of what makes a cover installation good or bad comes down to two things: prep and securing. Clean, dry car. Snug hem. Straps or cables doing their job. None of it requires force, and forcing a cover on is usually a sign something's already wrong, whether that's a dirty car underneath or the wrong size cover to begin with.
If you're still not sure your current cover fits right, that's the place to start, not the installation technique. Take a look at a size and fit guide before anything else. And if you want the specifics for your exact cover type, from cable locks to gust straps to support poles, the installation guides hub covers the product-specific stuff this article didn't get into.
Get the fit and the installation right once, and you stop thinking about it every time the forecast says wind.
FAQ
How do you put on a car cover properly without help?
Drape it over the roof first, then work down both sides evenly before securing the hem. Doing it solo is easier if you smooth one section at a time instead of trying to position the whole cover at once.
Can you put a car cover on a wet car?
No. Moisture gets trapped against the paint and can cause spotting or promote mildew growth on the underside of the cover.
How tight should a car cover fit?
Snug enough that the elastic hem stays under the rocker panels without riding up, but not so tight that it strains seams or stretches fabric across the body.
Do you need straps if the cover has an elastic hem?
Yes, in most climates. The hem alone doesn't stop wind from getting underneath the middle of the cover, which is why gust straps or a cable through the grommets matter.
Updated