


How to Take Off a Car Cover Without Scratching Paint
How Do You Take Off a Car Cover Without Scratching Paint?
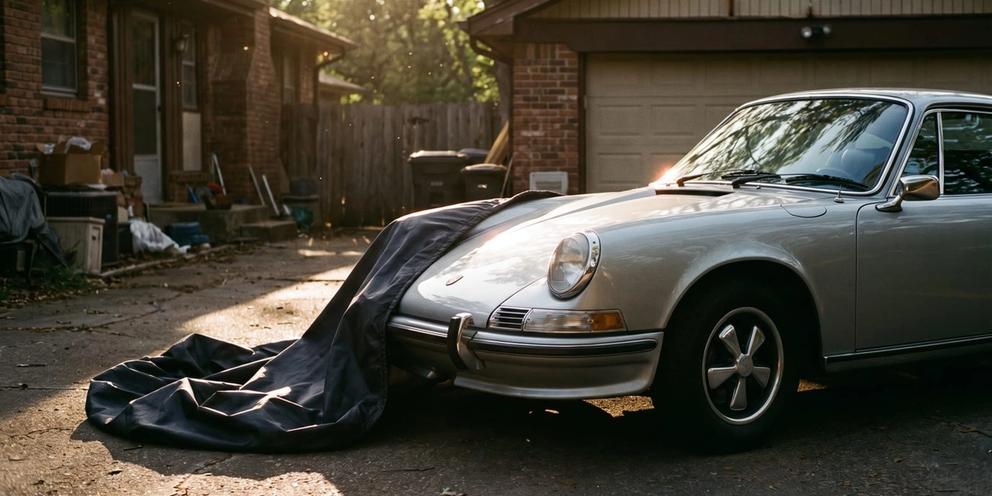
Unhook every strap, cable, and grommet first. Brush off loose debris from the top. Then lift the cover straight up and off, moving with the wind rather than dragging it sideways across the paint. That's the whole method, and skipping any one of those steps is usually where the trouble starts.
Here's the thing most people get wrong: it's rarely the cover fabric itself doing the damage. Most scratches happen because grit gets trapped between the cover and the paint, and then someone yanks the cover sideways, dragging that grit across the clear coat like sandpaper. The fabric is just the delivery vehicle. The sequence you follow, and whether you clear debris before you start pulling, matters more than what the cover is made of.
That's why the rest of this guide walks through the order of operations, what to do when the cover is wet, muddy, or frozen stiff, and how wind direction changes your approach. Get the sequence right once and it becomes muscle memory.
Why Do Car Covers Sometimes Scratch Car Paint?
Covers get blamed for scratches they didn't really cause. Dig into most cases and you'll find the real culprit was grit, dried leaves, or caked mud sitting between the cover and the paint. The cover moves, the debris doesn't, and now you've got a fine scratch tracing right across the hood.
Fit matters too. A cover that's too loose, or built for a "universal" size rather than your actual vehicle, shifts around in wind and rubs against the same panels over and over. That repeated rubbing is what creates swirl marks, the kind of fine, circular scuffing you notice under direct sunlight but not much anywhere else.
Static is another one people don't think about. Synthetic cover materials can build up a static charge, and when you peel the cover back, that charge drags fine dust across the paint on its way off. It's a small effect, but it adds up over months of use.
Then there's hardware. Elastic hems, cable locks, and drawstrings are great for keeping a cover secure in wind, but they can also snag on side mirrors, antennas, or trim pieces during removal. Yank a caught cable and you're not just risking a scratch, you're risking a chip right at the contact point.
Material choice plays into all of this more than people expect. Some fabrics hold static more than others, and some are just softer against the surface even when grit is present. If you're picking a cover or wondering whether the one you have is part of the problem, it's worth reading up on what makes the best car cover material before you assume it's a technique issue.
What's the Correct Order to Remove a Car Cover Safely?
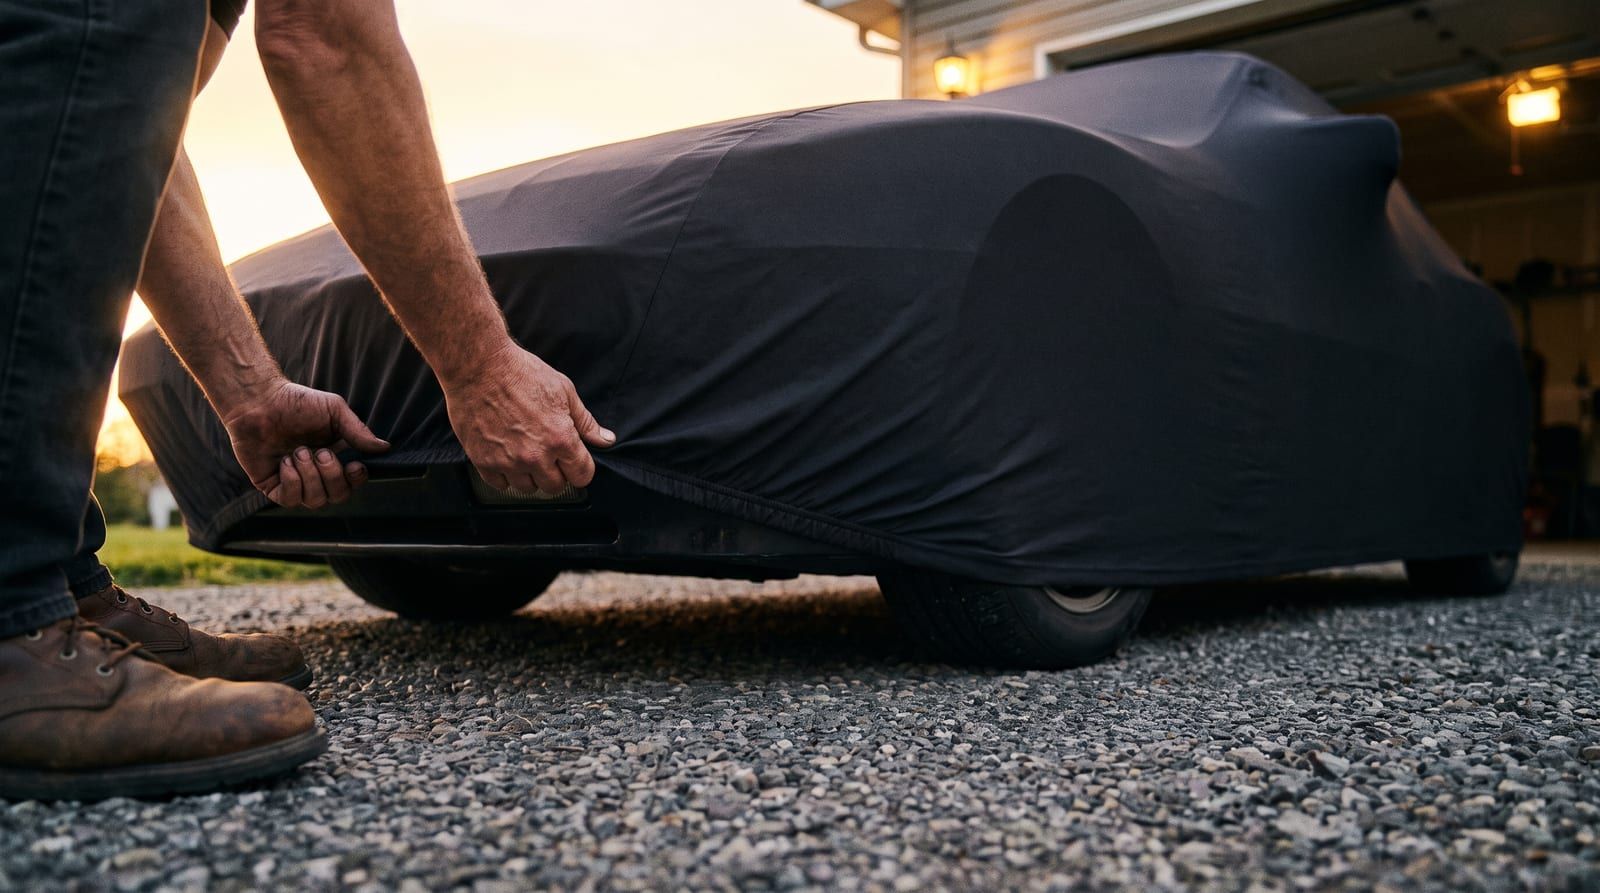
Order matters here. Do these out of sequence and you're far more likely to catch, drag, or snag something.
Step 1: Release the hardware first. Cable locks, buckles, tie-down straps, all of it. Undo everything before you touch the cover body itself. If you start lifting fabric while a strap is still cinched under the car, you'll end up tugging the whole cover sideways to compensate, and that's exactly the dragging motion that causes scratches.
Step 2: Unclip grommet-and-cord systems at the bottom hem. These little cord-through-grommet setups run along the lower edge on a lot of covers, and if you leave them clipped, they can catch on wheels, wheel wells, or trim as the cover comes up.
Step 3: Fold from the top down. Gather the cover starting at the roof and work down toward the ground, lifting as you go rather than sliding it across the hood or trunk. Think of it like peeling, not dragging.
Step 4: Walk it away before you shake it out. Carry the folded cover a few steps from the car before shaking off any leftover leaves or dust. Do it right next to the car and that debris just falls right back onto the paint, usually while it's still damp underneath from the cover.
Good habits here start at installation, honestly. If you install your car cover correctly in the first place, snug straps in the right spots, cords seated evenly, removal goes a lot smoother later. And if your particular cover has a strap or cable setup you're not familiar with, the installation guides cover most of the common hardware types.
How Do You Remove a Car Cover Covered in Leaves, Dirt, or Ice?
Different debris, different handling. Treating a frozen cover like a dusty one, or a muddy one like a dry one, is how people end up with damage they didn't need to have.
Leaves and loose dirt: Brush or hand-sweep the top surface before you unclip anything. Debris that's sitting loose on top will slide down the sides as you pull the cover off, and if it slides across bare paint on the way, you've basically hand-fed it a scratch.
Dried, caked mud: Don't pick at this by hand. Dry mud acts like sandpaper the moment it moves, so hose it down lightly first and let it soften before you touch the cover. A few minutes of patience here saves you a swirl mark you'll notice for months.
Frozen or ice-stuck fabric: Never yank a cover free when it's frozen to the paint. It feels stuck because it is stuck, and pulling hard enough to break that bond can pull clear coat right along with it. Pour lukewarm water along the edges where the ice is thinnest, or just wait for a partial thaw, and the fabric will release on its own without a fight.
This scenario is a lot more common if you're storing outdoors through freezing winters. If that's your situation regularly, it's worth reading the fuller guide to using a car cover outdoors for ways to reduce how often this happens at all.
Does Wind Direction Matter When Taking Off a Cover?
Yes, more than most people think. Pull a cover off into the wind and it billows like a sail, whipping around and slapping against mirrors, antennas, and body panels on its way off. That's not a gentle process.
The fix is simple: unhook the leeward side first, meaning the side the wind is blowing toward. That way, when the cover comes loose, the wind lifts it away from the car instead of pushing it back into the paint. It's a small change in order but it changes the whole physics of the removal.
On genuinely gusty days, don't go it alone. Have a second person hold one end steady while you unclip and fold the other. It sounds like overkill until you've watched a cover catch a gust and smack across a freshly waxed hood.
None of this is a substitute for good tie-downs in the first place. Properly installed gust straps keep the cover anchored while it's on, which means less whipping and flapping to deal with once you're ready to take it off.
How Can You Prevent Scratches Every Time You Take the Cover Off?
The honest fix isn't a better removal technique. It's removing the conditions that cause scratches in the first place.
Start with fit. A custom fit car cover hugs your vehicle's actual shape instead of sitting loose like a generic universal cover does. Less shifting in wind means less rubbing against the same panel every day, which means less to worry about come removal time.
Material matters just as much. A soft-lined interior, fleece or flannel against the paint side, reduces surface contact scratches even when a little dust does sneak underneath. Worth reading through what actually makes a good car cover material if you're shopping around or unsure whether your current cover is doing you any favors.
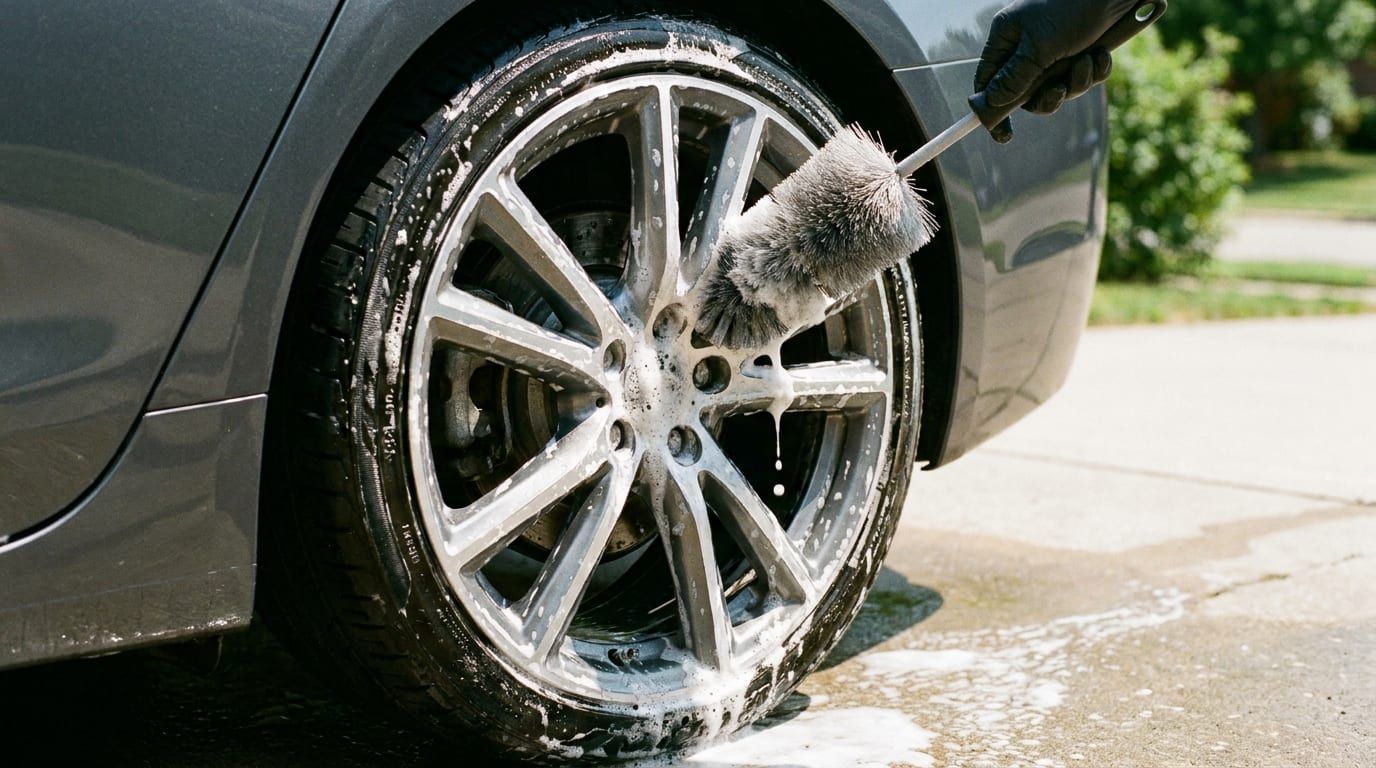
Wash the car before you cover it, too. Less dust and grime on the paint to begin with means less grit trapped under the cover overall. It sounds almost too obvious to mention, but it's the step most people skip. A quick look at car care basics covers what a proper pre-cover wash should include.
And don't forget the cover itself needs cleaning. Grit builds up in the fabric over repeated uses, and a dirty cover can reintroduce the exact problem you're trying to avoid. Cleaning your car cover on a regular schedule keeps it from becoming part of the problem.
What Should You Do After Removing the Cover?
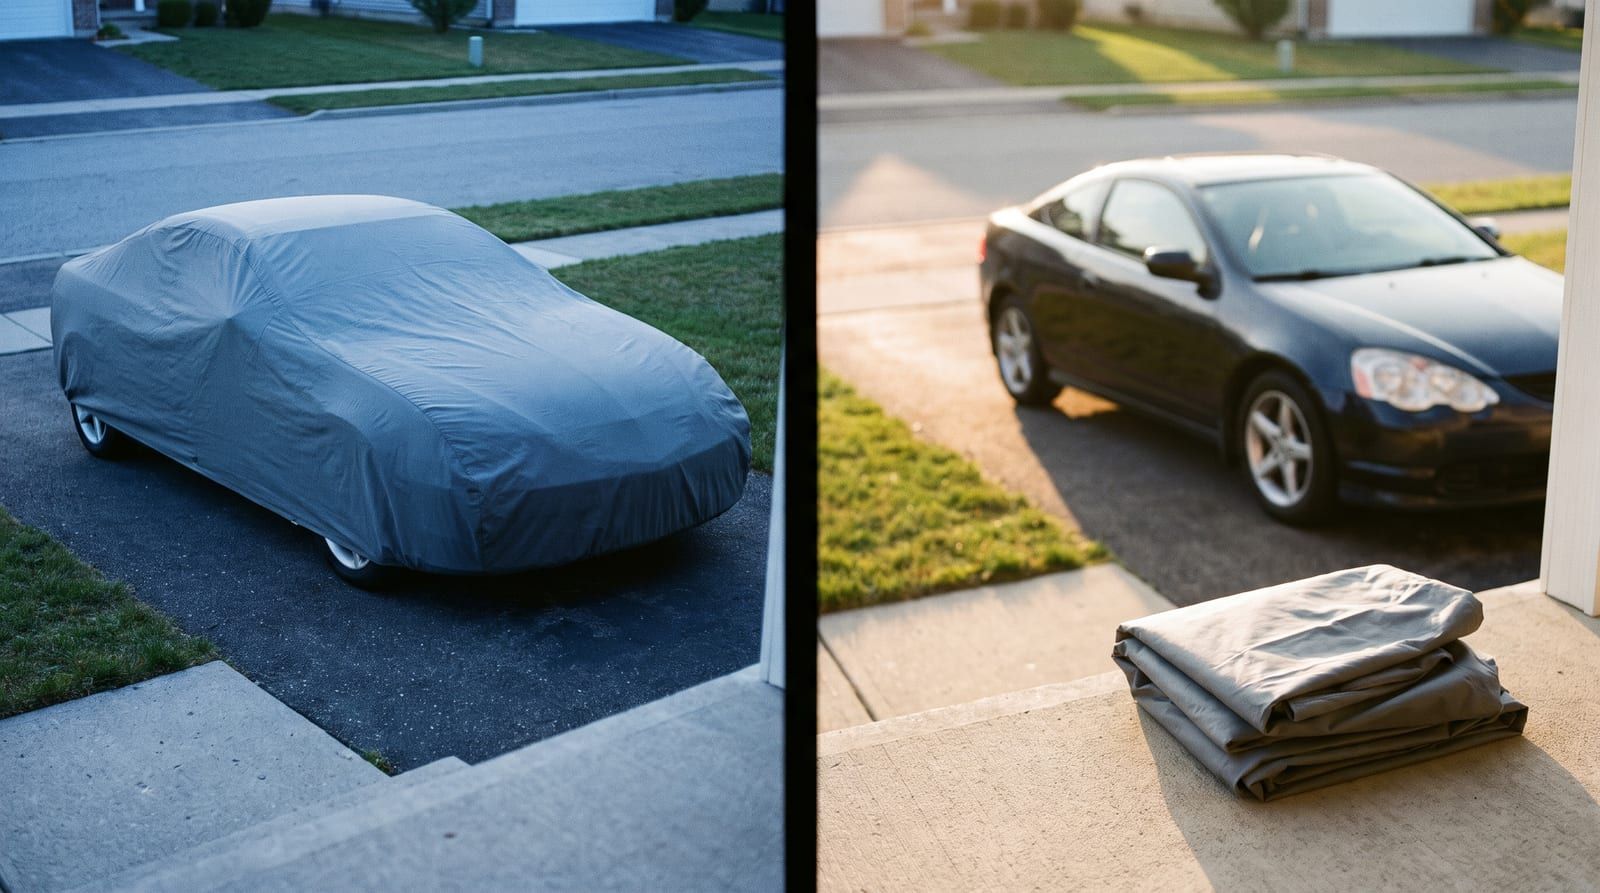
Take thirty seconds and actually look at the paint. Check around mirrors, spoilers, and the antenna base first, since those are the spots most likely to show fine scratches or swirl marks if something snagged during removal.
Then deal with the cover properly. Shake it out away from the car, fold it up, and store it in a breathable bag rather than leaving it crumpled on the garage floor or the trunk lid. A cover left damp and balled up grows mildew fast, and that's a whole separate problem.
If you're finding marks every time no matter how careful you are with technique, the cover itself is probably the issue, not you. A properly fitted, soft-lined cover solves this at the source instead of asking you to be perfect on every single removal. Browse the car covers lineup if yours is due for a replacement.
Not sure what actually fits your vehicle? The fit finder matches you to a cover built for your car's exact dimensions, which is honestly the single biggest lever you can pull here. Worth a look before your next storage season starts, and if you want more guides like this one, keep an eye on future posts here for the practical stuff, not the fluff.
Updated