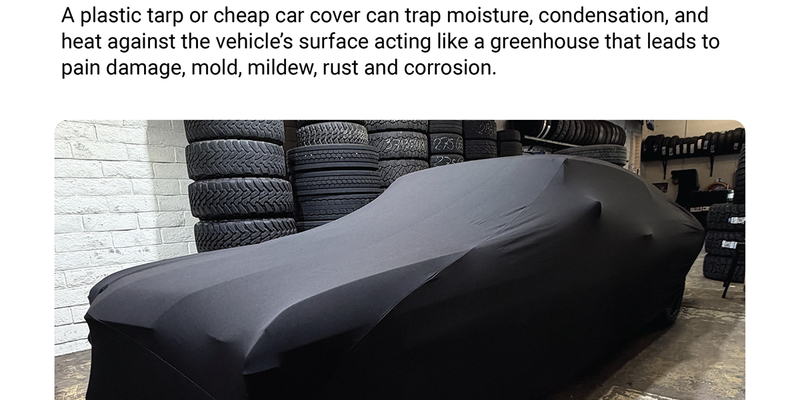
A roof vent sticking up through a tarp sounds like a minor detail until you're the one standing on a ladder trying to figure out why water's pooling on top of your RV. A car cover with roof-vent cutout isn't a gimmick feature on a spec sheet. It's the difference between a cover that lies flat and does its job, and one that tents, sags, and eventually tears right where your vent meets the fabric.
What a Roof-Vent Cutout Actually Is
A roof-vent cutout is a pre-shaped opening, or a reinforced flap, built directly into the cover's fabric at the exact spot where a roof vent, fan, or skylight sits. It's positioned during the pattern-cutting stage, not added as an afterthought. The point is simple: the vent shouldn't get crushed flat under the cover's weight, and the cover shouldn't be forced to seal the vent shut just to lie down properly.
This is a different thing entirely from throwing a universal cover over a vent and hoping the material stretches enough to cope. Universal covers aren't cut with your vent's location in mind, because they're not cut for your vehicle at all. A real cutout has engineered edges, usually reinforced stitching, a grommet, or an elastic rim, so the opening holds its shape instead of fraying the first time wind catches it.
Skip the cutout and you get one of two outcomes. Either the vent gets pressed flat under the fabric, which stresses both the vent and the cover, or the cover can't sit flush and rides up around the vent, leaving a low spot nearby where rain collects. Neither is good for the vehicle underneath.
Why It Matters More Than It Seems
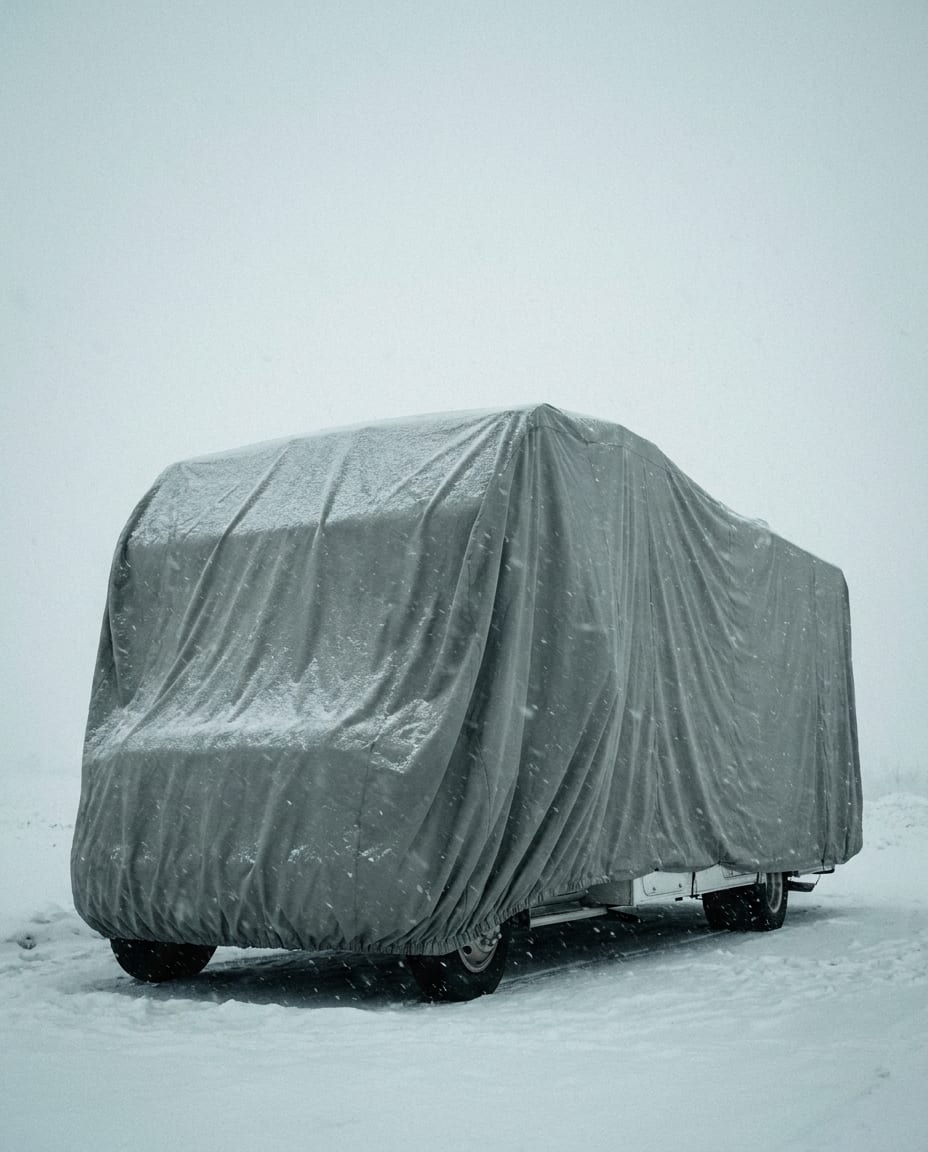
Most people don't think about roof vents until they're already dealing with a problem. But if you own an RV, camper, or converted van, you've probably got a Maxxair or Fantastic Fan-style vent sticking up three to six inches off the roof. That's not a small bump. A cover without a cutout has to stretch or bridge over something roughly the size of a shoebox, and fabric wasn't built to do that indefinitely.
Two failure modes show up here, and both are preventable. First, the fabric itself takes constant stress at the vent's sharp plastic edges, flexing every time wind moves the cover, which wears thin spots and eventually tears. Second, and this one's sneakier, water pools around the base of the vent where the cover can't lie flat. That pooled water finds its way into seals over time. Vent seals are already one of the more common leak points on an RV roof. A cover that makes that worse defeats its own purpose.
There's also a practical reason a lot of RV owners care about this: they run their roof vent for air circulation even while the cover's on, especially during long-term storage, to keep moisture from building up inside. A cutout with a flap lets that happen. You crack the vent, tuck the flap back, and you're not pulling the whole cover off just to let the camper breathe for a week.
How the Cutout Is Built Into the Cover
There isn't one single way manufacturers handle this, but a few approaches show up consistently. Some use a reinforced, grommeted hole sized to match the vent's footprint, essentially a fixed opening that the vent pokes through. Others go with a zippered flap you can open for ventilation or zip shut for full weather protection. A third option is an elasticized opening that cinches snugly around the vent's base, similar in concept to how a fitted sheet grips a mattress corner.
None of this works without knowing exactly where the vent sits on that specific roof. That's why cutout placement is tied to the cover's pattern for a particular vehicle shape, and why you'll see this feature mainly on custom-fit or semi-custom covers rather than one-size-fits-all universal ones. A universal cover is made to loosely fit a size range, not to align a cutout within a couple inches of where your actual vent is mounted. If you've been comparing options, this is worth reading into further on the custom-fit car cover guide.
If your unit has more than one roof vent, or a vent plus a roof-mounted AC unit, a well-made cover can include multiple cutouts in a single piece. That's common on larger RVs where you might have a vent over the bathroom and another over the main living area, plus the AC housing up front.
Which Vehicles Typically Need This Feature
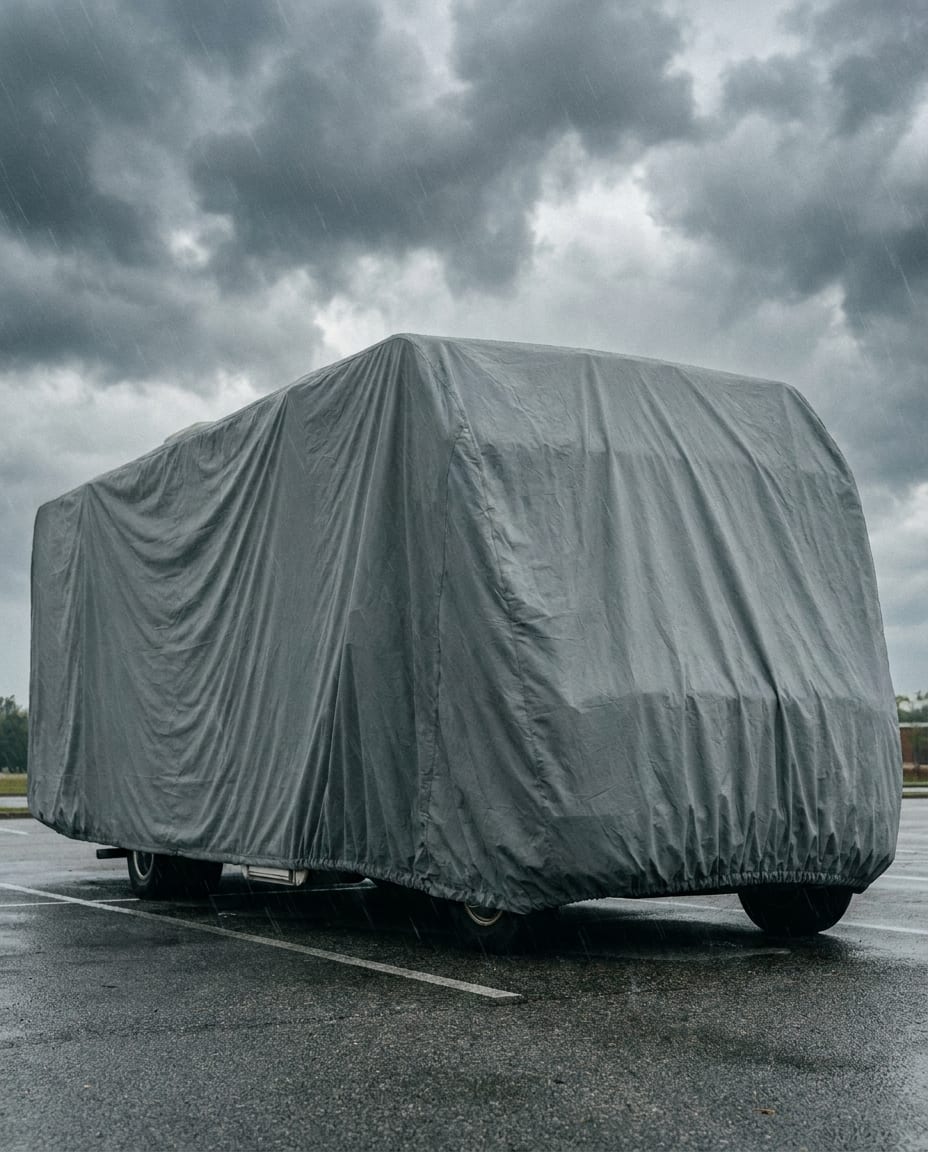
RVs and travel trailers are the clearest case. Nearly every Class A, Class B, and Class C motorhome has at least one roof vent, and so do most fifth wheels and travel trailers. If you're shopping by unit type, the Class A RV cover, Class B RV cover, Class C RV cover, fifth wheel trailer cover, and travel trailer cover pages all account for this by default, since it's practically a given on these layouts.
Truck campers and pop-up trailers usually carry a single roof vent, often positioned right over the sleeping area, and need the same consideration. The truck camper cover and folding pop-up trailer cover options are built around that.
Conversion and cargo vans used for camping or mobile work are the ones people forget to check. If you've added a roof vent or fan to a van that didn't originally have one, don't assume a stock van cover will accommodate it. It's worth confirming cutout placement before you order; see the van cover lineup for options by van type.
Standard passenger cars and SUVs almost never need this. Sunroofs are sealed into the body panel, not raised vents, so there's nothing for a cover to clear. The rare exception is an aftermarket roof vent or fan, which shows up occasionally on overlanding-style SUV builds but isn't common otherwise.
How to Check Before You Buy
Before ordering, measure your vent's height and its footprint (length by width) at the base. Cutout placement depends on exact position, not a rough guess, so a tape measure here saves you a return later.
Count your vents too. If you've got two roof vents and a cover is only built with one cutout, you're back to the stretching-and-pooling problem on whichever vent got left out. Order the variant that actually matches what's on your roof.
Don't assume a generic "universal vent cutout" will line up with your unit. Cross-check cutout placement against the listing for your specific make and model. And if you're still unsure how a cover's overall dimensions correspond to where things sit on your roof, the cover sizing guide is a good gut check before you commit to an order.
Installing and Living With a Vent-Cutout Cover

Installation goes smoother if you start at the vent, not the bumper. Line up the cutout with the vent first, get it seated correctly, then work the rest of the cover into place around it. Trying to drape from front to back and hoping the cutout lands where it should almost never works out.
Once it's on, check the flap or grommet edge every so often. This is a stress point, fabric flexing against a vent edge in the wind, and it's the first place wear shows up over a season or two of regular use. A quick look during routine cleaning is enough; you don't need a dedicated inspection schedule for it.
For RVs specifically, vent alignment is only one piece of a proper install. Strap tension and support pole placement matter just as much for keeping the whole cover from shifting in wind. The RV cover installation guide walks through that part step by step.
Find a Cover With the Right Vent Cutout for Your Vehicle
If you've read this far, you probably already know whether your roof has something sticking up that a flat sheet of fabric won't clear. That's really what this comes down to: a car cover with roof-vent cutout isn't an upsell, it's a fit requirement for anything with a vent, fan, or roof AC unit mounted up top.
Start with the RV cover category page or the trailer sub-type that matches your unit, and don't settle for guessing on a universal fit when a semi-custom pattern already accounts for your vent placement. And if you want a deeper read on keeping water out entirely, the waterproof fabrics article is worth a look while you're comparing options. Take a few minutes to measure what's on your roof before you order. It's a small step that saves you from dealing with a torn cutout or a soggy vent seal down the line.