Camper Covers Explained: Choosing the Right Protection for Winter Storage
Published
Why Camper Covers Matter for Winter Storage
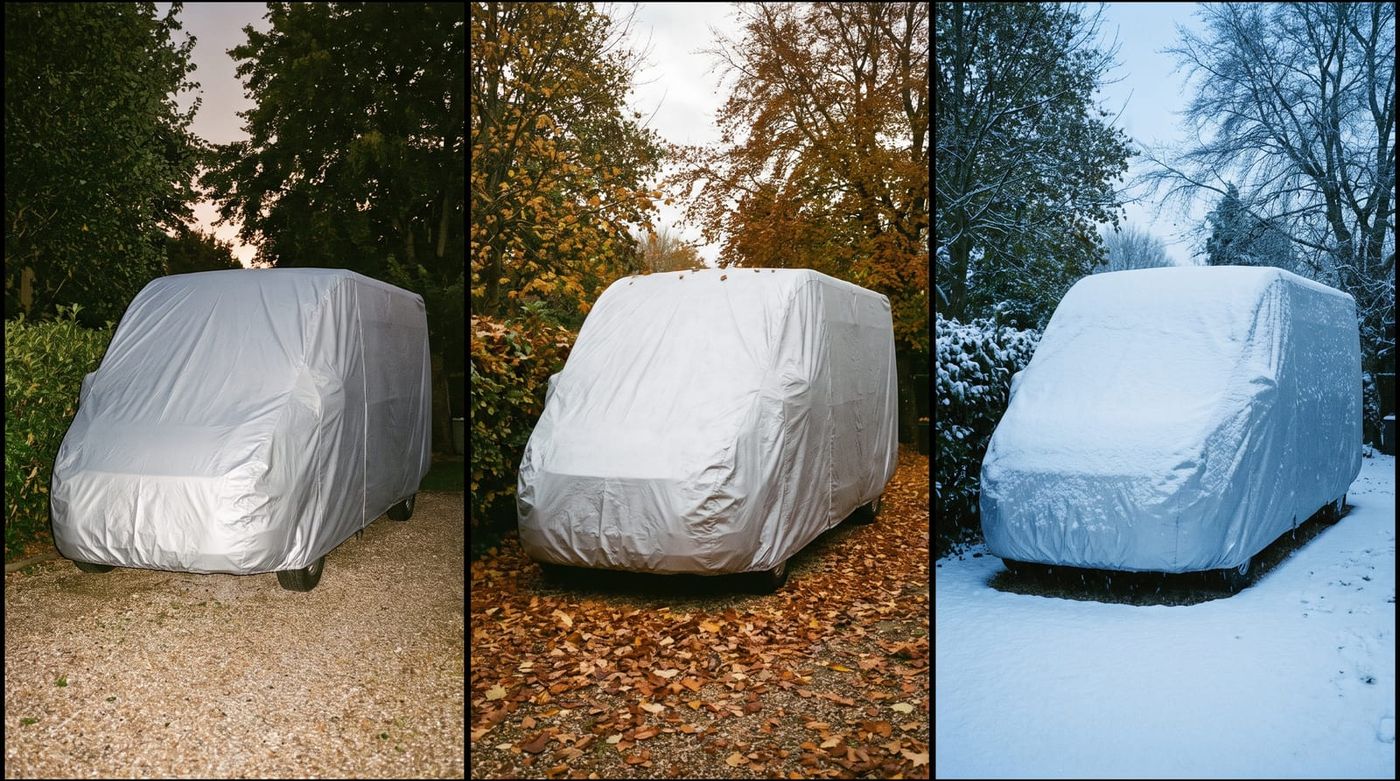
Leave an RV uncovered through winter and you're asking for trouble. Snow piles up on the roof and that weight sits there for weeks, stressing seams and roof membranes that were never built to hold a few hundred pounds of accumulated slush. Ice works into seals around vents and windows, then expands as temperatures swing, prying gaps open a little wider each freeze-thaw cycle. Even on a cloudy January day, UV rays are still hitting the exterior, breaking down gel coat and fading decals over months of exposure. Meanwhile moisture gets trapped underneath whatever's covering the rig (or not covering it), and that's how you end up opening the door in spring to a mildew smell. Add in mice and other pests looking for a dry place to wait out the cold, and a long storage stretch turns into a long list of repairs.
If you've searched "camper cover," "camper covers for winter," or "camper cover for winter," you're circling the same decision: how do you protect a rig that's about to sit still for months. The answer isn't one-size-fits-all. It depends on what kind of camper you own, what features actually matter for your climate, getting the fit right, and installing it so it stays put through wind and snow. That's the order we'll work through below.
Types of Campers and the Covers Built for Them
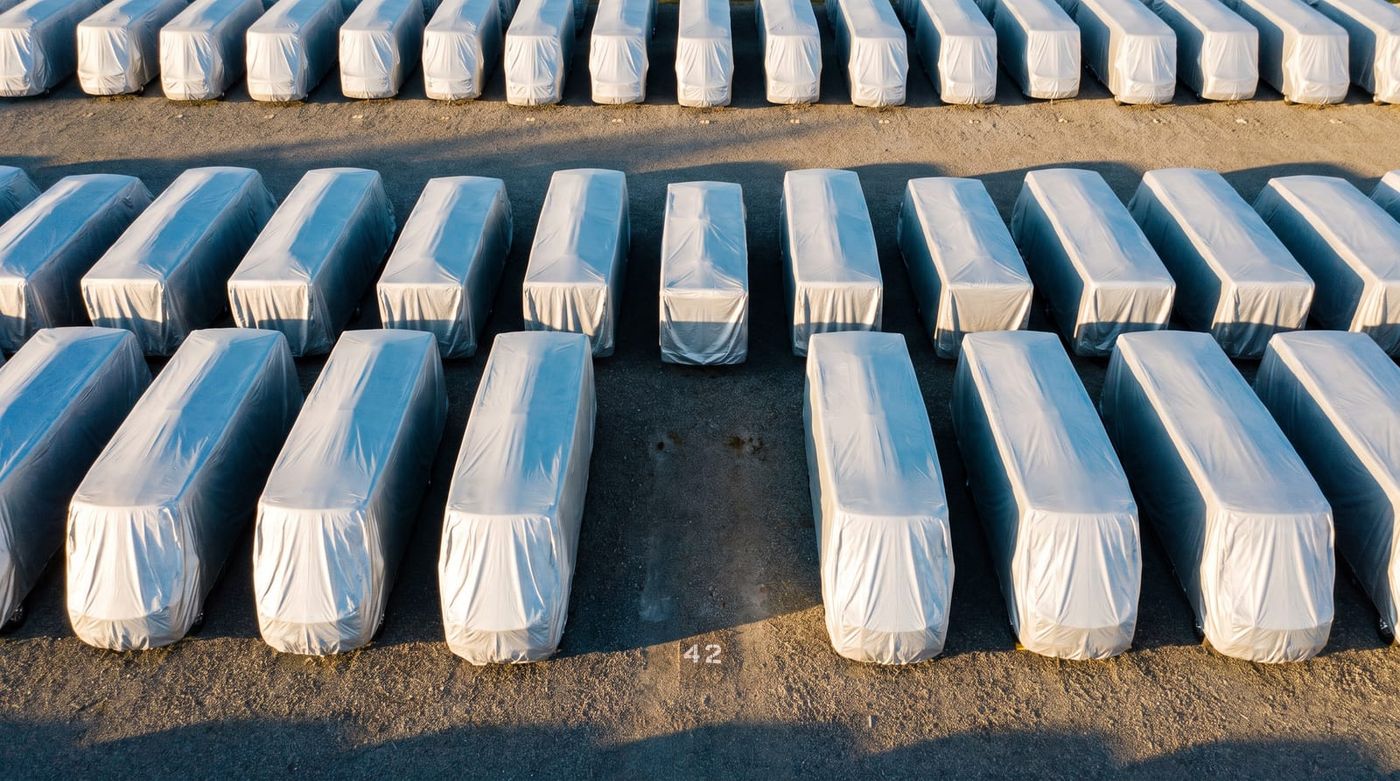
A cover cut for a Class A motorhome won't work on a Class C, and neither will fit a trailer. The shapes are just too different.
Class A rigs are big, boxy, and tall, with flat front and rear caps and usually a few roof-mounted AC units that need clearance built into the pattern. Class B camper vans are closer to a regular van silhouette, so the cover needs to hug a lower, narrower body. Class C motorhomes have that cab-over sleeping section jutting out front, which means the cover has to account for a shape change partway down the rig. Class A, Class B, and Class C covers are each cut differently for exactly this reason.
Towables have their own quirks. Fifth wheel trailers have that raised front section where the hitch connects, and a cover needs to wrap that area without leaving it exposed. Travel trailers are more uniform in profile but still need a front cap allowance and tight coverage around the hitch and tongue.
Pop-up and folding trailers are a different animal entirely. They're lower to the ground and the canvas sides mean a cover needs to be flexible enough to conform to a collapsed shape rather than a rigid box. Same logic applies to teardrop trailers, just on a smaller scale. Folding and pop-up trailer covers and teardrop trailer covers are built with that lower, more flexible profile in mind.
Then there's the truck camper, which mounts into or over a pickup bed and has a footprint tied directly to the truck it sits on. Truck camper covers are sized around that mounted shape rather than a standalone trailer or motorhome body. Matching your rig to the right sub-type page before you look at anything else saves you from guessing dimensions later.
Key Features to Look for in a Winter Camper Cover
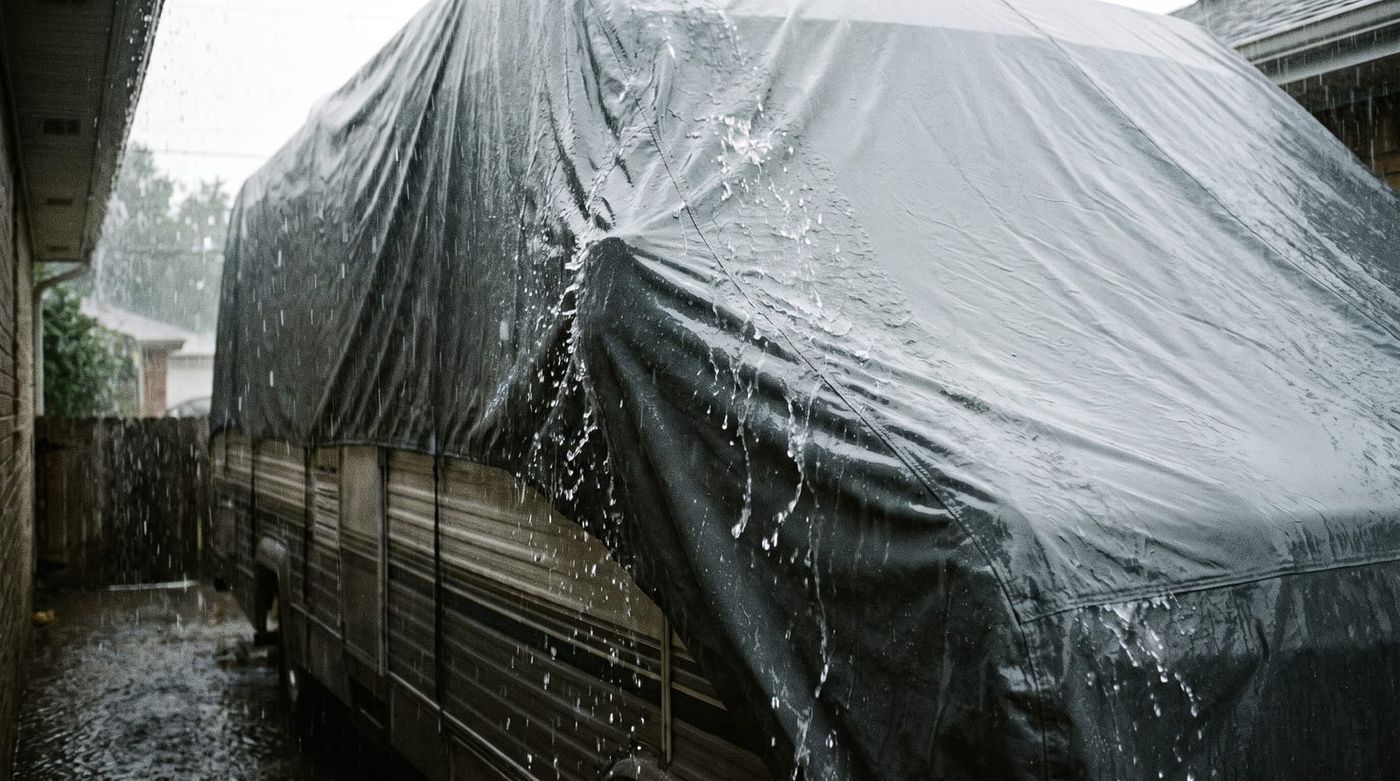
Once you know your camper type, the next question is what the fabric actually needs to do. Winter is a harder test than summer storage, so don't shop a winter cover the same way you'd shop a dust cover for a weekend in the driveway.
Start with the top panel. It needs to be seam-sealed and waterproof or at least strongly water-resistant, so snowmelt and freezing rain run off instead of pooling in low spots on the roof. Pooled water that refreezes overnight is how small sags turn into bigger problems.
Breathability matters just as much as waterproofing, maybe more. A cover that blocks all moisture from outside but also traps the condensation forming inside the RV is going to cook up mildew by February. Multi-layer fabrics that shed water on the outside while letting vapor escape from the inside are worth the extra cost over a basic single-layer poly tarp.
Don't skip UV resistance just because it's winter. Sun angle is lower, sure, but the rig is going to sit under that cover for months straight, and low-angle UV still degrades fabric and causes fading over that kind of extended exposure. A cover that's only rated for short-term summer use is going to chalk and crack faster than you'd expect sitting out there all season.
Wind is the other big variable. Reinforced wind straps, sturdy buckles, and grommets placed where they'll actually hold are what keep the cover on the rig during a storage-lot storm instead of in the next lot over. Worth learning how to install gust straps and wind straps properly, since a cover with great wind-rated hardware still fails if it's strapped down wrong.
Last, look for zippered door and vent access. Being able to check battery terminals or grab something from inside without peeling the whole cover off and refitting it in the cold is a small feature that saves a lot of hassle.
Material and Protection Tiers Compared
Not every winter is the same, and not every cover needs to be premium-grade. Here's roughly how the tiers break down.
| Tier | What you get | Best suited for |
|---|---|---|
| Entry-level single-layer poly | Basic rain and dust protection, lowest cost | Mild climates, short storage windows, occasional use |
| Mid-tier woven/breathable | Balanced waterproofing and ventilation | Moderate winters, multi-month outdoor storage |
| Premium weatherproof | Heavier layered fabric, reinforced stitching, tighter sizing | Harsh winters, snow and ice, extended exposure |
Entry-level covers do a fine job keeping dust and light rain off a camper that gets used most of the year and only sits for a few weeks here and there. Ask one to survive a full winter under snow load in a northern climate and it'll likely show wear by spring, thinning at the stress points and losing water resistance faster than a heavier fabric would.
Mid-tier woven covers are the sensible middle ground for most owners storing outdoors for several months. They balance keeping water out with letting trapped moisture escape, which matters more the longer the cover stays on.
Premium tiers earn their price in genuinely harsh winters: heavy snow regions, repeated freeze-thaw cycles, high-wind storage lots. Heavier layered fabric and tighter sizing tolerances mean less flapping and less water intrusion over a long, unattended stretch.
Match the tier to your actual climate and how long the rig sits uncovered between uses, not to the sticker price alone. And check what warranty backs the cover you're considering. A manufacturer that stands behind a tier with a real warranty is telling you something about how confident they are in that fabric holding up.
Getting the Right Fit: Sizing Your Camper Cover
Fit is where a lot of covers go wrong, and it's almost always a measuring problem, not a product problem.
Measure overall length, height, and width, but don't stop at the body. Slide-outs, roof vents, ladders, and any other add-ons change your real clearance needs and have to factor into the sizing, not get treated as an afterthought.
From there it's a choice between custom-fit and semi-custom/universal covers. Custom-fit covers are cut to your specific make and model (or RV sub-type) and give you the tightest, most accurate fit, which matters more the harsher your storage conditions are. Semi-custom or universal covers cost less and work fine for owners with milder winters or shorter storage periods, but they leave more slack in the fit.
That slack is the problem. A cover that's too loose flaps in the wind, and that flapping wears through the fabric at friction points over a season. Too tight and the cover stretches, straining seams and leaving gaps where snow and moisture work their way in anyway. Either way you end up with sagging sections where water pools and refreezes.
Before you buy, run your measurements against a real sizing guide rather than estimating. It's a five-minute step that prevents a return and a wasted winter.
Installing and Maintaining Your Cover Through Winter
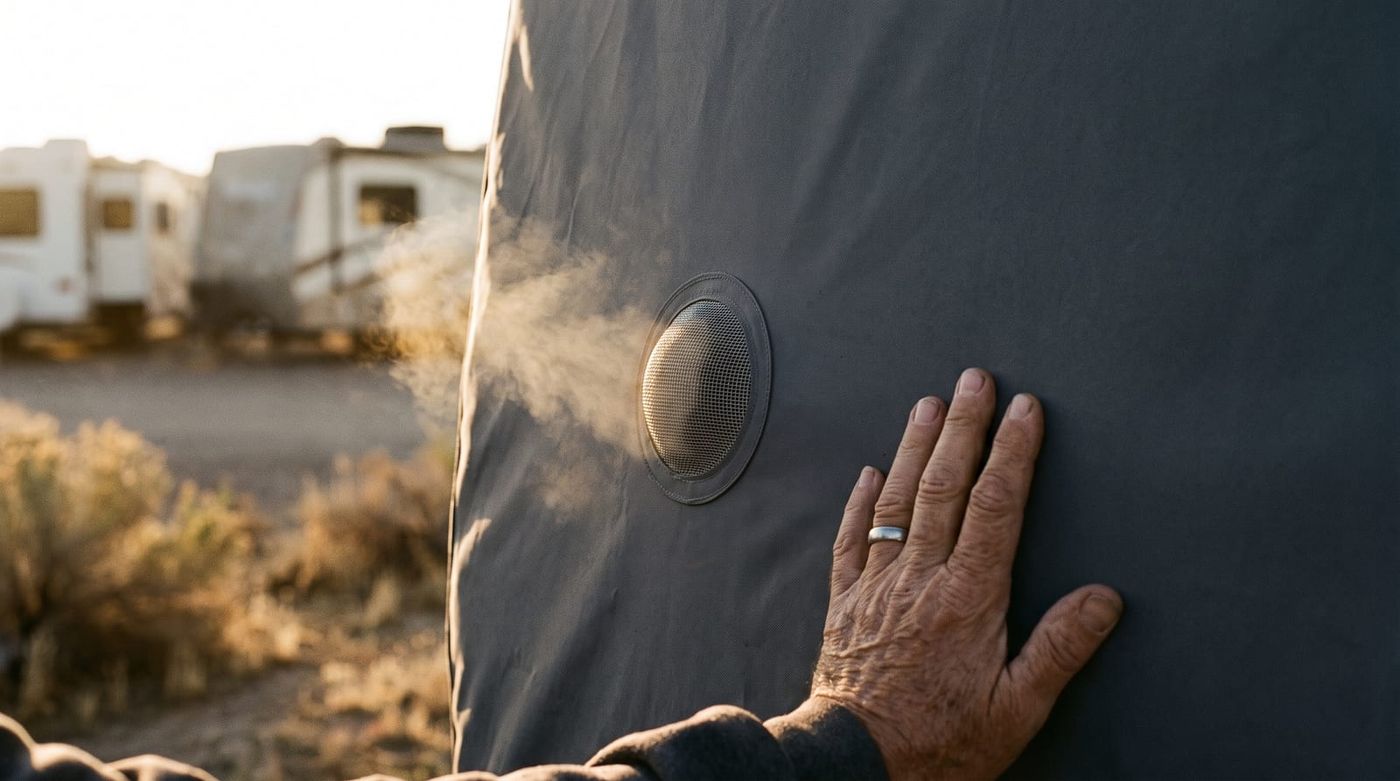
Installation is straightforward, but skipping steps is how covers end up loose or torn halfway through the season.
Drape the cover front to back, not the other way around, so wind works with the fit rather than catching underneath an open edge. Secure the straps and buckles next, cinching wind straps snug but not cranked down so tight they stress the seams. For a full walkthrough, the RV cover installation guide covers the sequence in more detail than most owners expect to need the first time.
High-wind storage lots need extra attention. Gust straps help, and a support pole under the cover keeps fabric from pooling in the middle of the roof where water (or snow) would otherwise collect. The tripod support pole installation guide walks through getting one set up correctly so it actually holds its position through a storm instead of sliding off center.
Don't treat the install as "set it and forget it" for four months straight. After any major snow dump or windstorm, it's worth a quick check: clear accumulated snow weight off the roof area before it gets heavy enough to stress the fabric, and confirm the straps haven't worked loose. Takes ten minutes and it's the difference between a cover that lasts three winters and one that tears by February.
One more thing owners skip: clean and fully dry the cover before the first use of the season, and again before long-term removal in spring. A cover put away damp is a cover that grows mildew in storage, and that defeats the whole point of using it.
Choosing and Buying Your Camper Cover
The decision really comes down to three steps in order. Match the cover to your camper type first; a Class A, a fifth wheel, and a truck camper all need a different shape, so start there rather than with fabric specs. Then prioritize features (waterproofing, breathability, wind security) based on how harsh your actual winter is, not a worst-case scenario you read about online. Then size it properly, because even the best fabric fails if the fit is wrong.
If you're not sure exactly which product matches your rig, use a cover finder tool to match your year, make, and model (or RV type) instead of guessing at dimensions from a tape measure and a spec sheet. And lean toward a cover backed by a real warranty. For a purchase that's going to sit through an entire winter unattended, that backing is worth something.
If winter storage is on your radar, it's worth browsing RV covers by camper type now rather than waiting for the first snow to catch you without one. And if you want more seasonal car and RV care guides like this one, keep an eye on what we publish next.