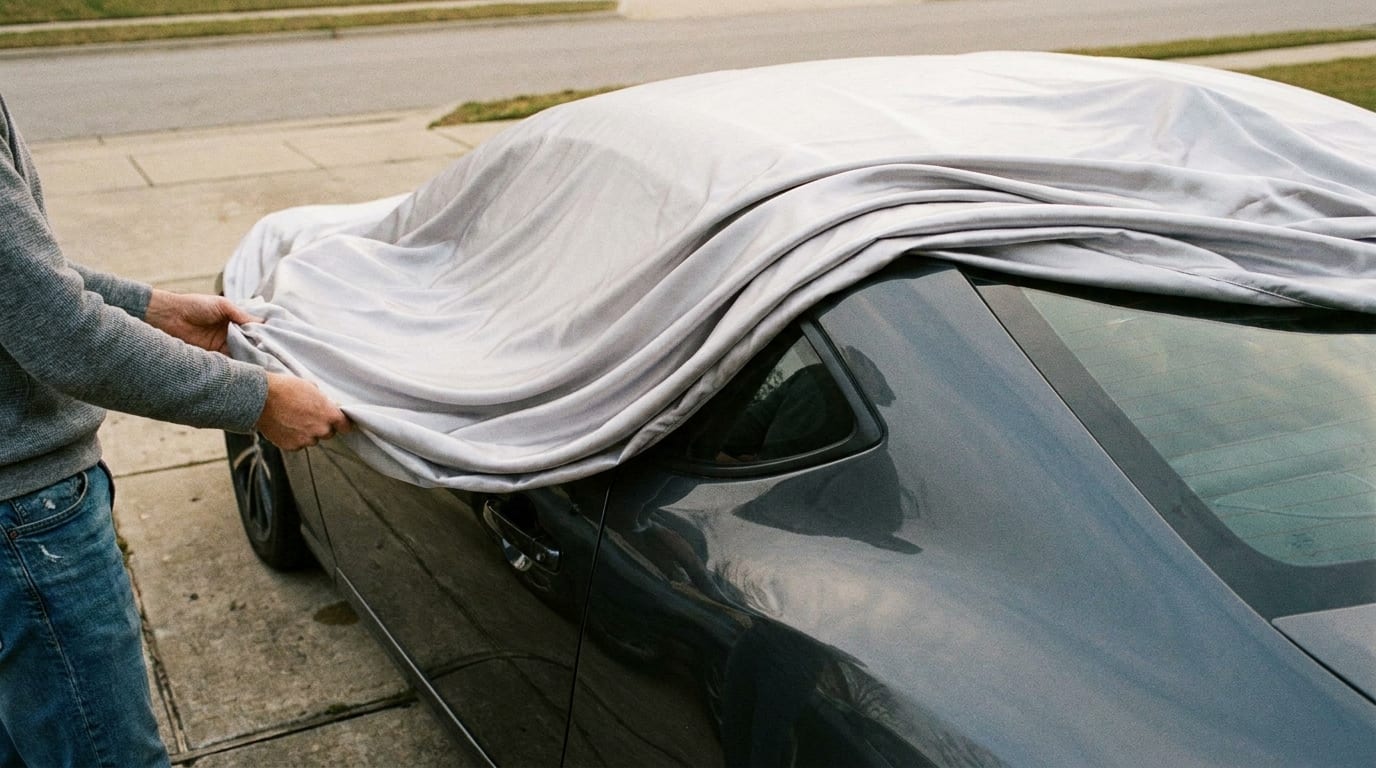
New car cover still has crease lines down the hood and won't lie flat over the mirrors? That's normal. Every cover ships folded tight for the box, and the fabric needs a little work before it fits the way it's supposed to. So how do you break in a stiff new car cover without damaging it? The short answer: unfold it early, let gravity and a few install cycles do the work, and skip the shortcuts that strip the coating. Here's the full process, step by step.
Why New Car Covers Feel Stiff Out of the Box
Covers get shipped folded tightly, sometimes vacuum-packed to save space. That packing process creases the synthetic fibers and the water-repellent coating sitting on top of them. Unfold one straight from the box and you'll see sharp lines where the fabric was pressed against itself for weeks, sometimes months, in a warehouse.
Multi-layer fabrics are the biggest offenders. Polypropylene blends and laminated shells have a coating layer that needs to flex and seat into the weave before the whole thing moves naturally. A single-layer indoor cover softens up almost immediately. A waterproof outdoor cover with multiple bonded layers takes longer, simply because there's more material working against itself.
None of this means the cover is defective. Stiffness out of the box is standard, and it loosens up within the first handful of uses. If you're wondering how do you break in a stiff new car cover versus just living with it forever, the good news is you don't have to choose. It resolves on its own with a little encouragement.
What You'll Need Before You Start
Not much, honestly. You need the cover itself and the vehicle it's sized for. No car handy yet? Two sawhorses or a pair of sturdy chairs spaced out roughly to the vehicle's length will work in a pinch.
Beyond that, grab a soft microfiber towel and a mild soap made specifically for cover fabric if you plan to wash it later. Skip fabric softener and regular household detergent. Both can strip the water-repellent coating that makes the cover worth owning in the first place, which is the same reason proper care and cleaning matters long after break-in too.
Pick a dry day, 20 to 30 minutes of free time, and ideally something mildly warm. Cold fabric resists flexing. A little ambient heat relaxes the synthetic fibers faster and makes every step below go smoother.
Step 1: Unfold the Cover and Let It Air Out
Pull the cover out of its packaging and lay it flat on a clean surface, driveway, garage floor, even a large table. Leave it there for 15 to 20 minutes before you try fitting it to anything.
Shake the fabric out. Really work it, especially around the seams and mirror pockets, since those are where the sharpest folds sit. You'll feel the creases start to give almost immediately.
One thing to avoid: don't leave it balled up in a hot trunk thinking the heat will speed things along. Ambient warmth helps. Scorching heat from a trunk floor in August can damage the coating instead of loosening it. There's a real difference between warm and reckless.
Step 2: Fit It on the Vehicle and Let Gravity Work

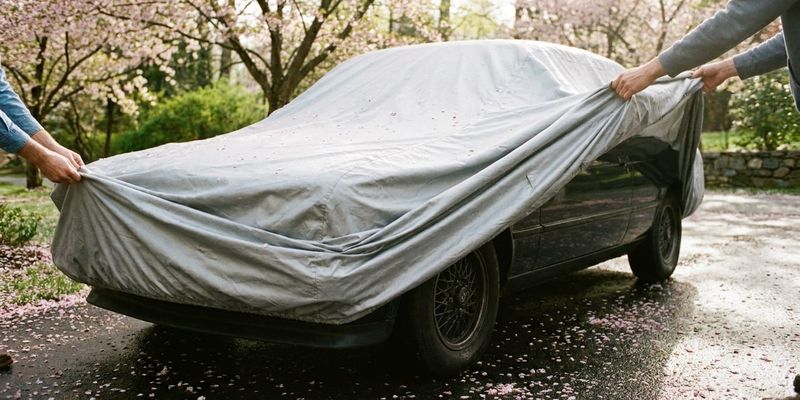
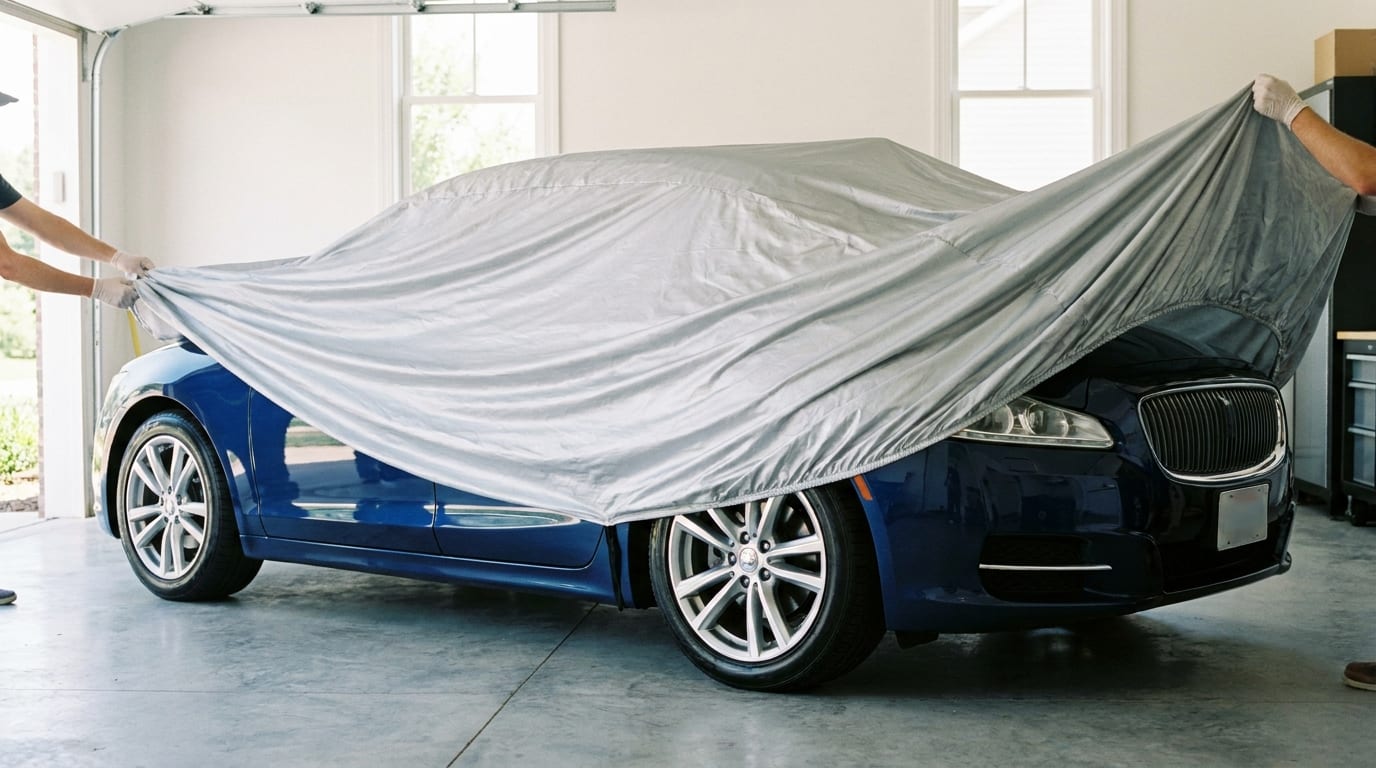
Drape the cover front to back, lining up the mirror pockets and any logo placement the way your fit guide describes. If you bought a custom fit car cover, this step is quick since the panels are already shaped to your vehicle's contours.
Secure the elastic hem, straps, or cable lock, but keep it loose at first. You're not locking the cover down for a storm. You're letting the fabric settle into the vehicle's shape without extra tension fighting it.
Leave it on for several hours, overnight if you can. The combination of the car's contours and plain gravity does more to work out stubborn stiffness than any amount of hand-flexing alone. If you're still asking how do you break in a stiff new car cover after step one, this is usually where most of the visible change happens.
Step 3: Hand-Flex the Seams, Elastic, and Grommets
Some spots need direct attention. Seams, elastic hem corners, mirror pockets, these hold their factory folds longer than the open panels of fabric. Fold and unfold them a few times by hand until they move freely.
Stretch the elastic hem gently to bring back some give. Don't yank it. Overstretching can strain the stitching where the elastic attaches, and that's a repair you don't need to create for yourself.
Grommets and tie-down points deserve extra attention too. They crease sharply from the factory and tend to stay stiff longer than the surrounding fabric, since there's reinforced material concentrated in a small area. A little targeted flexing goes a long way here.
Step 4: Repeat Install and Removal Cycles for a Week
Rather than leaving the cover on for days straight, install and remove it three to five times over the first week. Each cycle flexes the fabric in a slightly different way than one long static stretch does.
This is really the core of how you break in a stiff new car cover for good: repetition beats patience. A cover left sitting in one position for a week softens some. A cover put on and taken off five times softens faster and more evenly, because the fabric moves through its full range each time instead of settling into one shape.
Between uses, don't refold it along the same factory lines. Fold it loosely or roll it instead. Refolding on those original creases just reinforces the stiffness you're trying to get rid of. Check proper installation technique if you're not sure how the cover is meant to sit before each cycle.
Step 5: A Gentle Wash Can Speed Up Softening
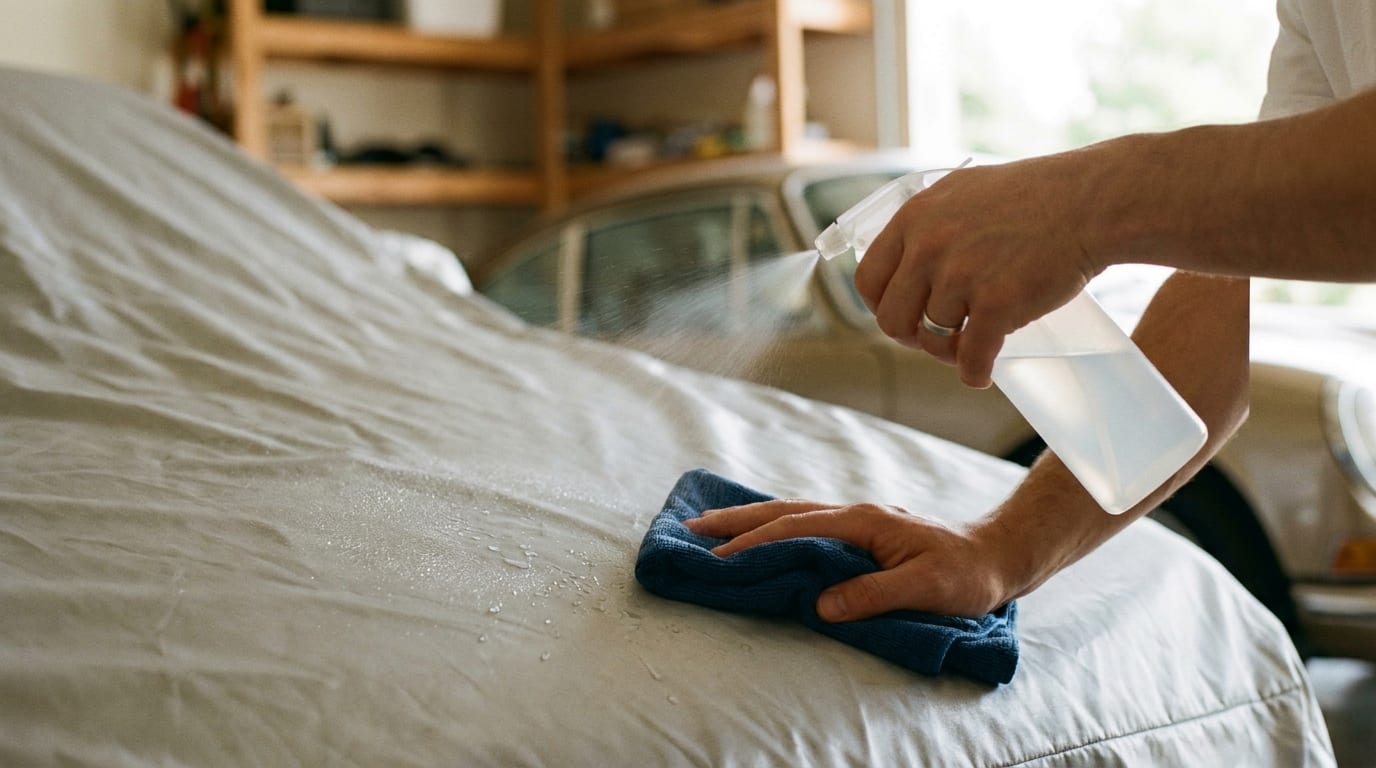
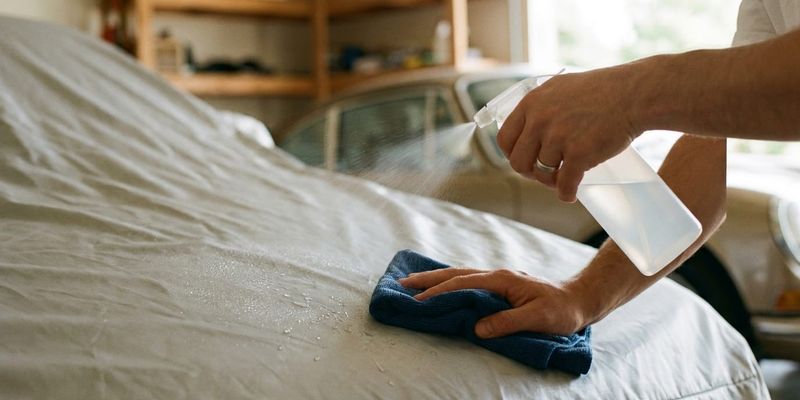
A light hand wash with mild soap and water can relax the factory sizing on multi-layer or coated covers faster than air alone. This isn't necessary for every cover, but if yours still feels noticeably rigid after a week of install cycles, it's worth trying.
Stick to the step-by-step cleaning process built for cover fabric specifically. Never machine wash or dry one. The agitation and heat are rougher than these materials are designed to handle, and you risk undoing the water-repellent coating entirely.
Air dry fully before refitting. A dryer's heat might seem like a shortcut, but it works against you here, breaking down the same protective treatment you're trying to preserve. If you want the full rundown on keeping the fabric in good shape long term, the guide to cleaning a car cover covers washing frequency and drying conditions in more detail.
When It's Fully Broken In (and What to Check If It Isn't)
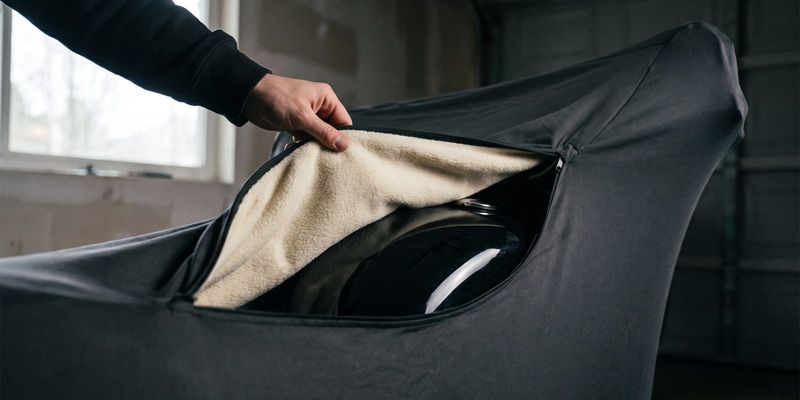
Most covers hit normal flexibility within one to two weeks of light, regular use. Indoor covers made from satin or fleece soften up quicker, usually within the first few uses, since they're single-layer and lighter to begin with. Heavy-duty outdoor shells with multiple bonded layers take longer, and that's expected.
If a cover is still rigid after a month of normal use, or it starts cracking instead of softening, that's not a break-in issue anymore. That's a fit or quality problem worth looking into. A cover that's too small for the vehicle will always feel like it's fighting you, no matter how many times you flex the seams.
Before assuming the material itself is at fault, double check you actually have the right size. Ongoing stiffness tied to a bad fit won't resolve no matter how many install cycles you run. If everything checks out on sizing and the stiffness still hasn't let up, it's worth looking at your warranty coverage to see where you stand.
Breaking in a cover isn't complicated, it just takes a week of actually using it instead of leaving it folded in the box. Give it that week, and if you want more on keeping it in good shape after, the car care section has guides worth bookmarking for the long haul.