How Do You Prevent a Car Cover From Scratching Your Paint? 7 Steps
Published
Nothing ruins the look of a clean paint job faster than pulling off a cover and finding swirl marks underneath. If you're asking how do you prevent a car cover from scratching your paint, the short answer is that it's never one trick. It's a sequence: wash first, fit right, check the lining, install it properly, and keep the cover itself clean. Skip any one of those steps and you've basically built a piece of sandpaper that sits on your car overnight.
Why Car Covers Scratch Paint in the First Place
The damage almost never comes from the cover fabric itself. It comes from what's trapped underneath it. Dirt, dust, pollen, and road grit settle onto the paint, and once a cover goes on top, every gust of wind or shift in temperature grinds those particles against the clear coat like fine-grit sandpaper. Small movements, repeated over hours or days, add up to real marring.
A poorly fitted cover makes this worse. Universal covers that weren't made for your specific vehicle have extra slack, and that slack flaps in the wind. More movement means more friction, means more scratches. Cheap inner linings don't help either. A rigid, single-layer fabric or a stiff seam dragging across a fender does the same job as grit, just slower.
None of this means covers are bad for paint. It means the fix is a short list of habits, not a single magic product. Walk through the steps below in order and you'll eliminate almost all of the risk.
Step 1: Wash and Dry the Vehicle Before Covering It
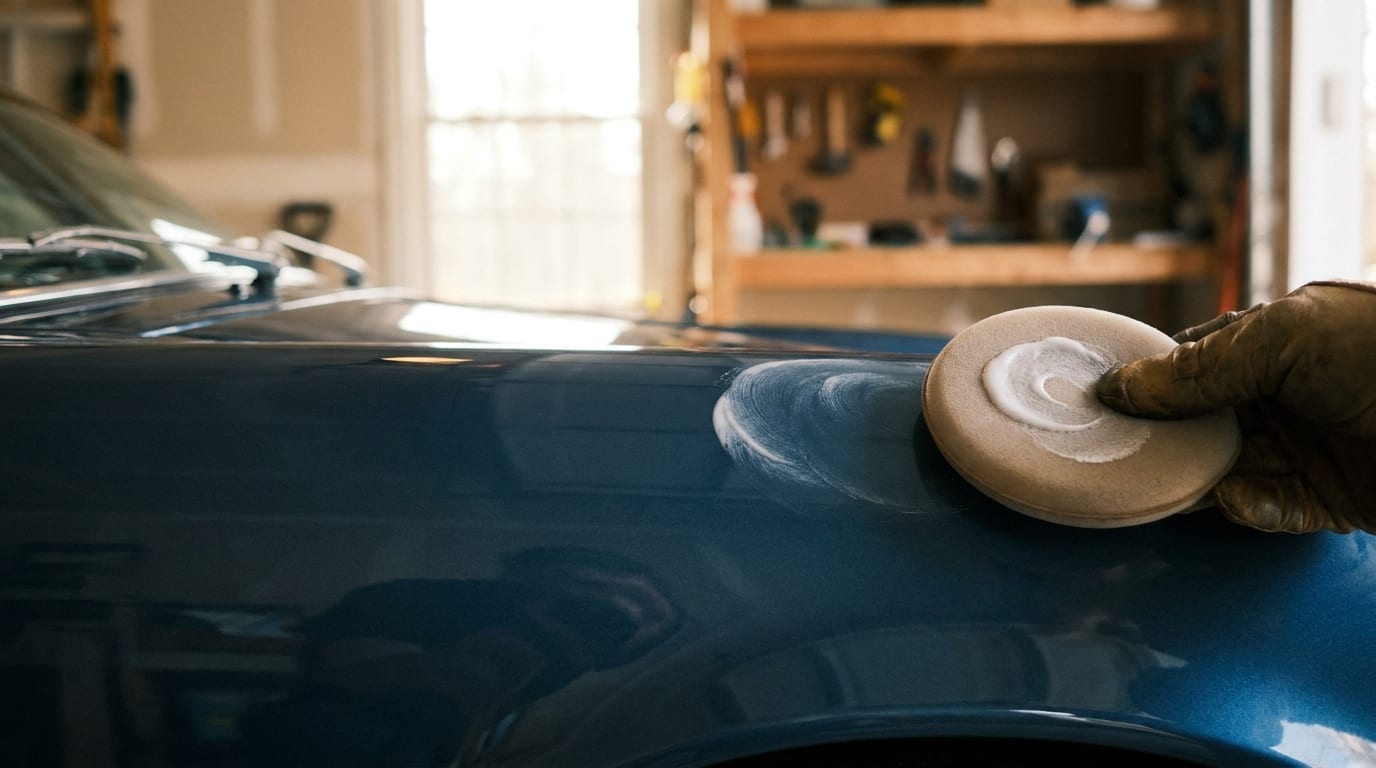
This is the step most people skip, and it's the one that matters most. Any dust, pollen, or road film left on the paint becomes an abrasive the moment a cover settles over it. You're essentially sealing grit against your clear coat and letting the wind do the rubbing for you.
Give the car a full wash before every cover installation, not just the ones after a long drive. Dry it completely, too, including mirrors, door jambs, and the little crevices around trim and badges where water likes to hide. A cover thrown over a still-damp car traps that moisture underneath. Best case, you get water spotting. Worst case, that trapped moisture mixes with any leftover dust and becomes a mild paste that works against the finish all night long.
Step 2: Choose a Custom-Fit Cover Instead of a Universal One
If you're still wondering how do you prevent a car cover from scratching your paint on a windy driveway, fit is usually the missing piece. Universal covers are cut to fit a general size range, which means there's always extra fabric somewhere. That extra material billows, flaps, and drags across body panels every time the wind picks up. It's the single biggest scratch risk of any cover-related habit.
A custom-fit cover is cut to the actual lines of your make and model. Less slack, less flapping, less friction. It also tends to stay anchored better around mirrors and bumpers instead of working itself loose. If you're shopping for one, the custom-fit car cover guide walks through how to match a cover to your specific vehicle rather than guessing at a generic size.
Step 3: Check the Inner Lining Material
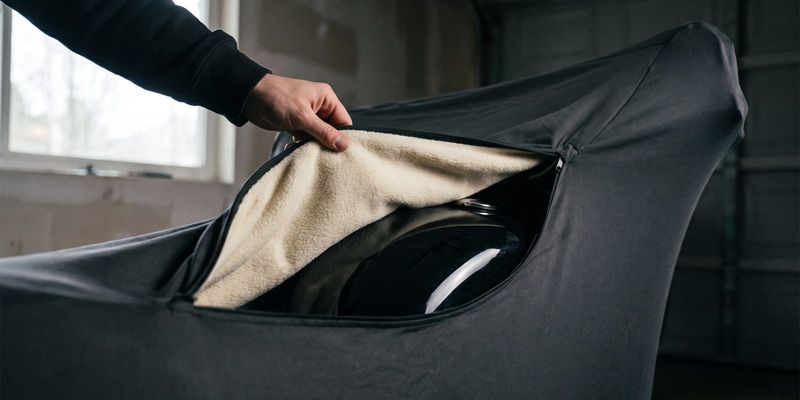
Not all covers touch your paint the same way. A soft fleece or microfiber inner lining glides against clear coat. A thin, rough, single-layer fabric does not. It grips slightly, catches on dust, and turns ordinary wind movement into light abrasion over time.
Multi-layer covers usually build in a napped or brushed interior for exactly this reason. It's not a marketing add-on, it's the part doing the actual work of keeping the shell fabric from making direct, rough contact with your paint. When you're comparing covers, check the lining spec before you check the waterproof rating. A cover that keeps rain out but scuffs your hood every time the wind blows isn't solving the problem you actually have.
Step 4: Install the Cover Correctly Every Time
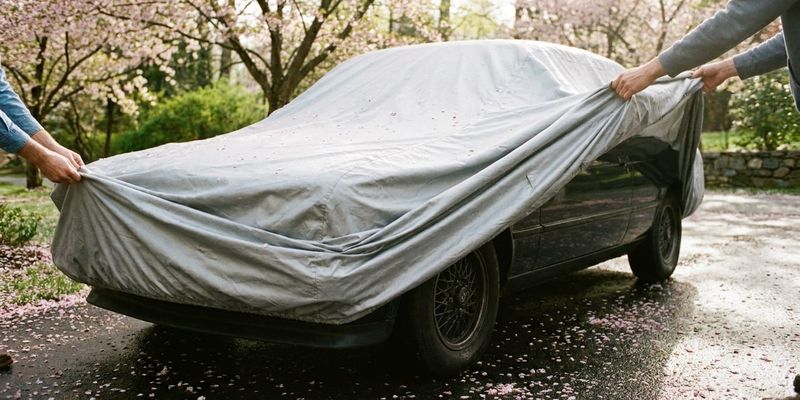
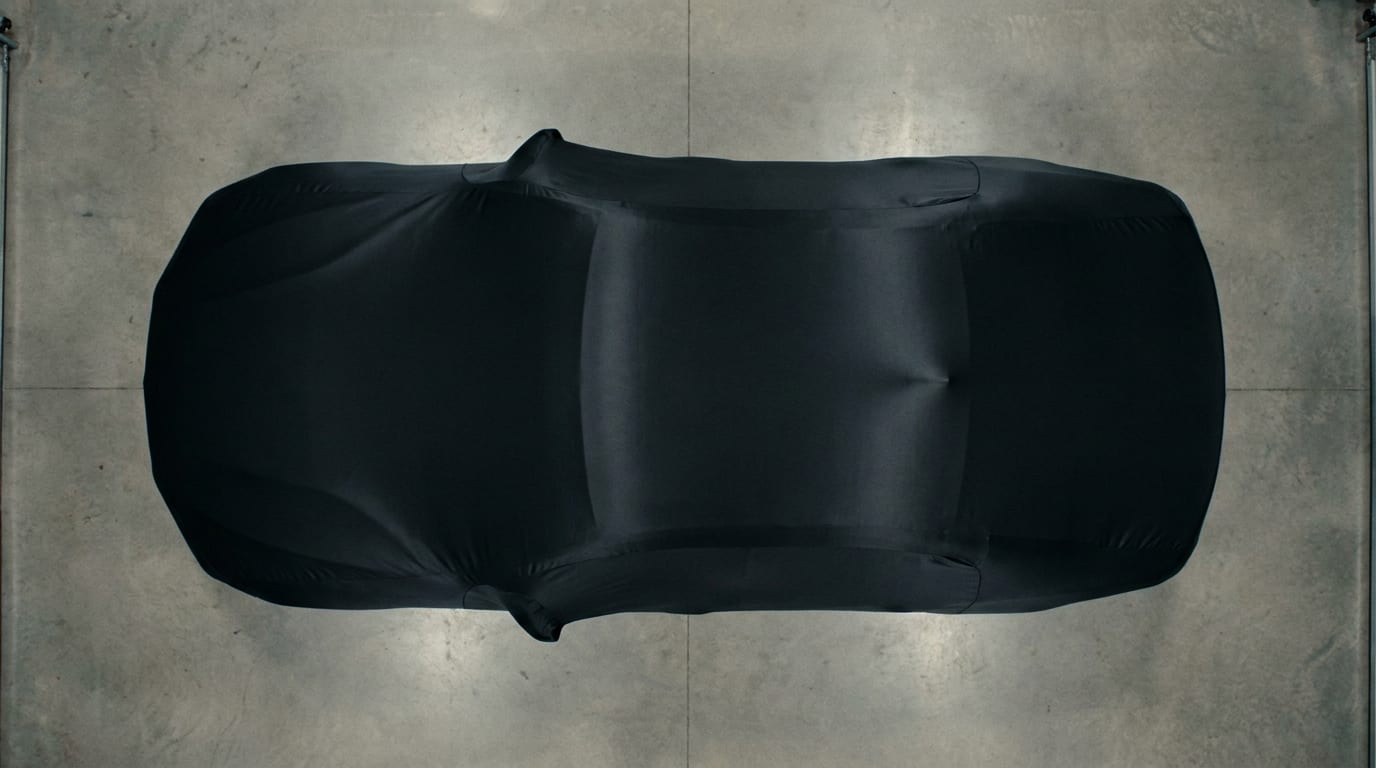
Even the right cover can scratch paint if it goes on wrong. Drape it evenly across the vehicle first, then work the straps, elastic hems, or cable systems snug, not loose enough to flap and not so tight that you're straining seams. A cover pulled drum-tight stresses the fabric at pressure points; one left loose just flaps against the paint in the first breeze. Neither is the goal.
Smooth out wrinkles and bunched fabric once it's on. Bunches hold grit in one spot and rub it in a tighter, more concentrated area, which is often where you'll see the worst marring if you skip this. Check zippers, buckles, and mirror pockets too. Hardware resting directly against a painted panel is basically guaranteed to leave a mark eventually. For the full process, the step-by-step installation guide covers draping order and strap placement in more detail than I can fit here.
Step 5: Use Support Accessories in Windy or Storage Conditions
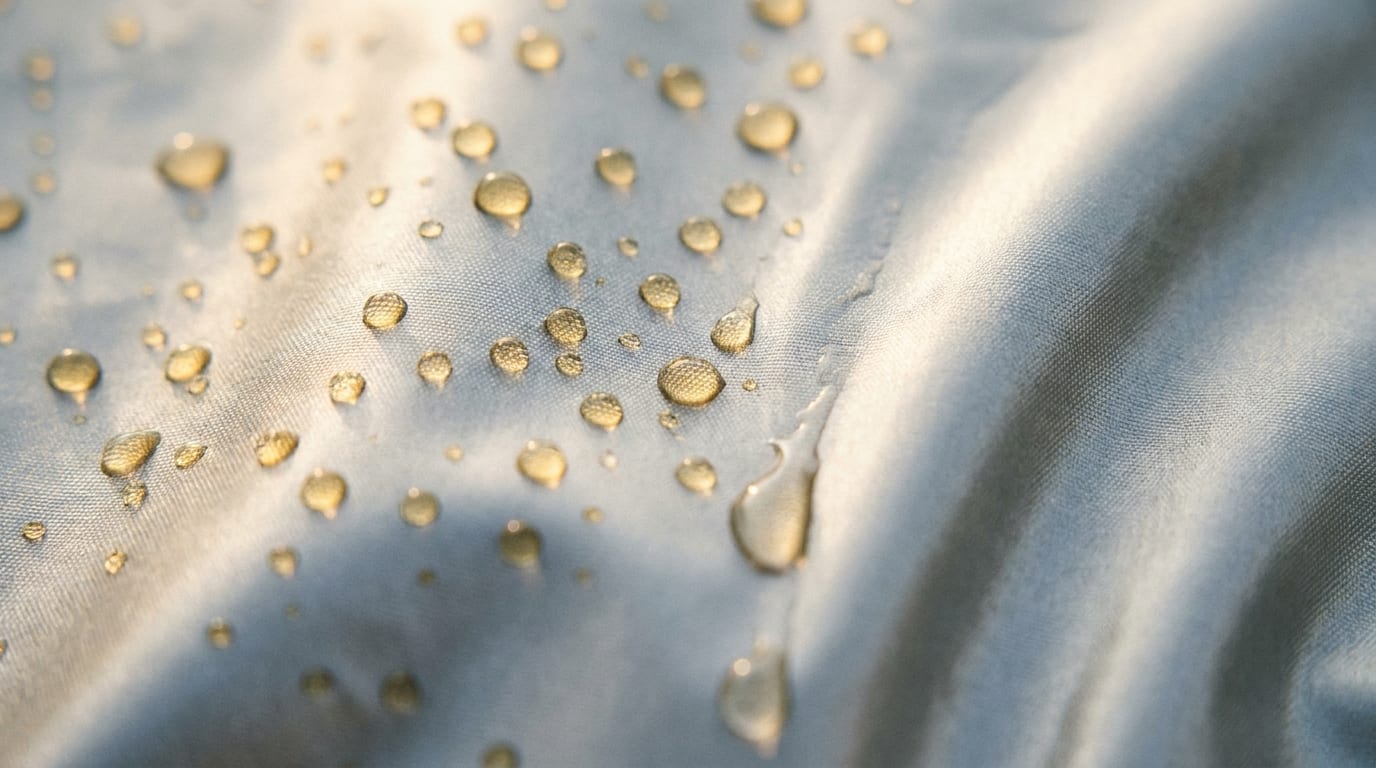
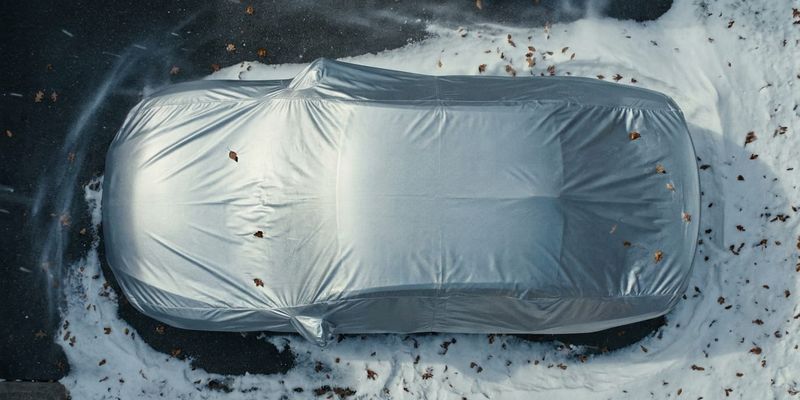
If your car sits outside, or sits for weeks at a time, wind is working against you the whole time you're not looking. Gust straps and support poles are the accessories that actually solve this. Straps cinch the cover down at the base so it can't billow. Poles lift the fabric off mirrors and spoilers so there's no direct contact point to rub against in the first place.
These aren't optional extras for long-term outdoor storage. They're closer to essential. A cover that fits perfectly in calm weather can still whip around in a storm without something holding it down. The gust strap installation guide covers setup if you've never used one before.
Step 6: Keep the Cover Itself Clean
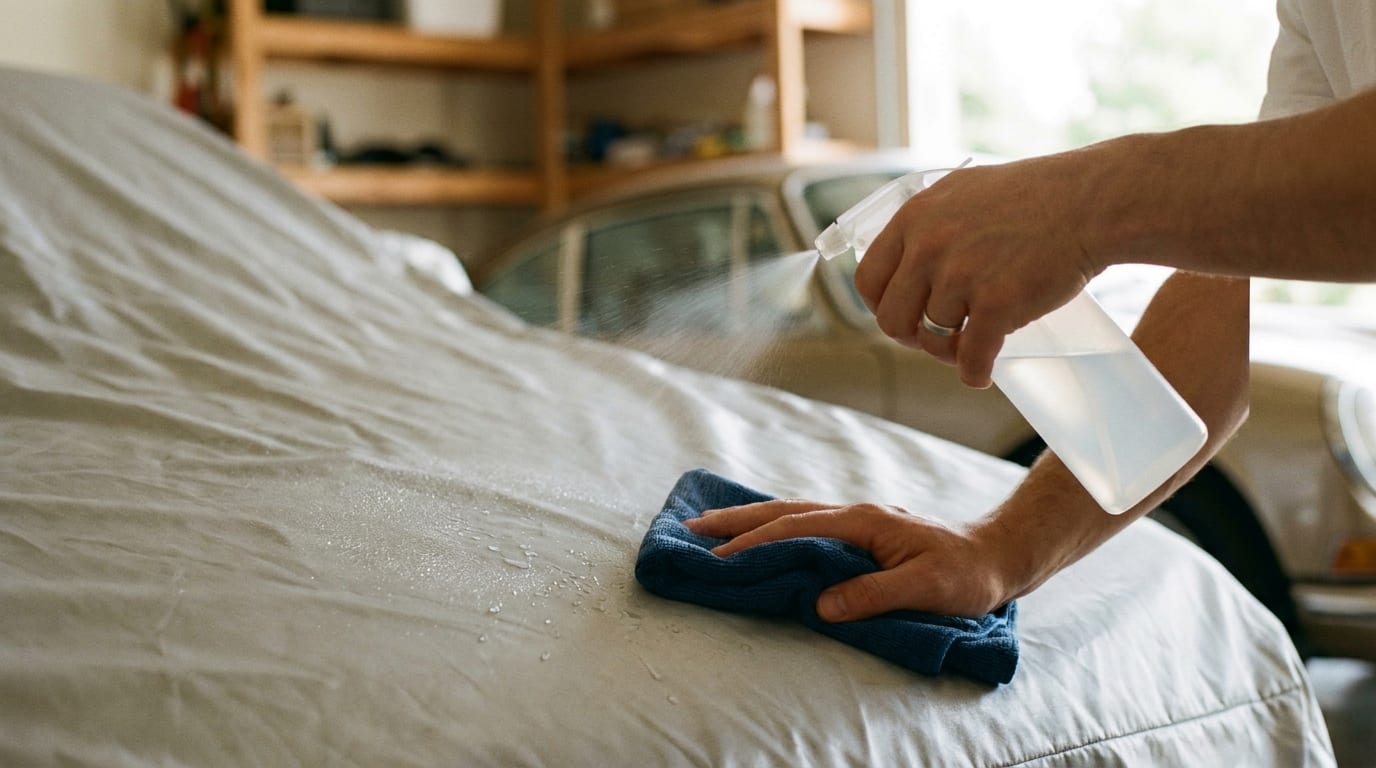
Here's the part people forget: a dirty cover reintroduces the exact same grit problem from the outside, even on a freshly washed car. Dust and debris settle onto the cover's exterior over weeks of use, and some of that works its way to the inner surface through normal handling and folding. Put a dirty cover back on a clean car and you've undone step one.
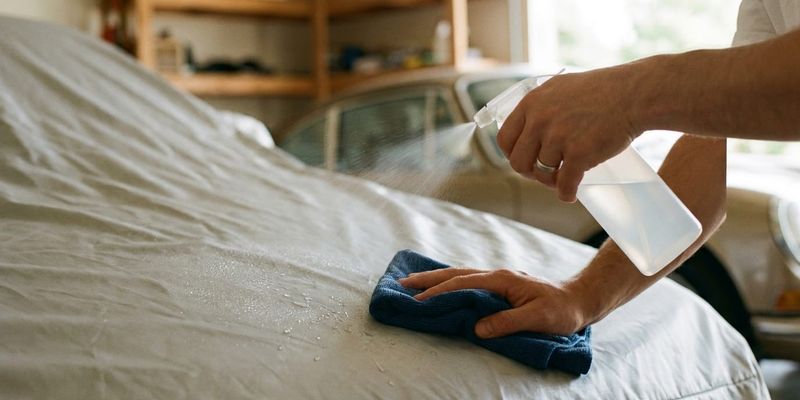
Clean the cover on a regular schedule using the manufacturer's care instructions, not a pressure washer and not whatever harsh detergent happens to be under the sink. Both can break down the fabric's protective coatings and actually make future scratching worse. The cover cleaning guide and the step-by-step cover cleaning article both lay out safe methods and how often to do it. This one habit, more than any other, answers how do you prevent a car cover from scratching your paint over months of regular use rather than just the first few weeks.
Putting It Together: A Quick Pre-Cover Checklist
Run through this before every cover installation:
- Wash and completely dry the car, including jambs and crevices
- Confirm you're using a correctly sized or custom-fit cover for your exact vehicle, double-checking against a sizing guide if you're unsure
- Check that the lining is soft and the cover itself is clean
- Install it snugly, smoothing out wrinkles and keeping hardware off painted panels
- Add gust straps or support poles if the car will sit outside or in storage for a while
Most paint damage attributed to car covers actually comes from skipping one of these steps, not from the cover being a bad product. A clean car under a clean, well-fitted cover rarely ends up scratched. Whether you're storing a vehicle indoors or out changes a few of the details too, so it's worth looking at the differences between indoor car covers and outdoor car covers before you buy, since the wrong type for your environment adds stress the fabric wasn't built for. If pets are part of the equation, it's also worth a look at protecting a cover from cat and animal scratches, since claws cause a different kind of damage than wind and grit.
If you want to go beyond cover habits and look at protecting the paint itself, the paint protection options guide is a solid next read. And if you're just getting into the regular rhythm of keeping a car properly maintained, our car care hub is a good place to browse for more guides like this one. Worth bookmarking if you'd rather not relearn this the hard way next season.