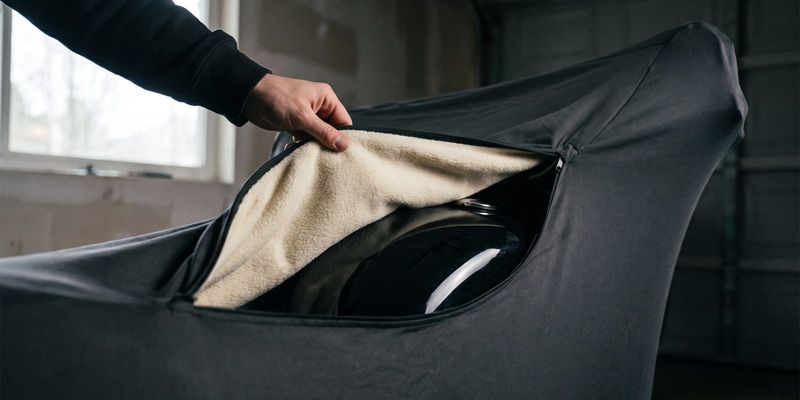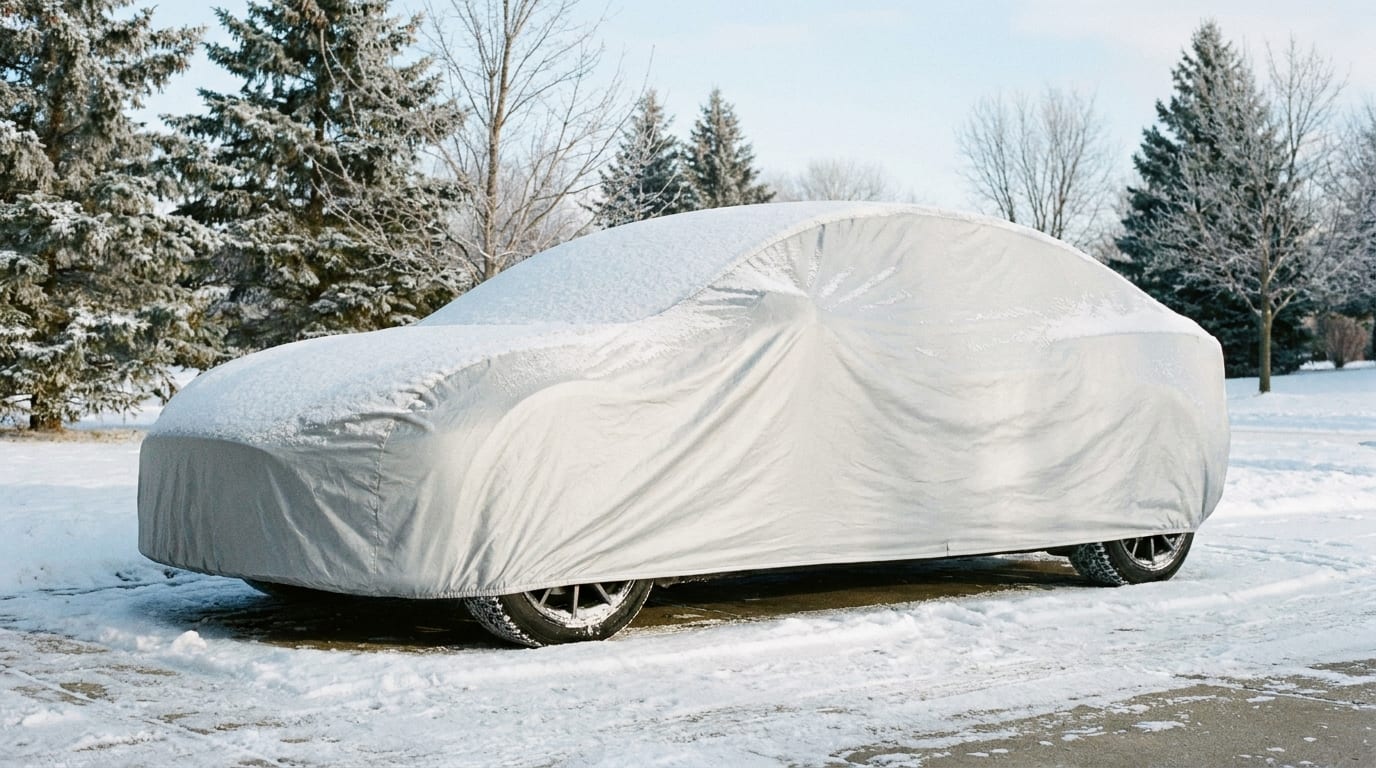
Frozen mornings turn a simple car cover into a stubborn shell of ice bonded straight to your paint. If you've ever grabbed a corner and felt it crack or refuse to budge, you already know the panic: pull too hard and you risk tearing the fabric or scratching the clear coat underneath. So how do you remove a frozen car cover safely without wrecking either one? The short answer: don't force it. Thaw it first, then work it off in sections. Here's exactly how.
Why Car Covers Freeze to Your Vehicle
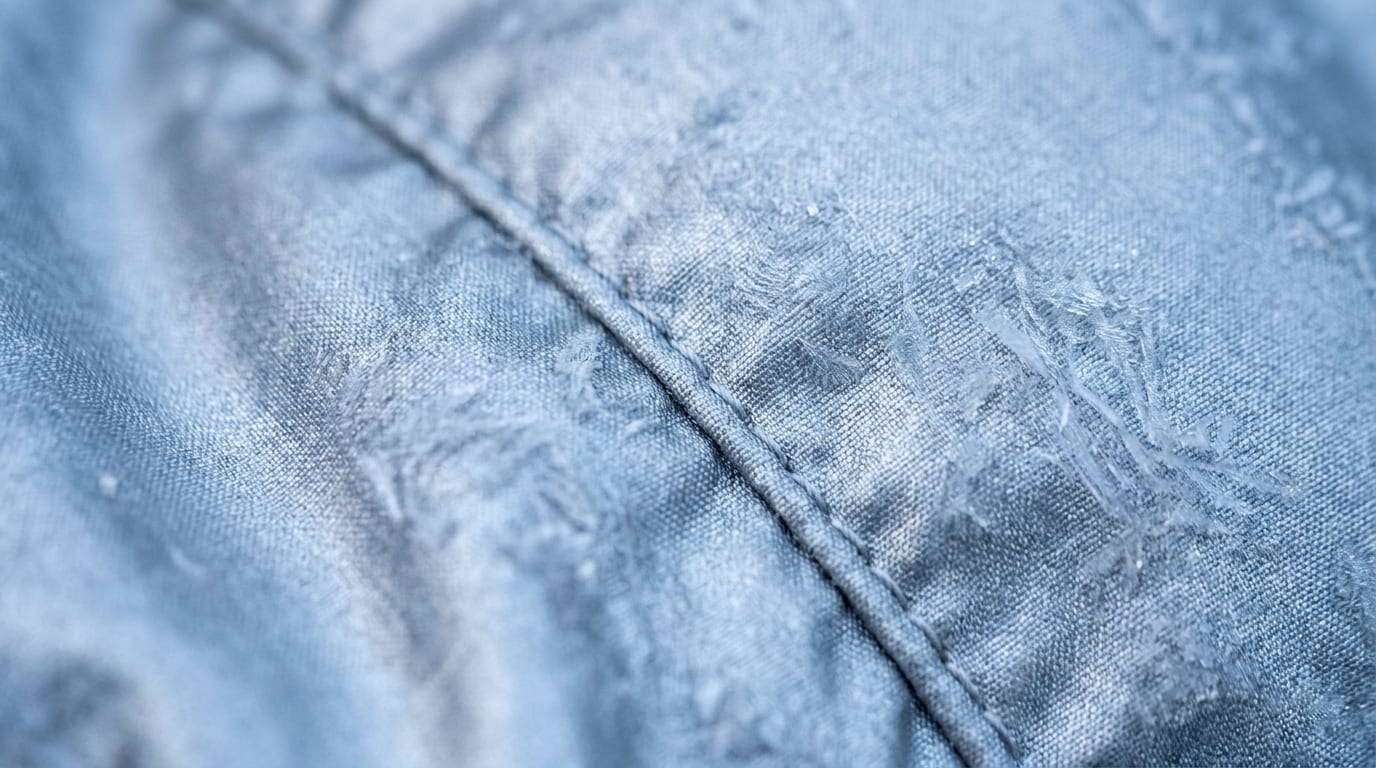
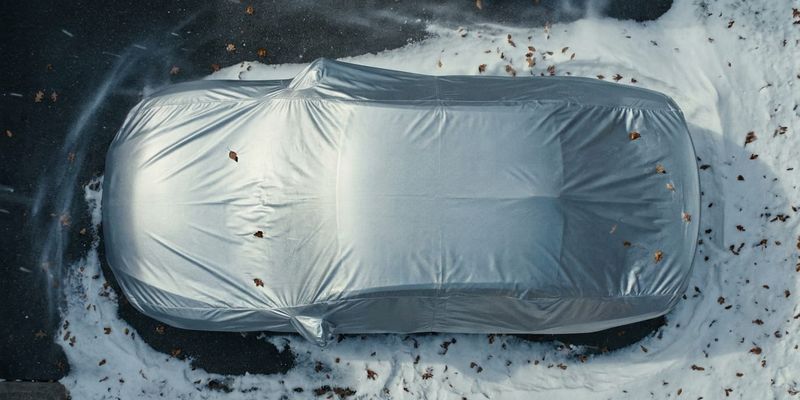
Moisture is the culprit, not the cold by itself. Dew, melted snow, or just overnight humidity gets trapped between the cover and your paint. Once temperatures drop, that thin layer of water freezes and glues the fabric right to the surface, sometimes to the mirrors and antenna too.
Not all covers are equally guilty here. Lighter, non-breathable fabrics trap moisture against the paint instead of letting it escape, so they freeze solid more often than breathable, weatherproof-rated materials designed for actual outdoor winter use. A cover that's been through several freeze-thaw cycles without being removed is especially prone to sticking, since each cycle adds another thin layer of ice.
The risk is real: yank on a frozen cover and you can tear the fabric, scratch the clear coat, or snap off a mirror or antenna without meaning to. That's the whole reason this guide exists. The core rule is simple, and it's worth repeating before you touch anything outside: never pull a frozen cover off dry. Thaw it first, then remove it piece by piece. If you're still shopping for a cover that holds up better in cold climates, it's worth reading up on using a car cover outdoors through wind, UV, and weather before you buy the next one.
Step 1: Check the Cover and Weather Before Touching Anything
Look before you touch. A thin icy glaze thaws in minutes. Heavy frost or a solid ice sheet needs real time, sometimes closer to half an hour.
Check the clock and the forecast too. Early morning is the worst time to attempt removal, since temperatures are at their lowest and the sun hasn't done any work yet. A slightly warmer midday window, or direct sunlight hitting the car, makes the whole job easier and faster.
Resist the urge to speed things up with an ice scraper, scissors, or anything sharp. One slip near the paint and you've got a scratch that outlasts the winter. And if you notice straps, buckles, or grommets frozen stiff, leave them alone for now. You'll deal with those in step three, once they've had a chance to thaw.
Step 2: Thaw the Ice Gently Before Pulling the Cover
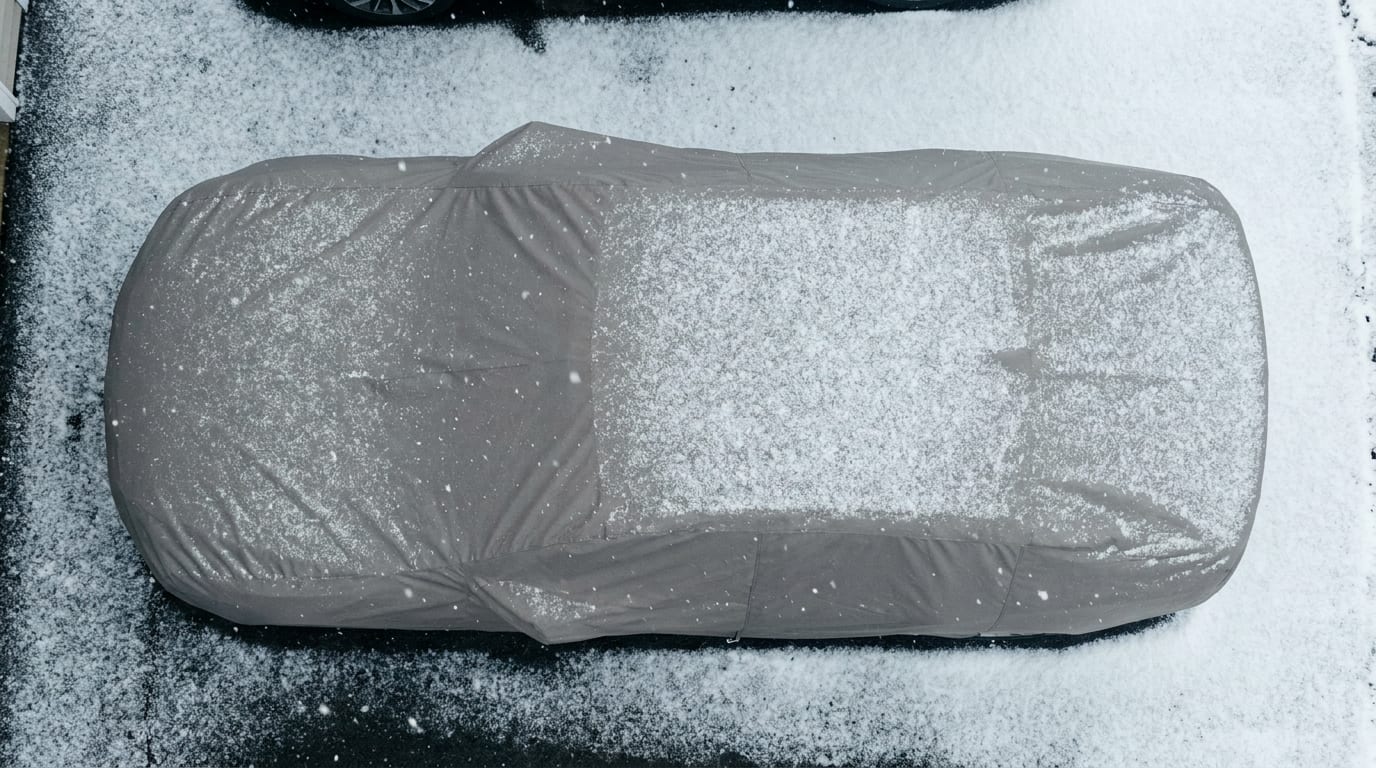
This is the step most people skip, and it's the one that actually answers how do you remove a frozen car cover safely. Pour lukewarm water, not hot, slowly along the frozen edges and seams. Lukewarm loosens the ice bond gradually. Hot water shocks cold glass and metal with a sudden temperature swing, and that's how windshields crack.
No hose handy? Pull the car into a garage or a sunny spot and give it 15 to 30 minutes. Ambient heat does the work for you, no effort required.
For stubborn spots that won't let go, a pet-safe de-icer spray works, but apply it to the cover fabric itself rather than spraying it directly onto the paint. Skip the hair dryer and the heat gun entirely. Both can crack cold glass just as easily as hot water, and some cover materials warp or shrink under concentrated heat they were never built to handle.
Step 3: Unfasten Straps and Lift the Cover Section by Section
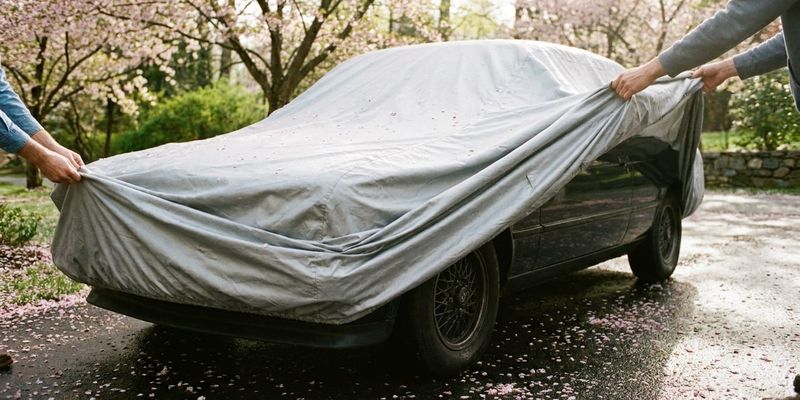
Once the ice has loosened, start at the loosest corner, usually whichever side caught the most sun. Work outward from there instead of yanking from one fixed point and hoping the rest follows.
Cable locks, grommets, and gust straps need the same patience. If they're frozen stiff, thaw them with the same lukewarm water trick before you try to unbuckle anything. Forcing a frozen buckle is a fast way to snap it. If you're unsure how your particular strap or lock system is supposed to release, the step-by-step installation guide covers how these components are meant to work, which makes it easier to spot when one's actually stuck versus just cold and stiff.
Peel the fabric back slowly and evenly. Don't tug. Check as you go for spots still bonded to the paint, the mirrors, or the antenna base. If any section resists, stop right there. Reapply lukewarm water and give it another minute or two rather than forcing it free. Patience here is the entire game.
Step 4: Dry and Fold the Cover Properly After Removal
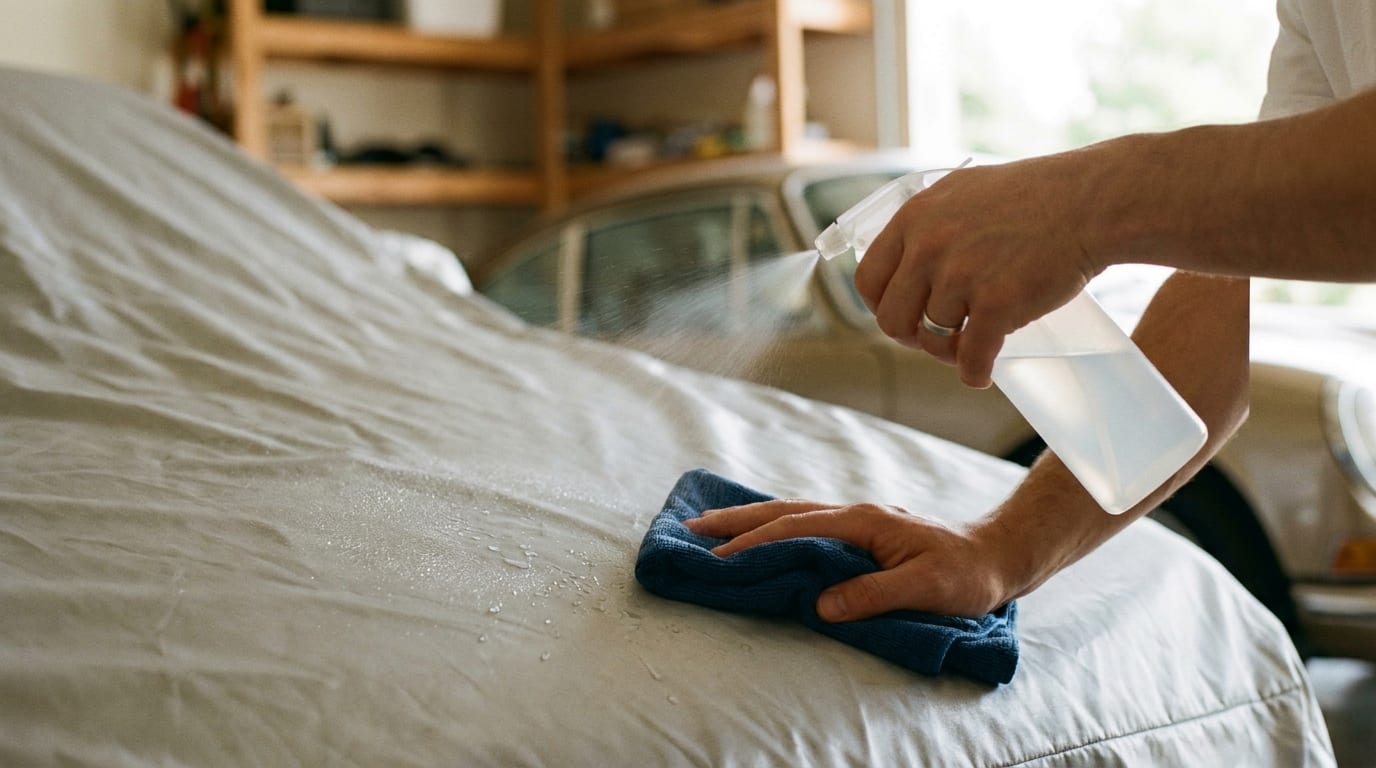
Once it's off, shake out any loose ice before you do anything else. Then let the cover air-dry completely before folding it up. Fold or store it damp and you're inviting mold, mildew, and a cover that refreezes solid the next time you pull it out of the bag.
Fold it loosely, or hang it over a railing or sawhorse if you've got the space. Compressing a damp cover into a tight bundle traps moisture right where you don't want it.
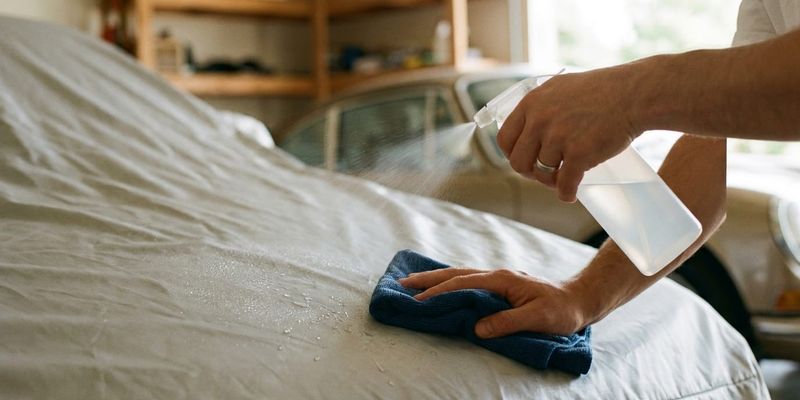
If the freeze left behind water spots or any residue on the fabric, the guide to cleaning a car cover walks through getting it back to looking right. And once both the vehicle and the cover are fully dry, you're clear to put it back on.
Step 5: Inspect the Cover and Vehicle for Damage
Before you call it done, give the cover a once-over. Freeze-thaw cycles stress fabric in ways that aren't always obvious right away: small tears near the seams, stretched grommets, straps that feel looser than they used to. Catching it now beats discovering a rip mid-winter.
Check the car too, especially if any section got pulled before it fully thawed. Look closely at the paint near where the cover sat tightest, around the mirrors, and near the antenna mount. A faint scratch is easy to miss until the light hits it right.
If you do find damage to the cover itself, it's worth checking what your cover's warranty actually covers before assuming it's a lost cause. And if this is the second or third time you've dealt with a frozen-solid cover this season, that's less bad luck and more a sign the cover isn't suited for the climate. A waterproof-rated cover built to breathe and shed moisture is going to handle these cycles a lot better than a basic one ever will.
Preventing a Frozen Cover Next Time
The real fix isn't a better thawing technique, it's a better cover. A breathable, weatherproof-rated outdoor car cover is built to let trapped moisture escape instead of holding it against the paint overnight, which is the whole reason freezing happens in the first place.
Parking strategy matters too. A garage or carport cuts overnight moisture buildup dramatically, and even just angling into a sun-facing spot helps. If neither's an option, keep half an eye on the forecast. Pulling the cover off before a hard freeze sets in beats fighting with it the next morning.
None of this needs to be complicated. Check the weather, pick the right fabric for where you park, and you'll spend a lot less time standing in the cold working out how do you remove a frozen car cover safely and a lot more time just driving.
If winter keeps catching your cover off guard, it might be time for one built for it. Take a look at our guide to choosing a car cover and subscribe to the blog for more seasonal care tips before the next cold snap rolls in.