How Do You Tighten a Car Cover So It Doesn't Sag? A Step-by-Step Guide
Published
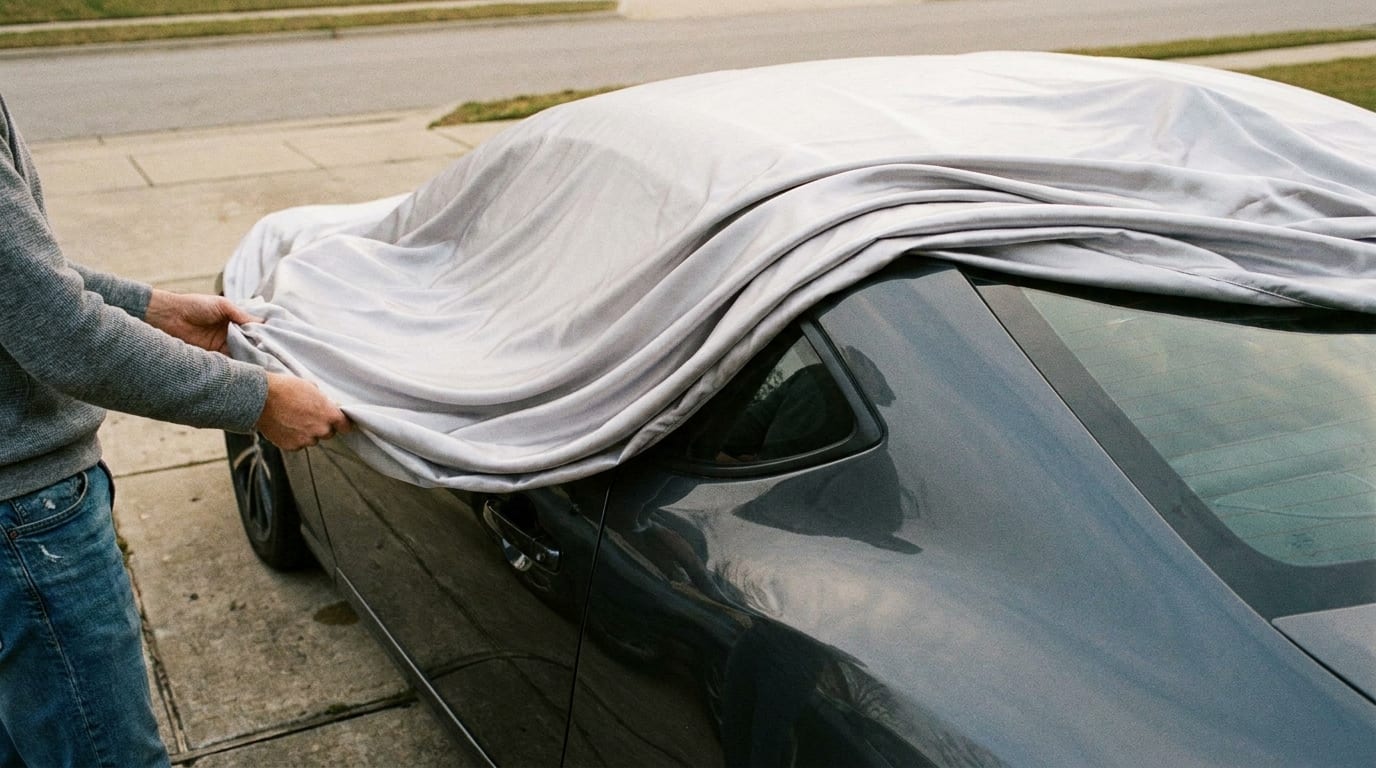
A sagging car cover isn't just sloppy looking, it's actively working against the thing you bought it for. Water pools in the slack spots. Wind gets under loose fabric and starts sanding your clear coat. So how do you tighten a car cover so it doesn't sag? It comes down to using the straps, cables, and grommets your cover already has, in the right order, plus making sure the cover actually fits your vehicle to begin with. Here's exactly how to do it.
Why a Sagging Car Cover Is a Problem, Not Just an Eyesore

A loose cover pools water instead of shedding it. That puddle sitting on your hood or roof doesn't just sit there, it seeps, and over time that means water spots or mildew creeping into fabric that's supposed to be protecting your paint, not trapping moisture against it.
Then there's wind. Slack fabric flaps, and flapping fabric rubs. That friction against your clear coat adds up to fine scratches you won't notice until you're polishing them out later. In a bad enough storm, a cover that isn't tight enough can shift entirely, or blow off and leave your vehicle exposed right when you needed the coverage most.
Here's the good news: sagging almost always traces back to one of three fixable causes. Either the cover is the wrong size for your vehicle, the built-in straps are loose or unused, or you're missing tension accessories that should be doing some of the work. Fix those three things and sagging stops being a recurring problem.
What You'll Need Before You Start
Before you touch a single strap, confirm the cover is actually sized for your vehicle. This matters more than people expect. No amount of pulling and cinching fixes a cover that's simply too big, that's a fit problem, not a tension problem. If you're not sure your current cover is the right size, it's worth checking a custom-fit car cover option or running your specs through a sizing guide before you spend another weekend fighting with straps.
Once you've confirmed fit, find your cover's built-in hardware: the elastic hem, grommets, or strap loops running along the bottom edge. Most covers have at least one of these. Then gather whatever came in the box: tie-down straps, a cable and lock, maybe a tension cord. If your cover shipped without any of that, it's worth adding before your next storm, not after.
Last thing: grab a soft cloth or a glove. You'll be pulling fabric taut right against your paint, and bare hands dragging across a cover that's dragging across your hood is how you introduce the exact scratches you're trying to prevent.
Step-by-Step: How to Tighten a Car Cover So It Doesn't Sag
This is the actual process, start to finish.
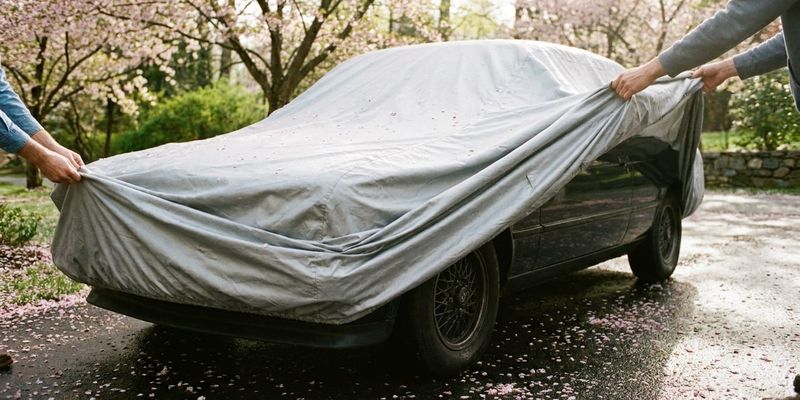
Step 1: Drape it evenly. Center the cover over the vehicle before you tighten anything. If it's bunched up on one side from the start, you'll be chasing slack the whole time instead of eliminating it.
Step 2: Start at the front. Pull the cover snug over the hood and secure the front grommet or strap through the bumper or a tow hook. This is your anchor point, get it tight here first.
Step 3: Work the sides. Move along each side, pulling the hem taut as you go, and clip or buckle the under-body straps beneath the rocker panels. Don't rush this part, uneven side tension is one of the most common reasons a cover looks fine from the front and saggy from a three-quarter angle.
Step 4: Tighten the rear last. Pull the cover backward to take up slack across the roofline before you secure the rear strap. Doing this last, after the front and sides are locked in, is what actually pulls the roofline flat instead of just shifting slack from one end to the other.
Step 5: Run the cable. Thread the included cable through the grommets and around a wheel or axle, then lock it. This does double duty, it deters theft and keeps wind from lifting the edges once everything else is cinched down. If your cover didn't come with one, installing a cable lock is a quick upgrade.
Step 6: Walk around and check. Smooth out any remaining slack by hand. If a strap still feels loose, re-cinch it now, not next week. If you want a fuller rundown of the whole process with photos, our step-by-step installation guide covers it in more detail.
Follow those six steps in order and you've answered the core question of how do you tighten a car cover so it doesn't sag for about 90% of vehicles. The rest is dealing with the spots that sag first, no matter how tight the main straps are.
Fixing the Spots That Sag First: Mirrors, Antenna, and Roofline

Three spots cause more sagging complaints than everything else combined.
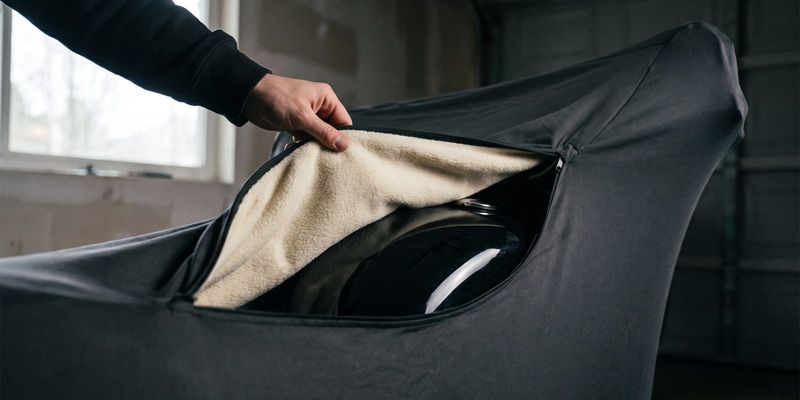
Mirror pockets. If the cutout or pocket isn't sitting snug against the actual mirror, wind finds that gap first and works it loose from there. Check these every time you install the cover, not just once.
The antenna is the other usual suspect. It pokes up through fabric that's trying to lay flat, and you end up with a little tent of loose material pooling around the base. An antenna patch seals that gap instead of letting it become the weak point in an otherwise tight setup.
On longer vehicles, SUVs, trucks, vans, the middle of the roof is its own problem. Even with every edge pulled tight, a long roofline can still sag in the center and pool water there. A center strap or a dedicated support pole solves this, and it's worth doing before the first rainy week, not after you've found a puddle on your roof.
One more thing: re-check tension after the first windy day. Straps settle and fabric relaxes into shape, so what was tight on install day can loosen slightly within 24 hours. That's normal. Just don't skip the re-check.
Accessories That Help a Cover Stay Tight Long-Term

The built-in hem strap on most covers does a baseline job. In high-wind areas, it's not enough on its own. Gust straps add cross-body tension that the stock strap wasn't designed to provide, and they're the single easiest upgrade if you park somewhere exposed.
A cable lock, already mentioned above, pulls double duty here too: it keeps the cover cinched down at the wheels so it physically can't ride up or work itself loose over a few days of wind.
For anyone storing a vehicle with a longer roofline, a support pole (tripod-style for cars and SUVs, or a truck-bed version for pickups) keeps fabric elevated off the mirrors and antenna in the first place. Less loose material sitting on protrusions means less material available to sag. If you've got a sedan or coupe, the tripod support pole does the same job for the roofline.
If the vehicle's in long-term storage, treat re-tightening these accessories as a recurring check, not a one-time install-and-forget task. Straps loosen. Covers settle. A five-minute check every couple weeks beats finding out during a storm.
Keeping the Fit Snug Over Time
Straps and elastic stretch with repeated use. That's just what fabric and hardware do over months of tightening, settling, and tightening again. Plan to re-check and re-tighten every few weeks rather than assuming your first setup holds forever.
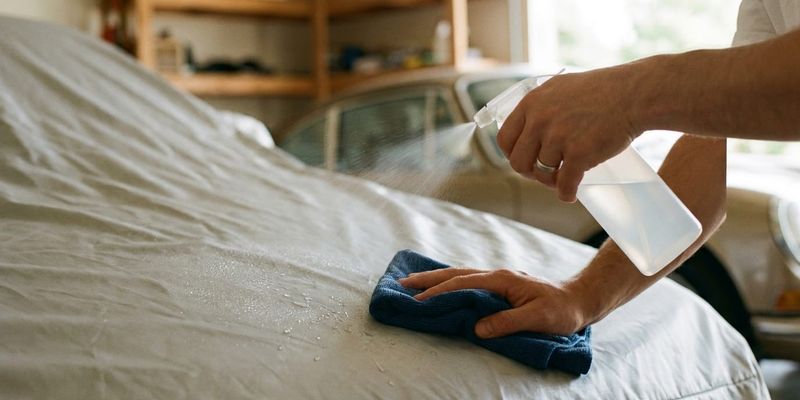
Dirt is a quieter problem. Grit trapped in strap buckles or grommets can stop hardware from cinching all the way, so a cover that feels "tight" is actually tight against debris, not against your vehicle. Cleaning the cover periodically keeps everything working the way it's supposed to, and our guide to cleaning a car cover walks through how to do it without damaging the fabric. There's also a more detailed step-by-step cleaning article if you want the full process.
If you've tightened everything, cinched every strap, and the cover still sags everywhere, that's not a tension problem anymore. That's a sizing problem, and no amount of adjusting fixes a cover that was wrong for your vehicle from the start.
Here's a simple test: push on the fabric across the roof and hood by hand. If nothing flaps and nothing gives more than a quarter inch, you're tight. If it moves freely, go back through the steps above before you blame the cover itself.
Get the Tightest Fit From Day One
A correctly sized, custom-fit cover makes every step above easier, because you're tightening fabric that's supposed to be there instead of fighting excess material that was never going to lay flat no matter what you did.
The core fix is simple: right size first, straps fully cinched in the right order, a cable lock at the wheels, and a support pole if you're dealing with a long roofline. Get those four things right and sagging stops being a recurring fight.
If you're setting up a cover for the first time, pair this guide with our full installation walkthrough before you cover up tonight, and keep an eye on our articles section for more care and fit guides as you go.