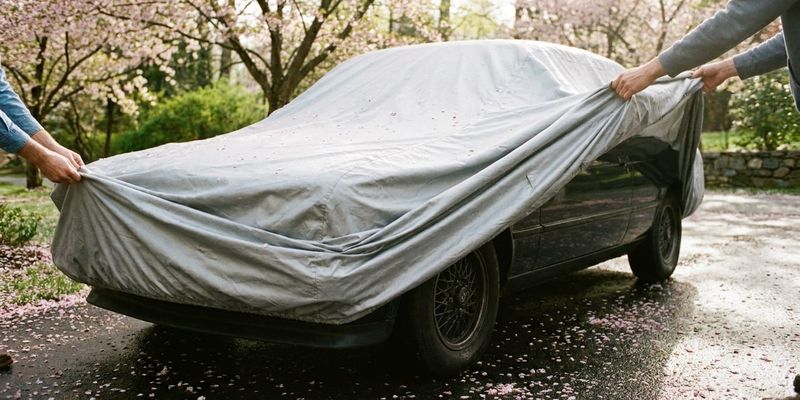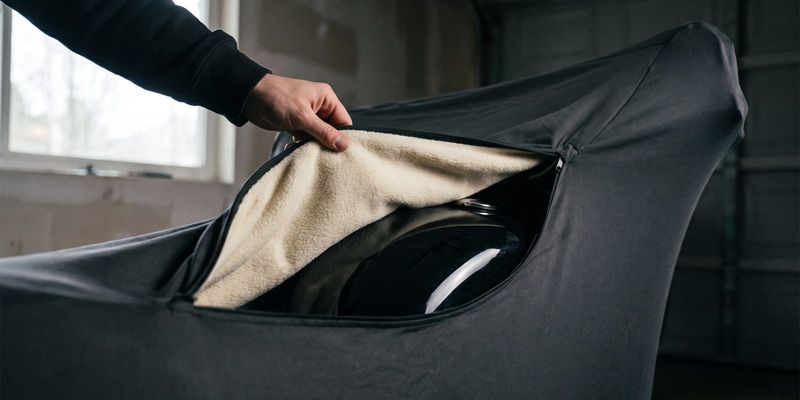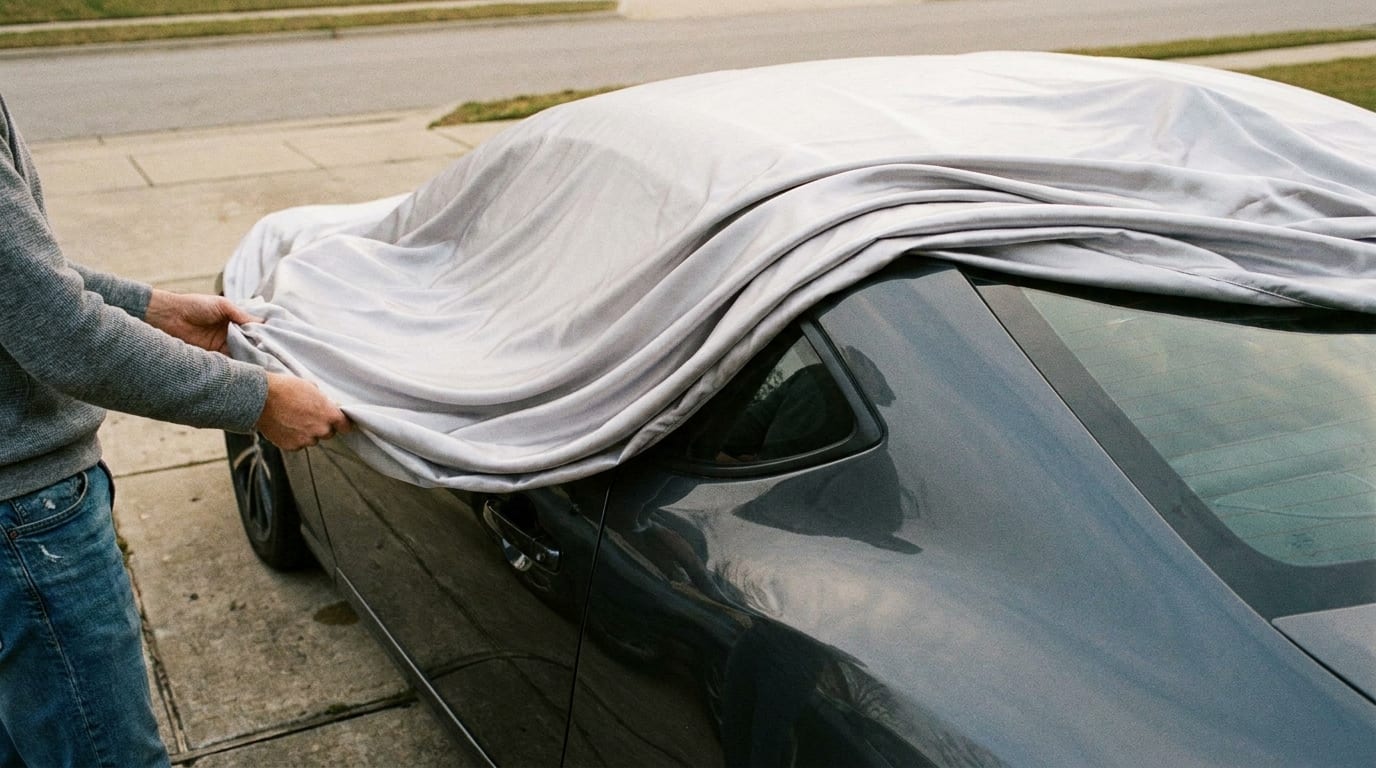
Covering your car by yourself sounds like it should require two sets of hands, but it doesn't. If you've ever wrestled with a cover alone and ended up with it bunched on one side or flapping in the wind, you already know the frustration. So how do you put a car cover on by yourself without it turning into a fight? The short answer: start at the hood, work backward, and let the cover's shape do the work for you.
Yes, You Can Cover Your Car Solo
One person, under five minutes, no helper standing around holding the other end. That's realistic for most car covers once you've got the technique down. The trick isn't strength or speed, it's sequence: where you start, which way you move, and how you anchor the fabric before it has a chance to slide off or catch wind.
Custom-fit car covers make this noticeably easier than universal ones. Because the shape is already mapped to your specific make and model, you're not fighting excess fabric or guessing where the mirror pockets should land. A universal cover can work, but it gives you more slack to manage solo, which means more opportunities for it to shift on you mid-install.
This guide walks through everything: prepping the car, the actual step-by-step process, and how to secure the cover once it's on so a gust of wind doesn't undo your work. By the end, covering your car alone should feel like a routine, not a chore.
What to Do Before You Start
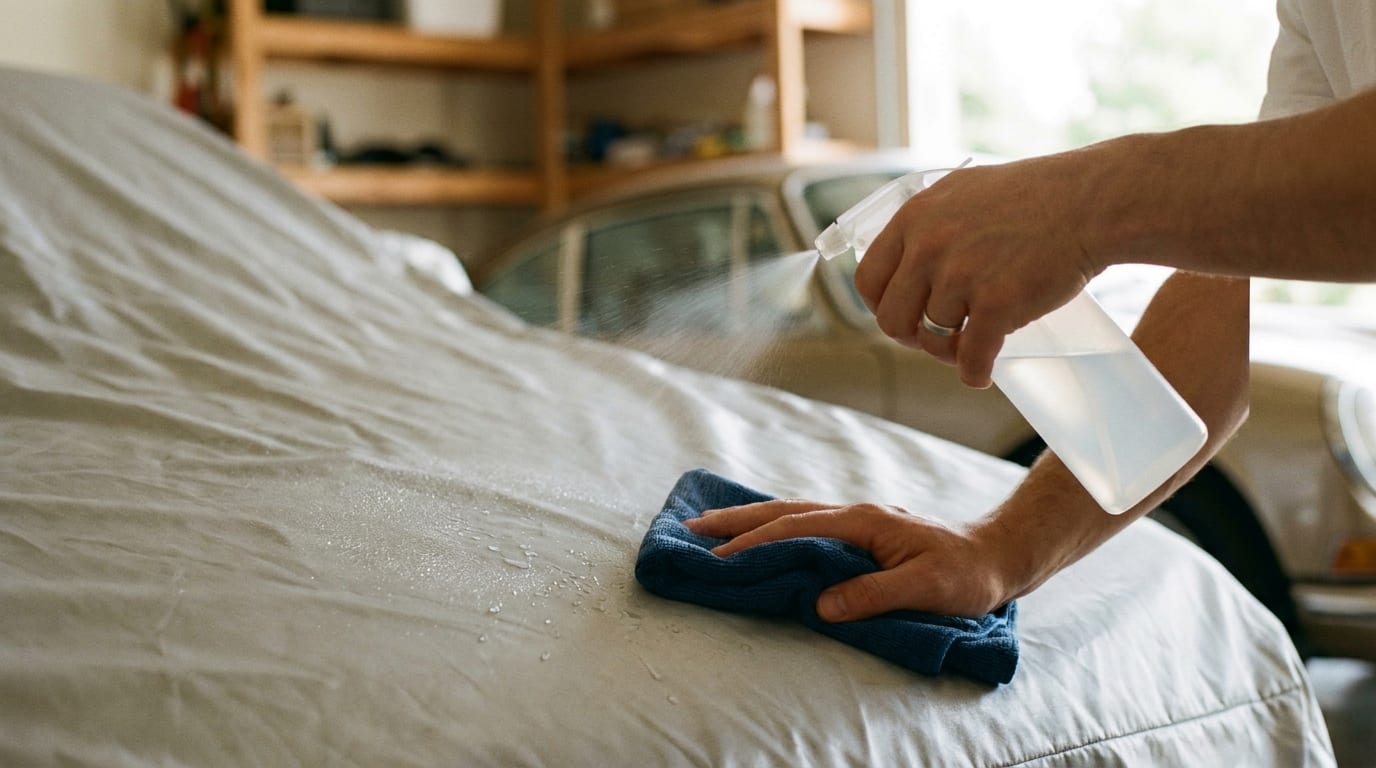
A few minutes of prep saves you a scratched hood later. Here's what matters.
Wash or at least wipe down the car before you cover it. Dirt and grit trapped between the paint and the cover act like sandpaper every time the fabric shifts, even slightly. Same goes for moisture: if the car's still wet, you're sealing water in against the paint, which is exactly the kind of thing a cover is supposed to prevent, not cause.
Fold in your side mirrors and retract the antenna if you can. Both are common snag points, and a snagged cover means you're stopping mid-install to untangle fabric instead of moving smoothly around the car.
Lay the cover out flat on the ground next to the vehicle before you touch the car with it. Most covers have a tag or label marking the front, usually near the hood area. Find it now. Trying to identify the front while it's half-draped over your windshield is how people end up with the cover on backward.
Last thing: check the wind. A calm moment makes solo installation dramatically easier than a gusty one. If it's breezy, there are ways to work around it (more on that below), but if you have the option to wait ten minutes for a lull, take it.
Step-by-Step: Putting the Cover On by Yourself
This is the part people actually search for: how do you put a car cover on by yourself without the fabric sliding, twisting, or ending up lopsided? Follow this order.
Step 1: Unfold the cover completely. Line up the front label with your car's hood. Don't start draping until you're sure which end goes where, since repositioning a half-on cover is twice the work of getting it right the first time.
Step 2: Drape the cover over the hood and windshield first. This is your anchor point. With the front end secured over the hood, the cover won't slide off while you walk around to the sides. Skipping this step and starting at the rear instead is the single most common reason solo installs go sideways.
Step 3: Move to one side of the car. Pull the cover down over the side mirror and along the door line, smoothing out slack as you go. Don't rush this part. Even, steady pulls get a better fit than yanking the fabric down in one motion.
Step 4: Walk to the opposite side and repeat. Match the tension from the first side so the cover isn't dragging unevenly or bunched up on one edge.
Step 5: Work toward the rear. Pull the cover down over the trunk or tailgate and square it up with the car's lines. This is usually the easiest part since the front and sides are already holding the cover in place.
Step 6: Tuck in excess fabric near the wheels and bumpers. A tighter, tucked fit looks cleaner and resists wind better than fabric left loose and flapping at the edges.
Step 7: Walk the full perimeter of the car. Check for exposed panels, a mirror that slipped out, or a wheel well that didn't get covered. This thirty-second check is the difference between a cover that does its job and one that leaves a gap for weather to get in.
If you want a visual walkthrough alongside this, the step-by-step installation guide covers the same process with photos for reference.
Securing the Cover So It Stays Put
Getting the cover on is half the job. Keeping it on through wind, rain, and the occasional nosy raccoon is the other half.
Most covers have a built-in elastic hem or grommets along the bottom edge. Cinch that down snug around the car once the cover is positioned correctly, it's the first line of defense against wind getting underneath and lifting the whole thing.
For extra hold, a cable lock threaded through the grommets and around a wheel does double duty: it deters theft and adds another point keeping the cover anchored in place.
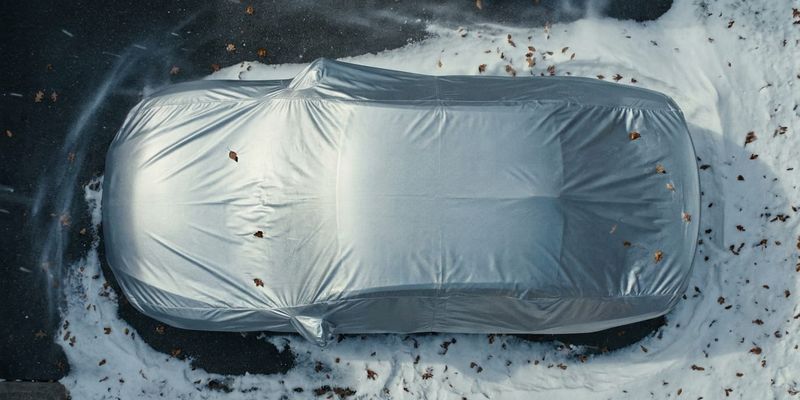
If you're parked somewhere exposed, like an open lot or a driveway with no wind break, gust straps that clip underneath the vehicle add real wind resistance. Worth the extra few minutes if you live somewhere breezy.
For longer vehicles, trucks, or anything with a flat stretch of hood or bed, a support pole keeps the fabric from pooling water or sagging in the middle. Sagging fabric collects rain, and pooled water sitting on a cover for days isn't doing your paint any favors.
Common Mistakes When Covering a Car Alone
A few habits trip people up more than anything else:
- Starting at the rear instead of the hood. Without an anchor point up front, the cover has nothing holding it steady while you move around the car, and any bit of wind turns the whole thing into a sail.
- Skipping the walk-around check. A missed mirror or an exposed wheel well defeats the purpose of covering the car in the first place.
- Covering a dirty or wet car. This traps debris or moisture right against the paint, the exact damage a cover is supposed to prevent.
- Using the wrong size cover. Too loose and it flaps in the wind all night. Too tight and you're stressing the seams every time you pull it on, plus it's just harder to wrestle into place solo.
Tips for Windy Days or Tight Parking Spots
Wind is the main thing that makes solo installation harder than it needs to be. A couple of adjustments help a lot.
Anchor the hood end first, always. Once that end is secured, wind can't catch an open edge and lift the whole cover out of your hands.
Parked close to a wall, a fence, or another vehicle? Start on the open side and save the tight side for last. Trying to maneuver in a cramped space while also managing loose fabric is where most people lose patience.
On genuinely breezy days, loosely secure the front grommet before you start working down the sides. It won't be snug yet, but it stops the cover from lifting off the hood while your hands are busy elsewhere.
Make It Even Easier With the Right Cover
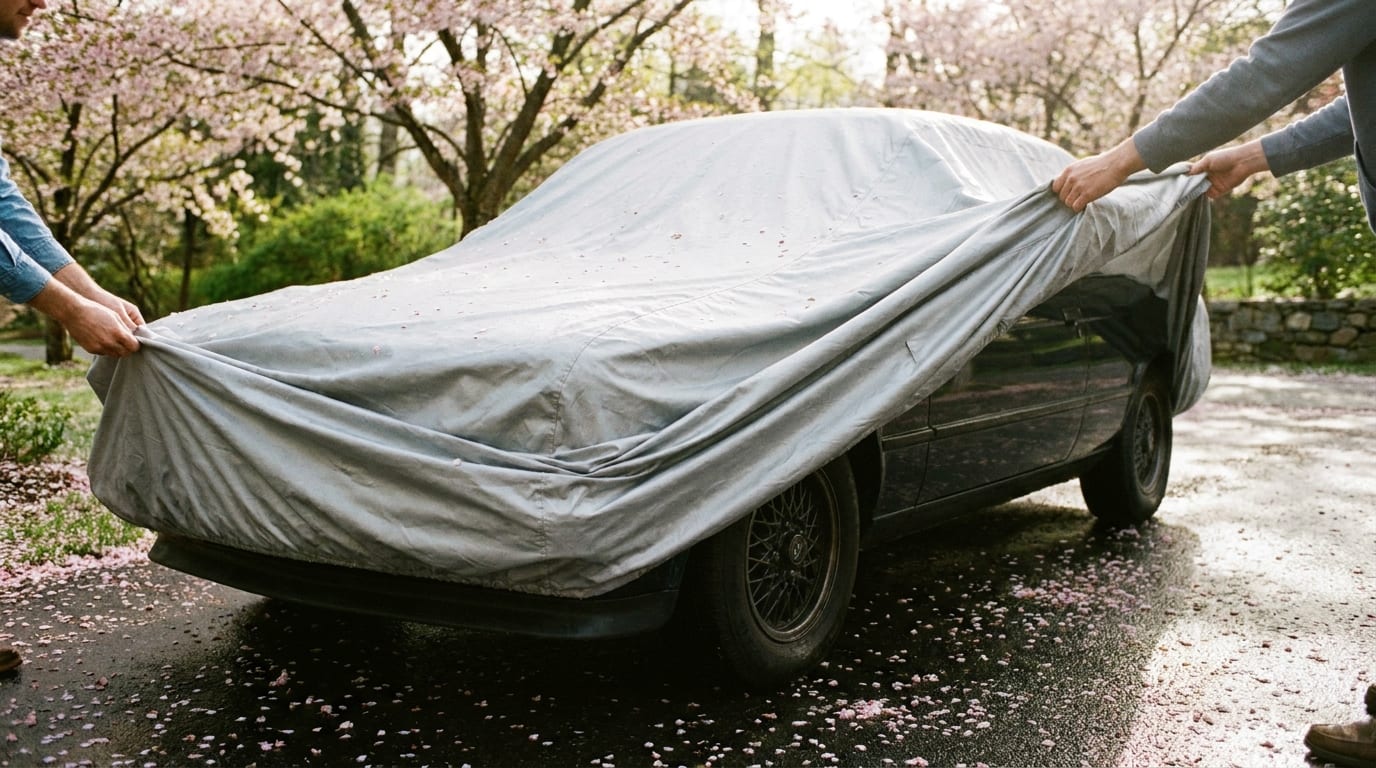
Honestly, the biggest factor in a smooth solo install isn't technique, it's fit. A cover that's properly sized for your exact vehicle goes on faster, stays put better, and doesn't leave you fighting extra fabric at every step. A universal cover can get the job done, but it's rarely as easy to manage alone.
Before you attempt installation, it's worth confirming you actually have the right size. The car cover sizing guide walks through how to check fit against your specific make and model, and it takes less time than a bad install does.
If you're shopping for a cover that's actually built for one-person on and off use, browse the full car cover lineup and look for a custom fit option for your vehicle. It's the one upgrade that makes every step above faster.
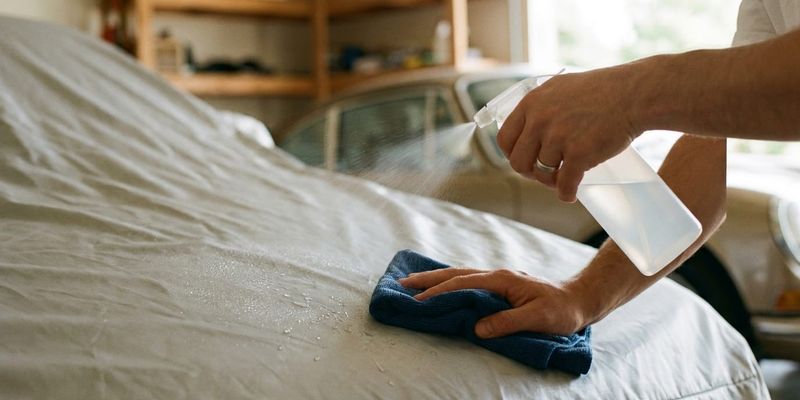
Once your cover's on, keeping it in good shape matters too. For between-use care, the guide to cleaning a car cover is worth a bookmark. And if you want more installation walkthroughs for different vehicle types, the installation guides hub has the rest. Stick around, poke through a few more guides, and the next time someone asks how do you put a car cover on by yourself, you'll have an actual answer instead of a shrug.