How to Store a Touring Motorcycle for Winter With a Cover: Step-by-Step Guide
Published
Why Winter Storage Prep Matters for Touring Bikes
A touring rig isn't a stripped-down standard bike you can just wheel into a corner and forget. Think Harley-Davidson Road King or Electra Glide, a Honda Gold Wing, a BMW K1600GT, a Yamaha Venture. All that chrome, all those fairings, all that onboard electronics. More surface area to protect, more parts that hate sitting still. Figuring out how to store a touring motorcycle for winter with a cover isn't optional busywork, it's the difference between a bike that fires up clean in April and one that fights you every step of the way.
Leave a touring bike uncovered and unprepped for months and you're inviting a specific list of problems: a battery that's dead by February, fuel that's turned to varnish in the lines, tires with flat spots from sitting in one position, and corrosion creeping into chrome you spent years keeping spotless. Moisture gets trapped under saddlebags and fairings where you can't see it, and it just works away at metal all winter long.
This guide covers both sides of the job. Mechanical winterizing (fluids, battery, tires) and the cover side (fit, material, placement). Throwing a tarp over your bike and calling it done is how people end up with rust spots and a dead battery every single spring. One more thing before you start: a quick 2-3 month cold snap doesn't need the same intensity as a full 5-6 month layup. Scale the steps below to how long the bike's actually going to sit.
Step 1: Deep Clean Before You Store It
Wash the whole bike, not just the parts you can see easily. Get under the saddlebags, behind the fairings, around the exhaust. Road grime and salt left sitting on paint and chrome over winter cause pitting and corrosion, and that damage doesn't undo itself once spring rolls around.
Once it's dry, lay down a coat of wax on painted surfaces and polish the chrome. That layer acts as a barrier between metal and moisture for the next several months. Leather or vinyl seats and saddlebags need their own treatment too, a conditioner made for the material, so they don't dry out and crack while sitting in a cold garage.
Here's the part people skip: storing a dirty bike under a cover doesn't protect it, it traps the grime against the paint. Dirt holds moisture. Moisture plus trapped grit sitting against your finish for months is basically a recipe for doing more damage than leaving the bike uncovered would.
Step 2: Handle Fluids, Fuel, and the Battery
Add a fuel stabilizer and run the engine for a few minutes so the treated fuel actually reaches the carburetor or injectors, not just the tank. Untreated fuel left sitting over winter gums up and causes headaches come spring.
Change the oil and filter now, before storage, not after. Used oil carries acidic combustion byproducts, and those sit against engine internals for months doing slow damage if you don't swap it out first.
The battery is the thing most people get wrong. Either disconnect it entirely or hook it to a trickle charger or battery tender for the whole storage period. Cold temperatures accelerate discharge, and a deeply drained battery often doesn't come back the same even after a recharge.
If your bike is liquid-cooled, check the coolant and top it off with a winter-rated mix. And set tire pressure a few PSI above normal before storage, since cold air drops pressure further and you don't want tires sitting underinflated for months.
Step 3: Protect Tires, Chrome, and Moving Parts
Get the bike on a stand if you can, or at minimum, roll it a few inches every few weeks. Tires left in one spot for months develop flat spots that you'll feel in every ride until they wear back out.
Lubricate the chain, cables, and any exposed pivot points before you cover the bike. Cold, dry garage air is surprisingly hard on bare metal, and rust forms faster than people expect in storage conditions.
Plug the exhaust opening with a rag or a dedicated exhaust plug. Mice and moisture both love a dark, quiet tailpipe, and neither one belongs in your engine.
Weight matters more here than people assume. A loaded touring bike can run well over 800 pounds, heavier than most riders realize, and that sustained weight bears down hard on tires and stands over a long winter. A rated center stand or a proper set of front and rear lift stands isn't overkill on a bike this size, it's necessary.
Step 4: Choose the Right Storage Location
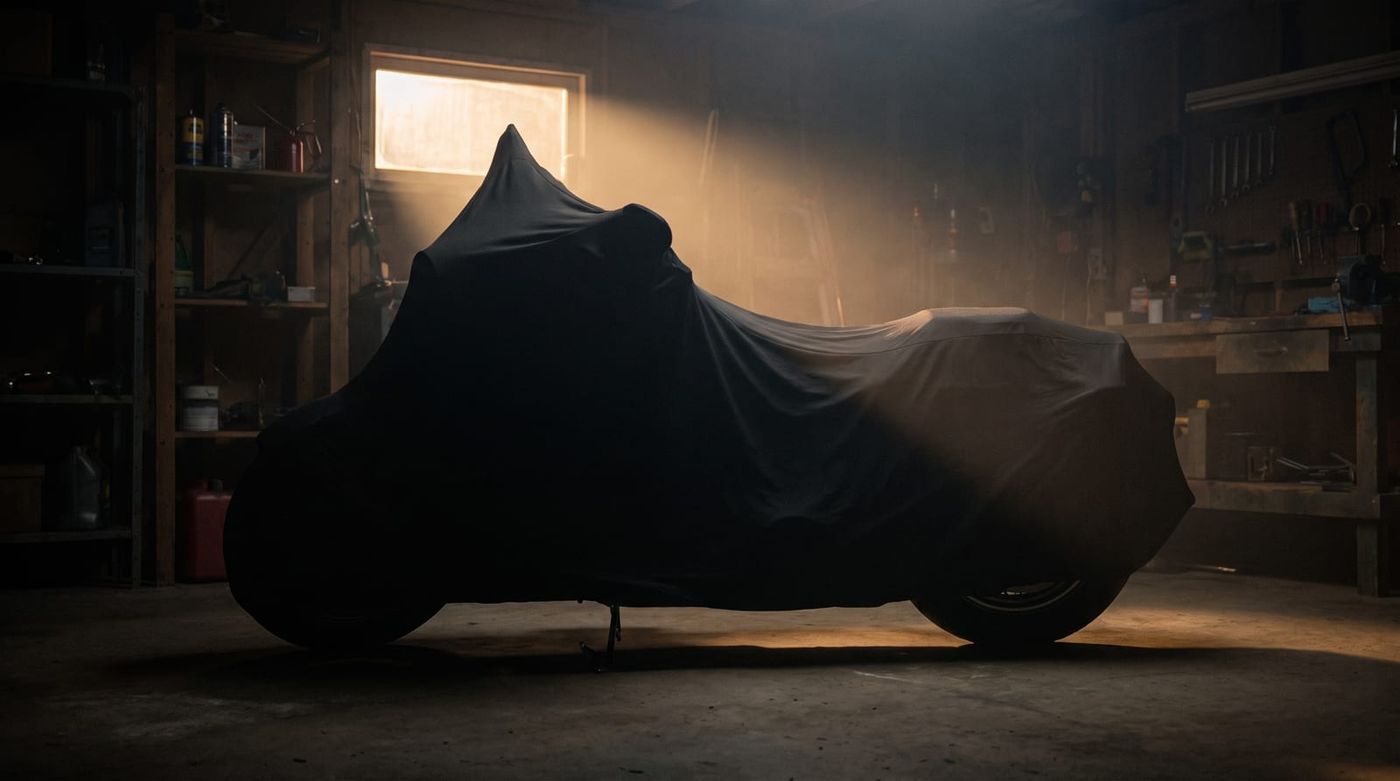
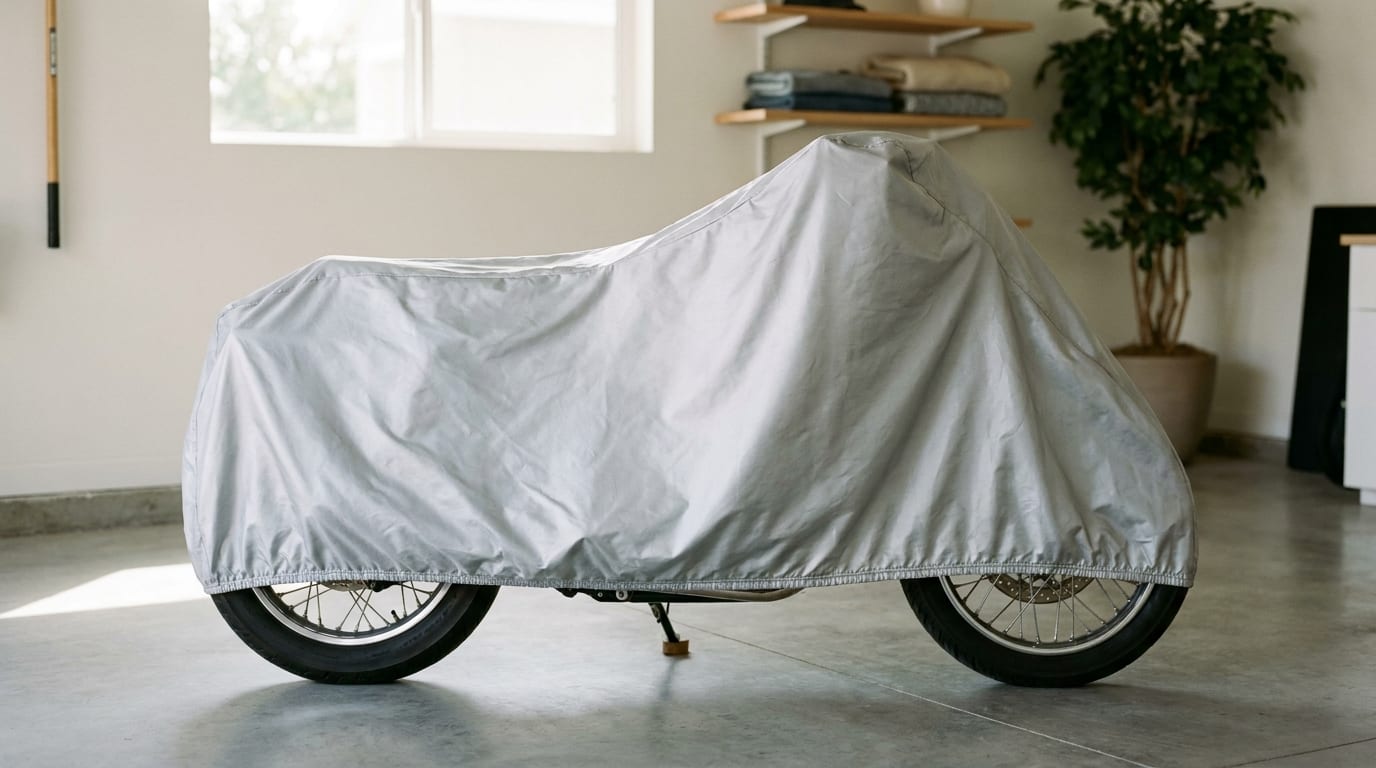
Indoor beats outdoor, full stop, when space allows. A garage or shed keeps a touring bike's electronics and chrome away from the temperature swings and moisture that outdoor storage can't avoid. If you've got the room, use it.
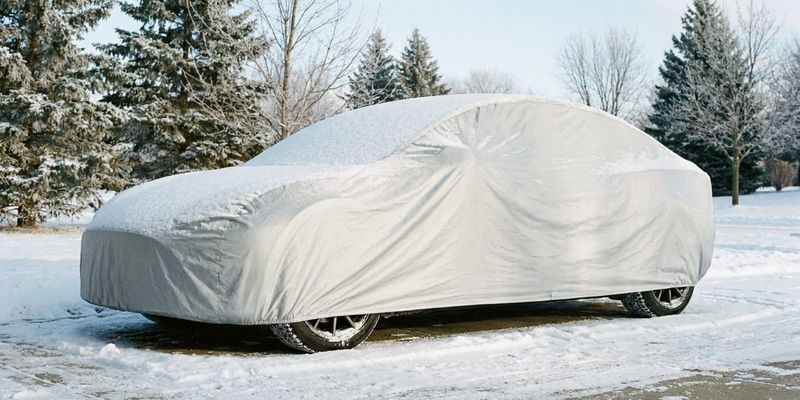
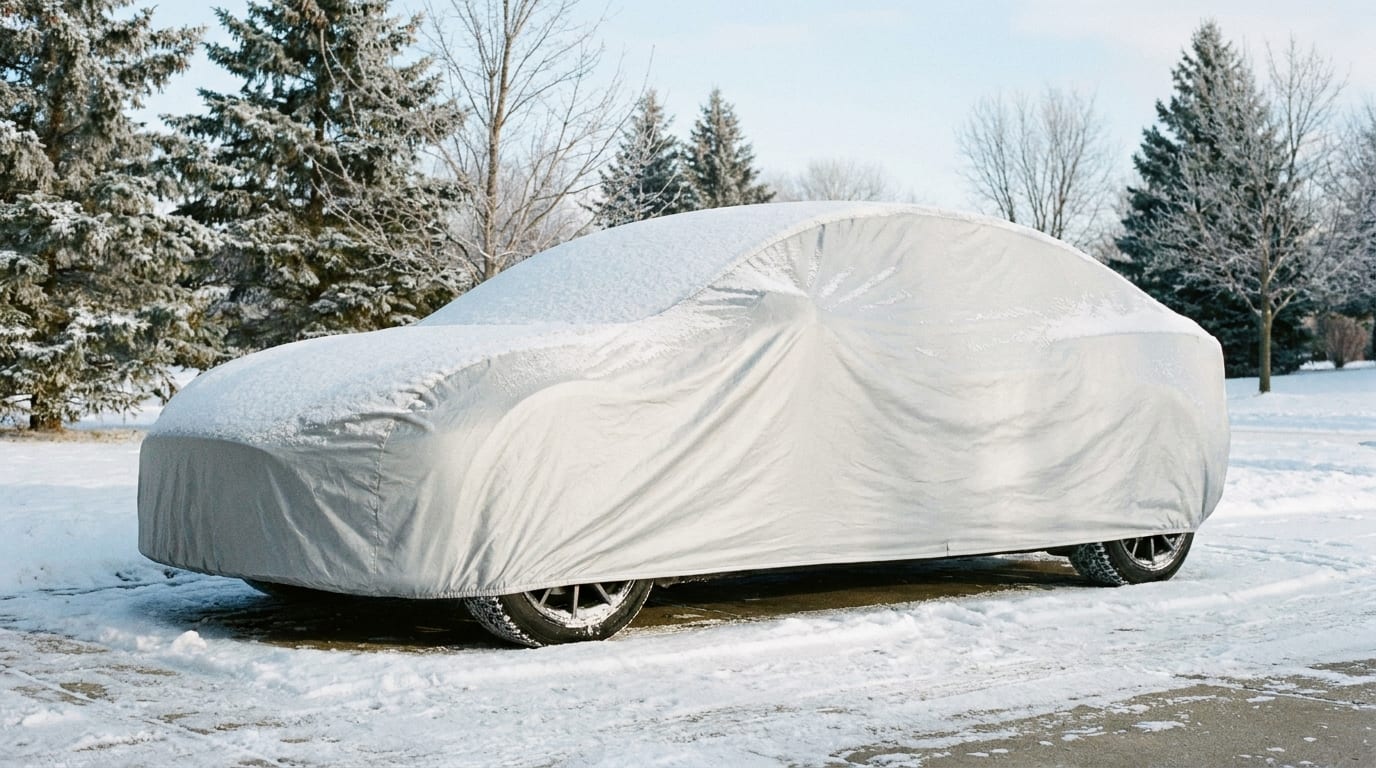
Not everyone does. If outdoor storage is the only option, park on pavement or gravel, not grass or dirt. Ground moisture wicks upward into a cover sitting on soil in a way it won't on a hard surface.
Skip spots under trees or near rooflines that funnel snowmelt onto one section of the cover. That kind of repeated, concentrated moisture wears through even a good cover faster than even weather exposure would.
One thing people miss even with indoor storage: ventilation still matters. A fully sealed, airtight space traps humidity under a cover just as effectively as sitting outside does. Crack a window, use a vent, don't seal the room up like a bank vault.
Step 5: Pick and Fit a Winter-Ready Motorcycle Cover
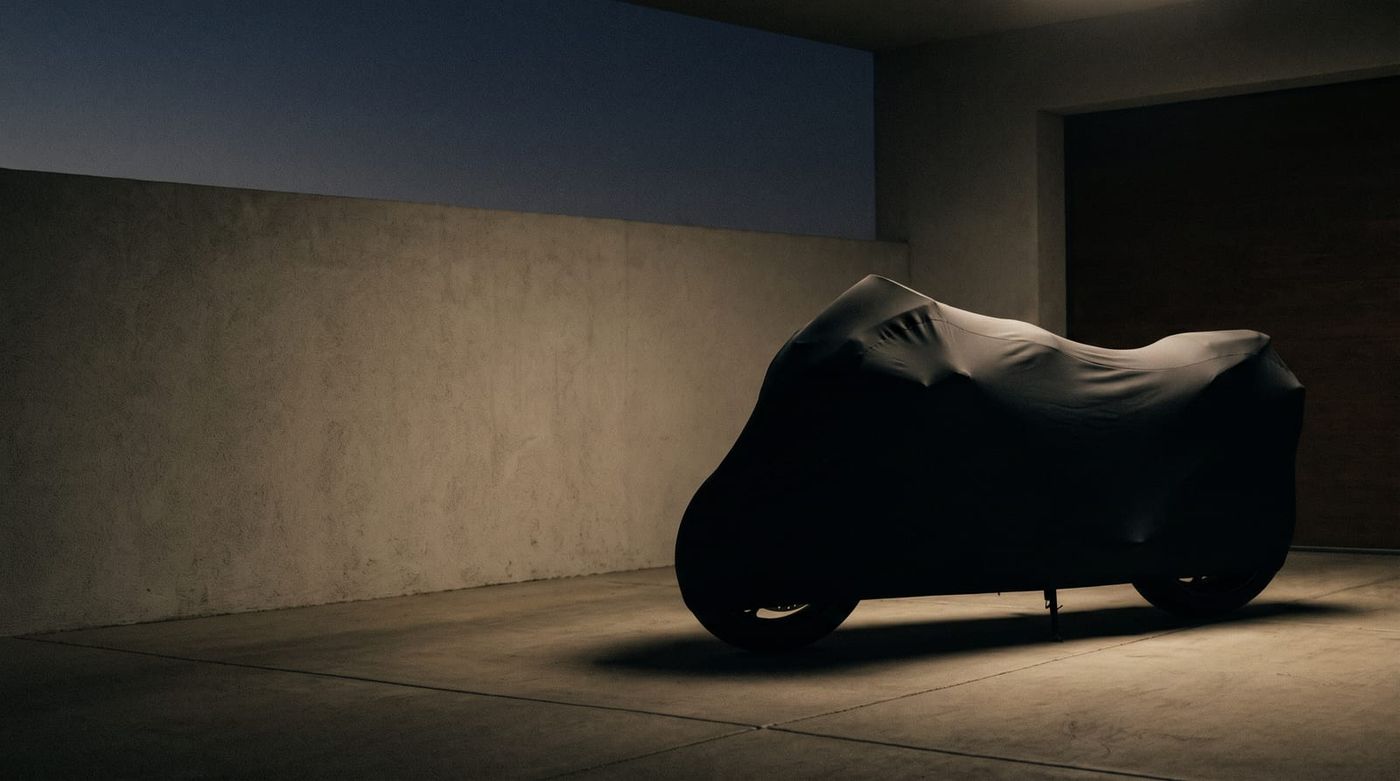
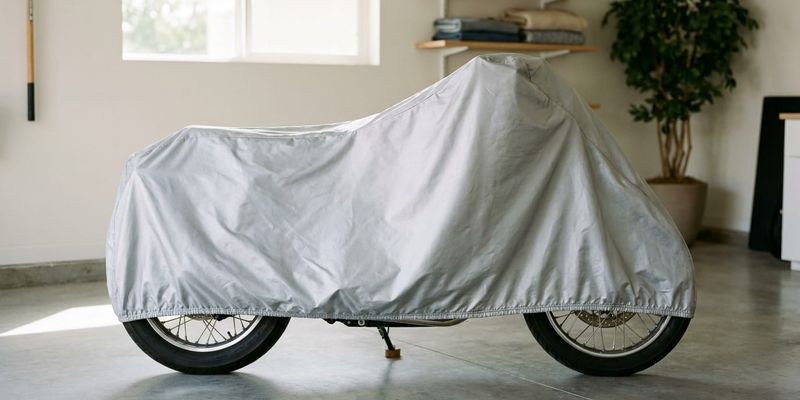
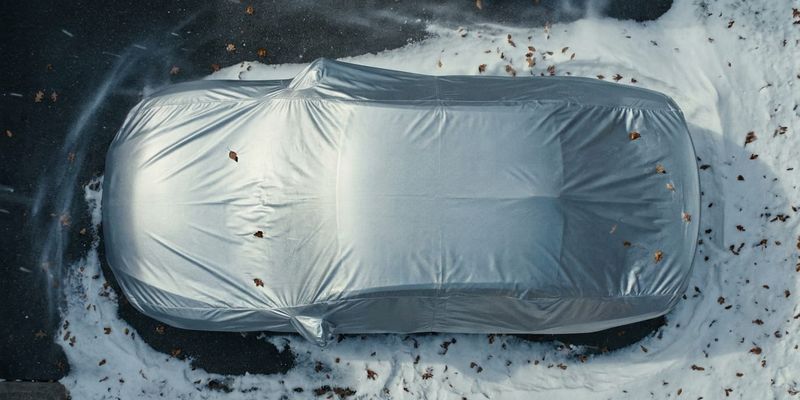
A cover built for winter storage needs to do four things: keep water out, let trapped moisture escape, resist UV even on cold, sunny days, and protect paint and chrome with a soft inner lining. Skip any one of those and you're compromising somewhere. A cover that's waterproof but not breathable just traps condensation underneath it, which causes the exact corrosion you're trying to prevent.
Sizing is where touring bikes get tricky. Windshields, saddlebags, and top cases all add bulk that a standard motorcycle cover wasn't cut for. A cover that's too tight stretches and strains at the seams; one that's too loose flaps in the wind and lets water find its way in at the gaps. Check motorcycle covers built with touring dimensions in mind, and if you ride a specific brand, it's worth checking the model page directly, whether that's Harley-Davidson, Honda, Yamaha, or BMW.
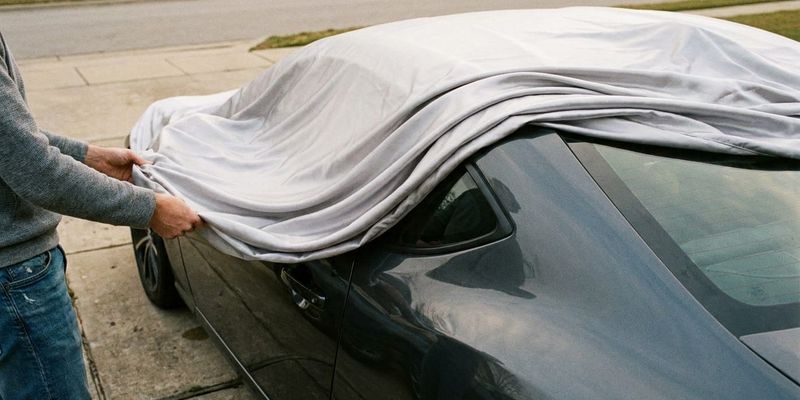
Secure the cover with its built-in straps, and if it doesn't have solid ones, add a gust strap kit separately. Weeks of wind and snow load will work a loosely secured cover off the bike eventually, usually right when you're not around to notice.
Check on it through the season. Pooled snow or ice sitting on top adds real weight over time. Brush it off instead of letting it sit there and press down on the fabric for days.
Step 6: Final Setup Checks and Spring Wake-Up Prep
Before you walk away for the season, do one last pass: battery tender connected, fuel stabilized, tires at the right pressure, cover on and strapped down. Five minutes now saves a lot of frustration later.
Keep a simple log. Date you stored it, fluid levels, tire PSI, whatever you checked. It sounds like overkill until spring, when you're trying to remember exactly what you did back in November and that little note saves you from guessing.
Spring wake-up is basically this process in reverse: reconnect the battery, recheck fluids and tire pressure, pull the cover and clean it before you put it away for next time. Quick preview, not a full guide, but worth knowing what's coming.
Don't skip cleaning the cover itself. A cover cleaned and stored properly over the off-season holds up better and performs better the following winter than one that gets stuffed in a bag dirty and damp.
Keep Your Touring Bike Winter-Ready
The sequence is straightforward once you've done it: clean the bike thoroughly, stabilize the fuel and protect the battery, guard the tires and exposed metal, pick a storage spot that won't work against you, cover it properly, and check in periodically instead of ignoring it until spring. Every step feeds the next one. Skip the cleaning and the cover traps grime. Skip the battery tender and nothing else you did matters when it won't start.
If your current cover is a generic one-size-fits-most deal, it's worth browsing options sized and featured specifically for touring bikes rather than stretching a universal cover over a windshield and saddlebags it was never cut for. And if you want more seasonal care tips like this, our articles section is worth a bookmark.
Proper winter storage isn't just about getting the bike running again in spring. It protects the mechanical investment you've made, and it keeps resale condition intact for whenever you decide it's time to sell or trade up.