How to Store a Dirt Bike for Winter With a Cover: A Step-by-Step Guide
Published
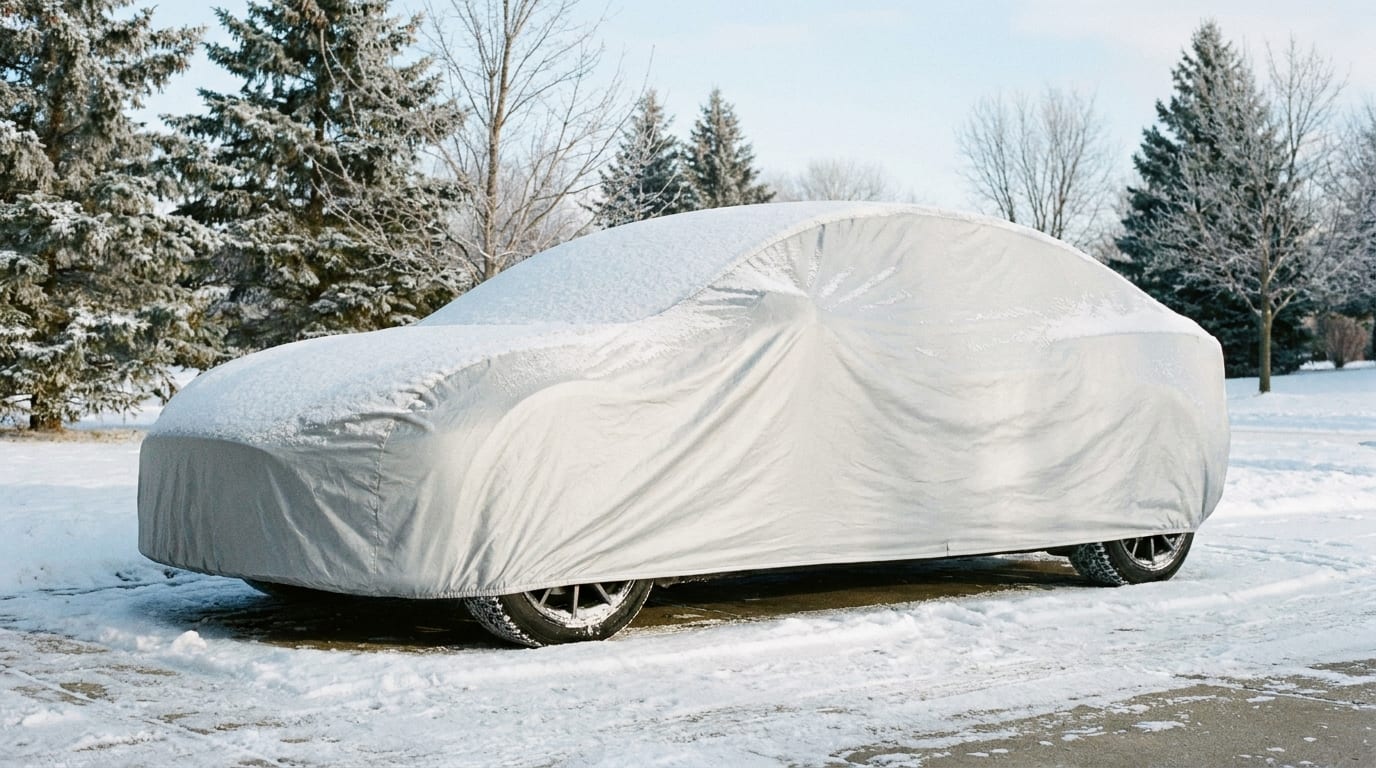
Winter is hard on a dirt bike that just sits. A season of cold nights, condensation, and freeze-thaw cycles will find every weak point on a machine that spent all summer getting rode hard and hosed off in a hurry. If you're wondering how to store a dirt bike for winter with a cover and actually have it run right in spring, the fix isn't complicated. It just takes doing things in the right order.
Why Winterizing Your Dirt Bike Matters
Leave a dirt bike alone for three or four months and a few things start happening whether you notice or not. Exposed metal, bolts, the exhaust, spoke nipples, starts picking up surface rust from humidity swings in an unheated garage or shed. Gas left in the tank and carburetor breaks down, leaving behind a gummy varnish that clogs jets and lines. The battery self-discharges and can freeze if it drops low enough. Rubber seals and gaskets get brittle in the cold and crack.
Off-road bikes have it worse than most street bikes here. A lot of dirt bikes live outdoors, under a carport, or in a shed with no insulation, so they get the full brunt of temperature swings and moisture that a garaged street bike might dodge. None of this is dramatic on its own. It just adds up over a winter of neglect.
The fix is a short list: clean the bike, protect the fuel system, deal with the battery, take weight off the tires and lube the chain, then pick the right cover and put it on correctly. Do those five things and knowing how to store a dirt bike for winter with a cover becomes pretty routine.
Step 1: Deep Clean Before You Store It
Don't skip this because the bike "looks fine." Mud, dirt, and dried chain lube hold moisture against metal, and that's exactly what you don't want sitting under a cover for months. Wash the whole bike with soap and water, and actually get into the radiator fins, the frame rails, and the underside of the fenders where grime builds up and never gets looked at.
Dry it completely. Chain, brake rotors, every nook that holds water, all of it. A bike that goes under a cover still slightly damp is a bike that comes out with rust spots you didn't have before.
Once it's dry, hit exposed metal, bolts, and the exhaust with a light coat of corrosion inhibitor or anti-rust spray. Cheap insurance for an afternoon of work.
Step 2: Protect the Fuel System and Engine
Gas doesn't age well. Left sitting in a tank and carburetor for months, it starts to break down and leaves behind a varnish-like residue that clogs jets and fuel lines. Your options are simple: either drain the tank and carb completely, or fill the tank and add a fuel stabilizer. Most people find topping off the tank and treating it easier than draining everything.
If you go the stabilizer route, run the engine for a few minutes afterward so the treated fuel actually works its way through the lines and into the carburetor, not just sitting in the tank doing nothing.
While you're at it, change the oil and filter before storage. Used oil carries contaminants and moisture that can sit against internal engine parts all winter and cause corrosion you won't see until it's already done damage. Fresh oil is cheap compared to that.
Step 3: Handle the Battery and Electrical System
If your dirt bike runs a battery, pull it. Leaving it in a cold bike all winter is one of the easiest ways to kill it. Store it somewhere cool and dry, and keep it off a bare concrete floor, which can accelerate discharge in older batteries.
If you'd rather leave it connected and installed, hook it up to a trickle charger or battery tender so it stays topped off without overcharging. Either approach works, it just depends on how hands-on you want to be over the winter.
Give electrical connectors and the spark plug boot a shot of moisture-displacing lubricant too. It's a small step that heads off corrosion in connections you'd otherwise forget about until spring, when they're acting up and you're trying to figure out why.
Step 4: Prep Tires, Chain, and Suspension
Inflate the tires to the recommended PSI before storage, not after. If you've got a stand, use it. Getting the bike up so the tires aren't bearing weight for months prevents flat spots and sidewall cracking, which is a real risk when a tire sits in one position for an entire season.
Clean and re-lube the chain before you cover the bike. A dry, dirty chain left alone all winter can seize at the links or start rusting, and that's a miserable thing to deal with come spring when you just want to ride.
Wipe down the fork tubes and shock shafts too. Road grime and dirt left on those surfaces can pit the metal over time, and pitted shafts chew up seals fast once you're riding again.
Step 5: Choose the Right Cover and Storage Spot
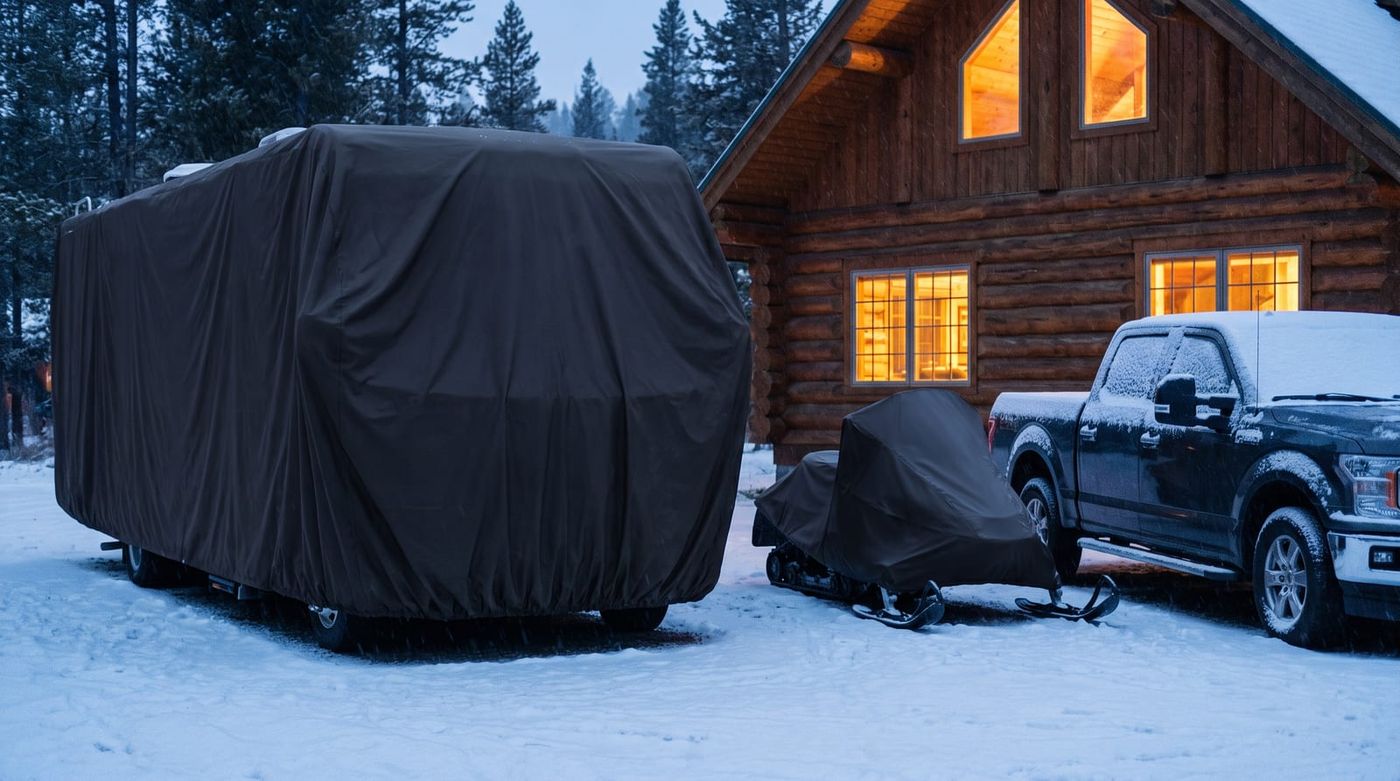
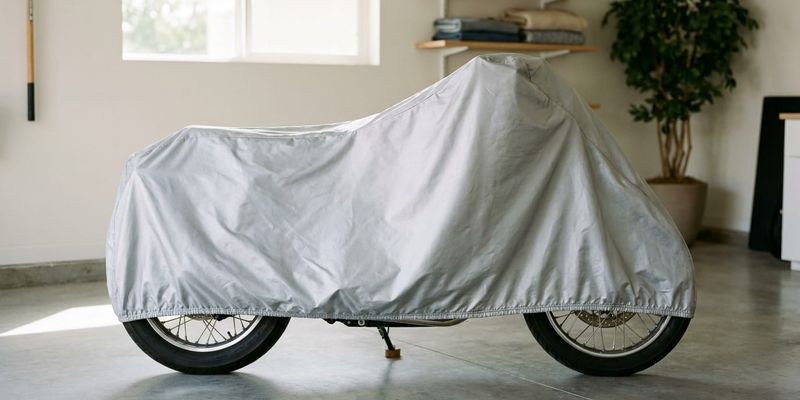
This is where a lot of people cut corners, and it's the step that actually determines whether everything above held up. If the bike's going into a garage or shed, you want a breathable indoor cover that blocks dust without trapping moisture against the bike. If it's staying outdoors, you need something built for that: a waterproof, UV-resistant outdoor cover that can handle rain, snow, and sun without breaking down by February.
Don't grab a generic street motorcycle cover and assume it'll fit. Dirt bikes have a narrower profile, taller seat height, and more ground clearance than a cruiser or sport bike, so a cover built for the segment, like the options under motorcycle covers or a dirt bike specific cover, is going to sit and fit a lot better than something sized for a Harley.
Pick your storage spot with the same care. Dry, out of direct sun, and off bare concrete if you can manage it, since concrete wicks moisture up into tires over time. A corner of the garage away from a leaky window beats a shed with a dirt floor every time.
Step 6: Install the Cover Correctly for Winter
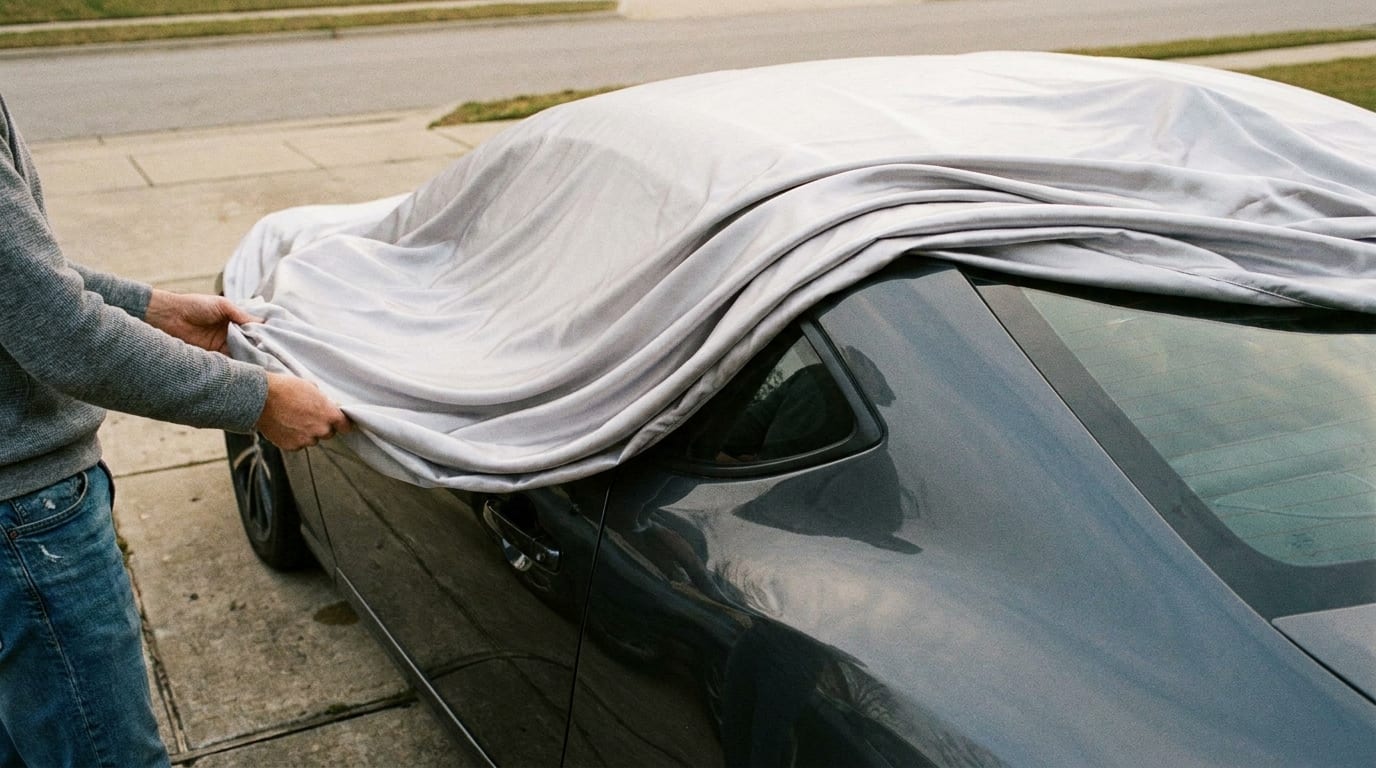
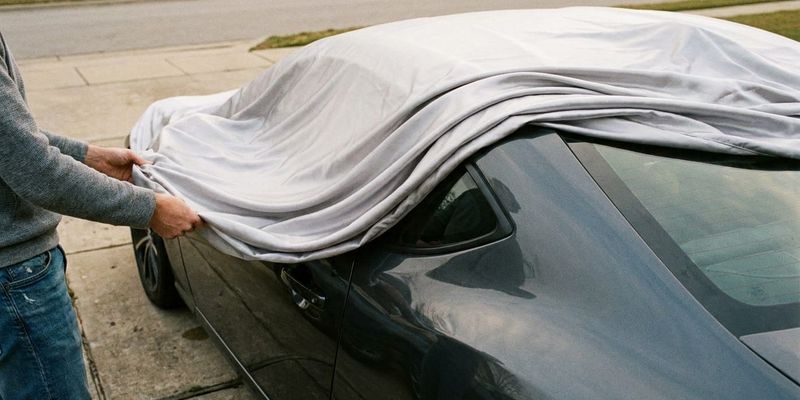
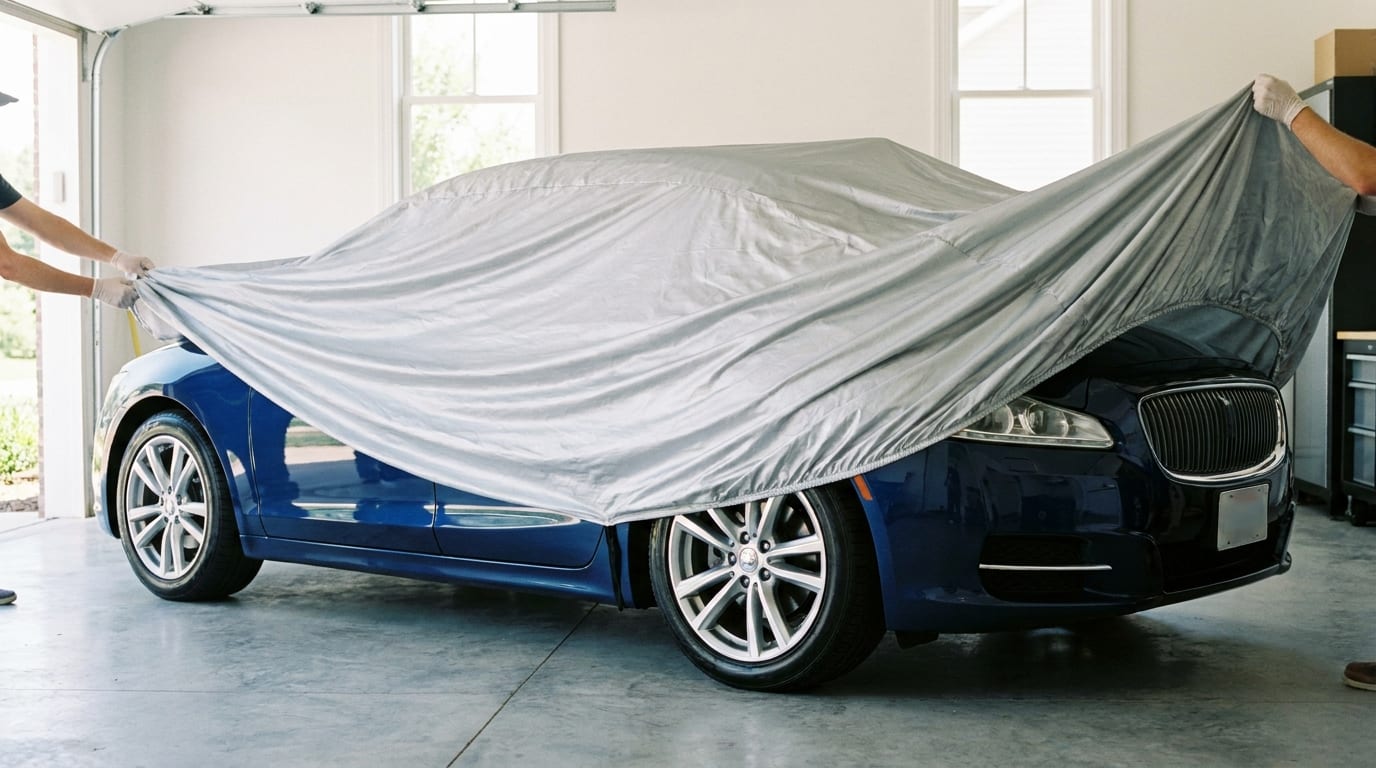
How you put the cover on matters almost as much as which one you bought. Drape it front to back, not side to side, so water and snow shed off naturally instead of pooling in a low spot and sitting there for weeks. If you've never covered a vehicle for long-term storage before, the logic is the same one we lay out in this simple guide to easy cover installation, just scaled down for two wheels instead of four.
Secure any straps or cinch cords underneath the frame, not loosely draped over the top. Wind gets under a poorly secured cover, flaps it around, and abrades the paint and plastics over a season, which kind of defeats the purpose of covering it in the first place.
And don't shrink-wrap the thing in plastic sheeting thinking you're sealing out all the elements. Airtight plastic traps condensation underneath it, which just recreates the moisture problem you were trying to avoid. A proper cover is built to let some air move while still keeping weather out, which is the whole point of our guide to using a cover outdoors.
Spring-Ready Checklist and Final Tips
Run through it in order: clean and dry the bike, stabilize the fuel and change the oil, handle the battery, take the load off the tires and lube the chain, then pick and fit a cover suited to where it's actually sitting. That's the whole process for how to store a dirt bike for winter with a cover, and none of it takes more than an afternoon.
Don't just walk away for four months, though. Check on the bike once or twice over the winter if you can. Make sure the battery's still charged, the cover hasn't shifted or torn, and there's no water pooling anywhere on top of it. Five minutes now saves you a nasty surprise in March.
If you're storing other gear for the season too, the same logic applies elsewhere, like our rundown on de-winterizing a jet ski when spring comes back around. And if you're curious how far a tank of gas actually gets you once riding season starts up again, we've got that breakdown here too.
Take care of it once, properly, and you won't be fighting rust, dead batteries, or gummed-up carbs when the weather turns. If you're still shopping for the right fit, it's worth browsing a few cover options before the first cold snap hits, not after.