How to Store a Cruiser Motorcycle for Winter With a Cover: Step-by-Step Guide
Published
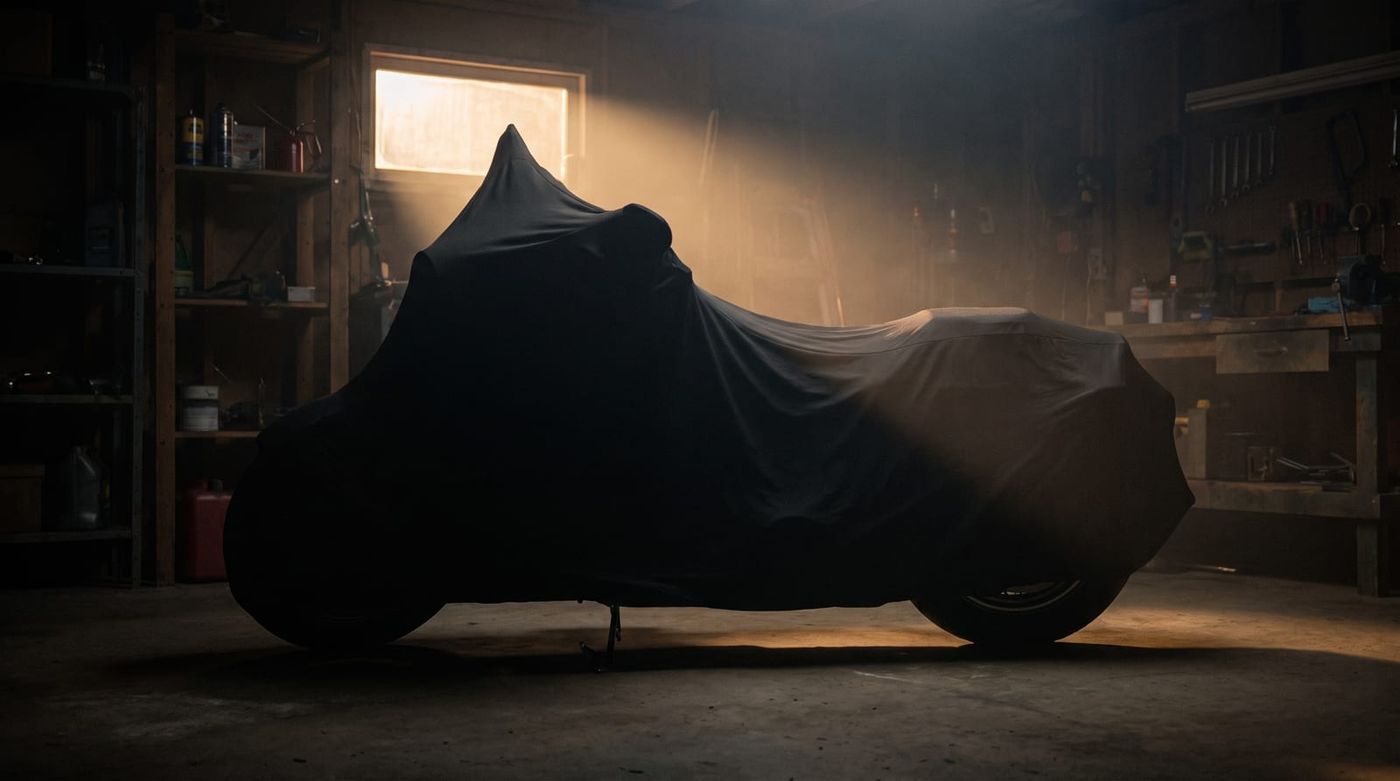
Winter catches a lot of cruiser owners off guard. One week you're out for a Sunday ride, the next there's frost on the windshield and the bike's sitting idle for four months. If you're searching for how to store a cruiser motorcycle for winter with a cover, you're already ahead of most riders, because the real work happens before the cover ever goes on. Get the prep right, and that cover becomes the final seal on a bike that'll fire right up come spring. Skip it, and you're just hiding problems under fabric.
Why Proper Winter Storage Matters for a Cruiser
Cruisers take winter harder than most other bike styles. That big fuel tank holds more air space (and more condensation potential) than a sportbike's. Chrome exhaust pipes and trim look great in July but turn into rust magnets the second humidity sets in. And those exposed V-twin engines, the ones that make a cruiser a cruiser, have nothing shielding them from moisture the way a fully-faired bike does.
Skip the prep work and you're looking at a predictable list of headaches: a gummed-up fuel system, a battery that's dead as a doornail, tires with flat spots that thump at every red light, maybe a cracked seat from months of UV exposure and temperature swings. None of that is cheap to fix, and all of it is avoidable.
This guide walks through the full process, not just the cover part. Cleaning, fuel and engine protection, battery and tire care, picking a storage spot, and then the covering technique itself. A quality motorcycle cover is genuinely the last layer of protection here, not a substitute for everything that should happen before it goes on.
Step 1: Give the Bike a Thorough Cleaning and Inspection
Start with a real wash, not a quick rinse. Get into the undercarriage, the saddlebags, around the chrome. Road salt, bug guts, and general grime sit there etching into paint and metal for months if you don't get it off first. A bike that looks clean in November but has residue trapped under a cover by February is worse off than one that never got covered at all.
Once it's dry, lay down a coat of wax on the painted surfaces and a chrome polish on the metal. Think of it as a barrier layer between the bike and whatever moisture sneaks in over winter.
Lube the chain or check belt tension before it goes into storage. A chain that sits dry and tight for four months isn't doing itself any favors. And this is the moment to actually inspect the bike, cracked hoses, fraying cables, anything on its way out. Once it's under a cover in the corner of the garage, you're not going to notice a slow coolant leak or a cracked bushing. Catch it now while everything's accessible and well-lit.
Step 2: Protect the Fuel System and Engine
Fill the tank most of the way and add a fuel stabilizer. A full tank means less air space for condensation to form, and the stabilizer keeps the fuel from breaking down and gumming up carburetor jets or fuel injectors over winter. Run the engine for a few minutes after adding it so the treated fuel actually makes its way through the lines, not just sitting in the tank doing nothing.
Change the oil and filter before storage, not after. Old oil carries acidic combustion byproducts that sit in contact with engine internals the whole time the bike's parked. Fresh oil going into storage means clean oil protecting those surfaces all winter instead of slowly pitting them.
If you're storing the bike outdoors for an extended stretch, or somewhere with no climate control at all, fogging the cylinders is worth considering. It's a bit more involved, but it coats the internals with a protective film that stops rust from forming while the engine sits unused.
Step 3: Handle the Battery, Tires, and Fluids
Batteries don't like being ignored. Either disconnect it entirely or hook up a trickle charger or battery tender so it isn't slowly draining and sulfating over the winter. A battery tender is the easier option if you're checking on the bike periodically anyway.
Tires need attention too. Inflate them to the upper end of the recommended PSI range before storage. That helps resist flat-spotting, which happens when a tire sits under the same weight in the same spot for weeks on end. Cruisers carry a lot of weight on a wide rear tire, and that flat spot is more noticeable when you finally ride again, there's a real thump at low speed until it works itself out, if it ever fully does. A rear stand that lifts the wheel off the ground is worth the money if you're storing the bike for more than two or three months.
Top off the coolant while you're at it, and make sure the antifreeze mix is actually rated for the lowest temperatures your area sees. A 50/50 mix that's fine in a mild climate might not cut it somewhere that regularly drops below zero.
Step 4: Choose the Right Storage Spot
Where the bike sits matters almost as much as how you prep it. Indoor storage, a garage or shed, gives you more control: less temperature swing, no direct precipitation, easier to check on. Outdoor storage works, but it demands more from the cover and the setup around it.
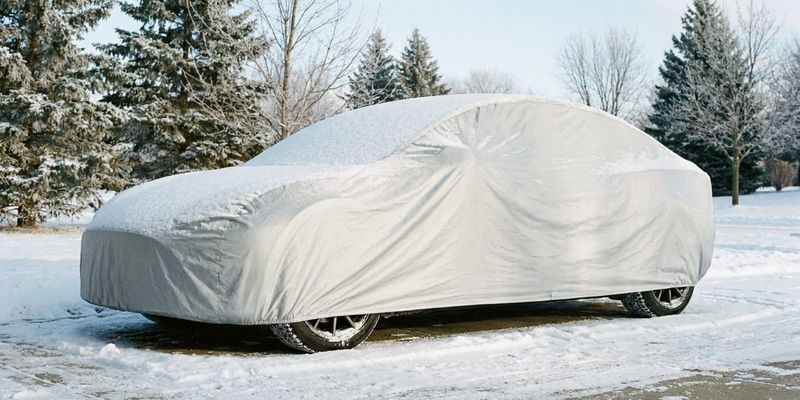
If you're storing outdoors, find a spot shielded from direct wind and away from anywhere water or snowmelt pools. A low corner of the yard that turns into a puddle every thaw is the wrong spot, even with a waterproof cover on top. For outdoor setups, a waterproof cover built for the elements earns its keep.
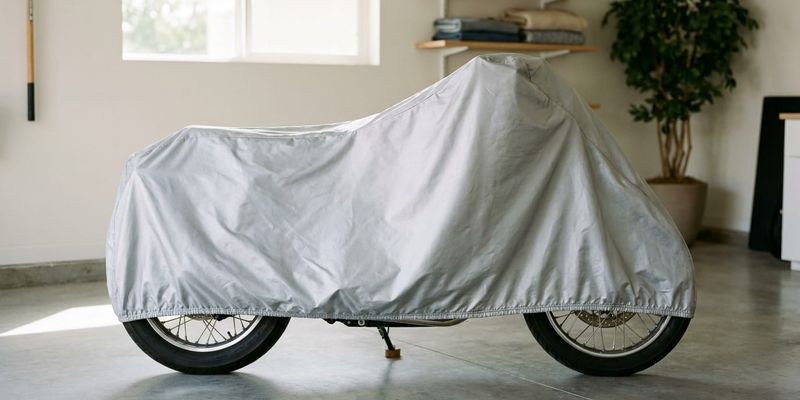
Indoor storage still benefits from a cover, just a different kind. A breathable indoor cover keeps dust off and protects against accidental scratches from anything else stored nearby, bikes, bins, whatever ends up leaning against it in a crowded garage.
One thing people skip: put something between the tires and bare concrete. A tarp, a couple of pallets, anything that keeps moisture from wicking up out of the slab and into the rubber over months of contact.
Step 5: Fit and Secure the Motorcycle Cover
This is the step most guides treat as an afterthought, and it's where a lot of the earlier prep work gets undone if done wrong.
Pick a cover actually sized for a cruiser's shape. Longer wheelbase, taller windshield if it's got one, saddlebags sticking out wider than a standard frame. A cover made for a sportbike will leave gaps everywhere on a cruiser, and gaps are exactly what let wind and moisture in. For Harley owners specifically, there's a cover built for that silhouette worth a look.
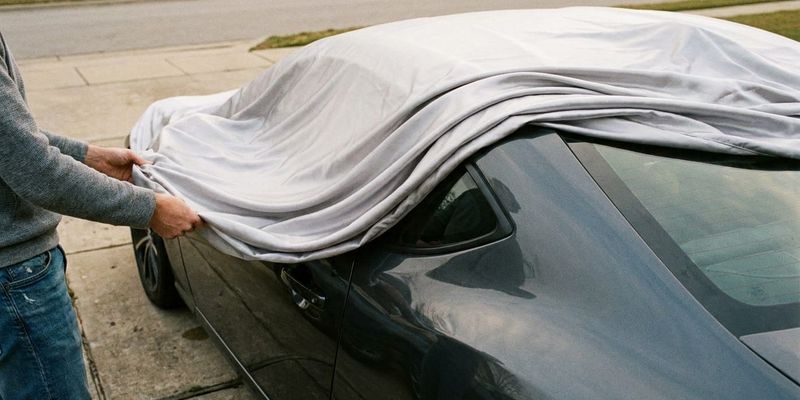
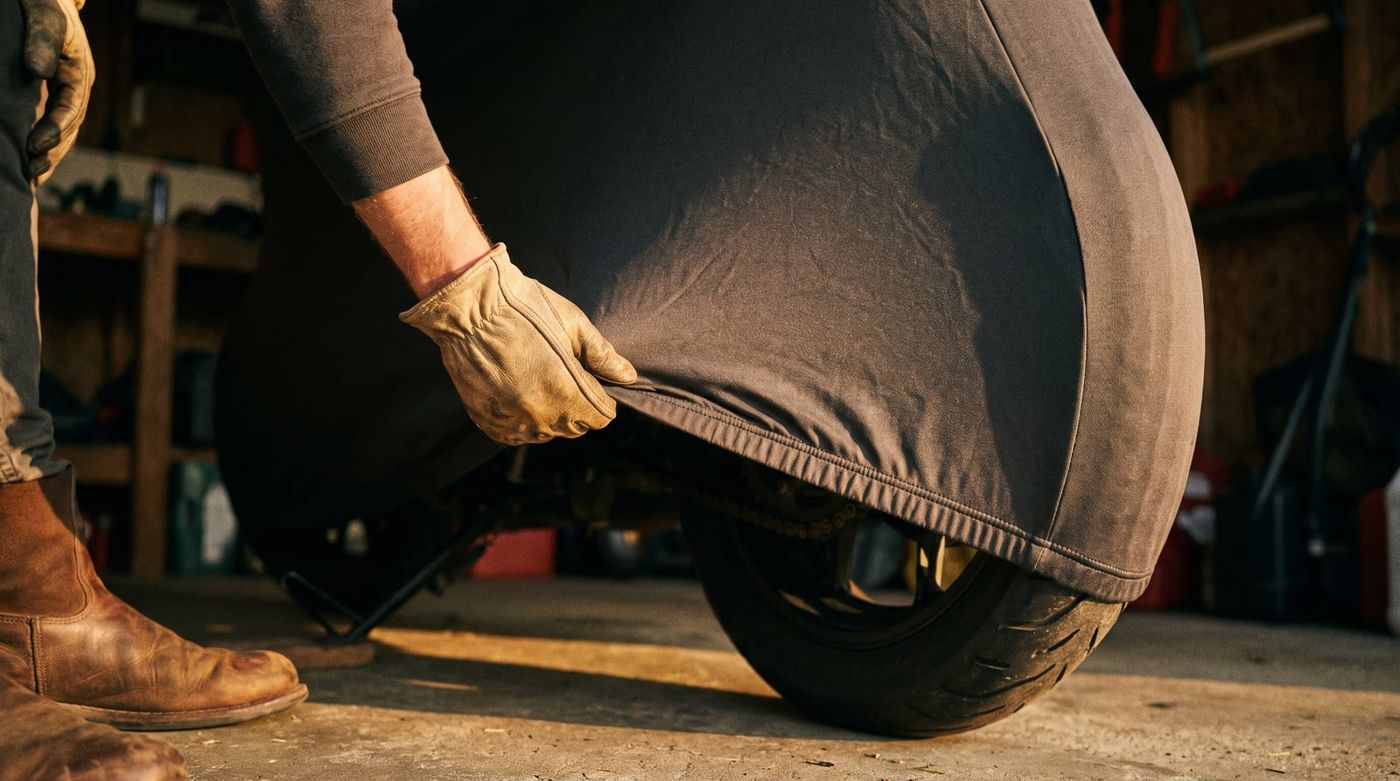
Drape it front to back, not side to side. Tuck it around the mirrors and any fairings so you're not leaving loose pockets where wind can grab hold and work its way underneath. Once it's draped, use the built-in straps, or add a gust strap underneath the frame, to cinch it down. Without that, a windy night can send the cover flapping against the paint like sandpaper for hours.
Here's the part people get wrong: don't pull it drum-tight. Leave a little slack. A cover stretched too tight presses right up against the bike's surface, and that's exactly where condensation collects and sits. A little give lets air move and moisture find its way out instead of getting trapped. If you've never installed a cover before, a quick walkthrough on fitting technique makes the first attempt a lot less fiddly.
Mid-Winter Maintenance Checks While Covered
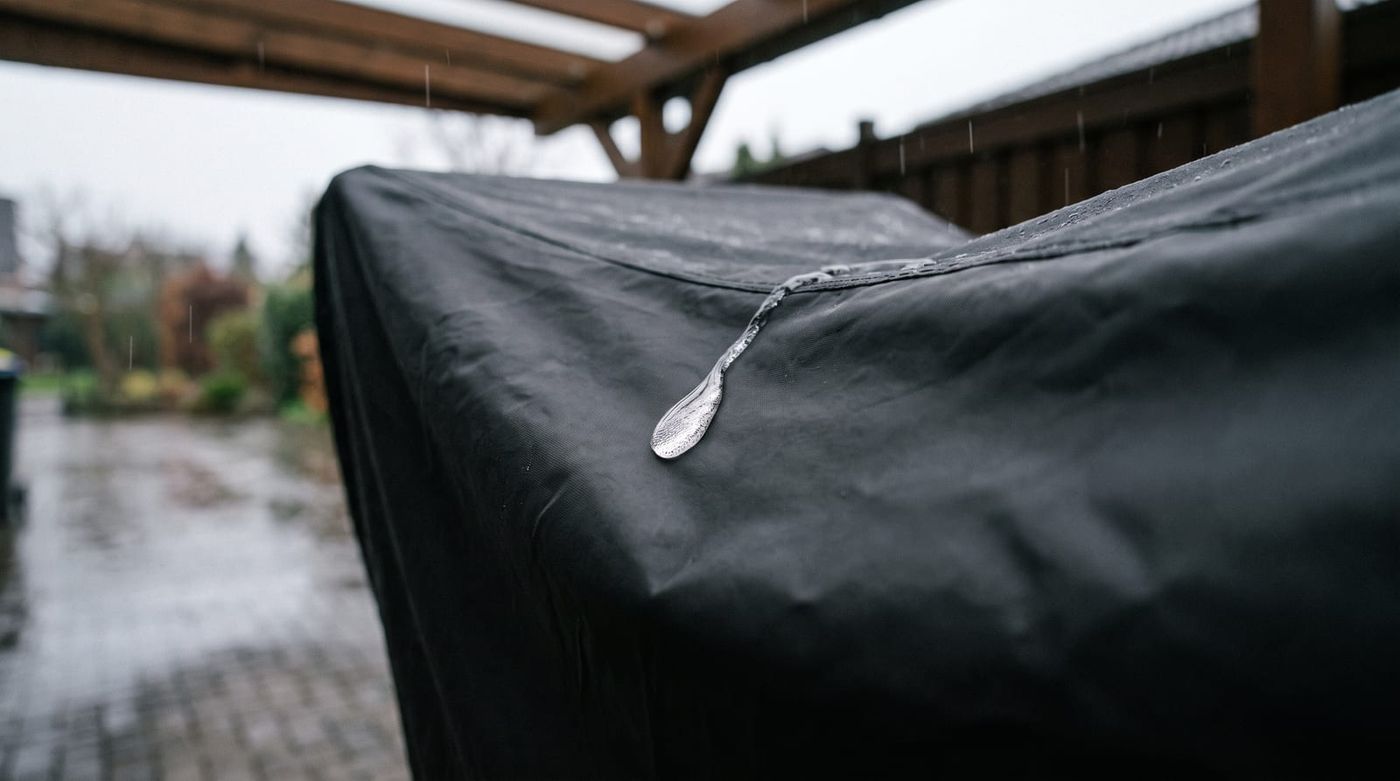
Covering the bike isn't a "set it and forget it" job. Once a month, lift the cover and take a look. Check for moisture buildup underneath, glance at tire pressure, check the status light on the battery tender. Takes five minutes, saves you from ugly surprises in April.
If you get heavy snow, brush it off the cover promptly. A couple inches of wet snow sitting on top for days puts real stress on the straps and, over time, on the suspension underneath. In places that go through freeze-thaw cycles, watch the base of the cover too. Ice can form around where it meets the ground or the tires, and in the worst cases it'll actually bond the cover to the bike or the pavement.
Honestly, these small monthly checks do more to prevent spring problems than the entire initial setup. A good prep job followed by zero attention all winter still ends up damaged. Keeping half an eye on it is what actually makes the difference between a bike that starts right up and one that needs a shop visit.
Ready for Spring: Final Thoughts and Next Steps
Run back through it: clean and inspect, protect the fuel system and engine, sort out the battery and tires, pick a smart storage spot, cover and secure it properly, then check in periodically through the season. That's the whole process for how to store a cruiser motorcycle for winter with a cover, and none of the steps are optional if you want the bike running clean in spring.
De-winterizing mirrors this process in reverse: reconnect the battery, recheck all the fluids, bring tires back to riding pressure, confirm the fuel system wasn't gumming up anywhere you missed. The two ends of the season bookend each other, so a little discipline in October pays off directly in March.
If you haven't picked out a cover yet, take a look at the cruiser-specific options out there and get the fit right before the first cold snap hits. And if you want more seasonal care tips like this, stick around, there's more where this came from.