How to Store a Scooter for Winter With a Cover: A Step-by-Step Guide
Published
Parking your scooter for the winter isn't as simple as throwing a sheet over it and forgetting about it until spring. A scooter left unprepped under a cover traps moisture against the chrome, the battery drains quietly in the cold, and by March you're dealing with rust spots and a dead starter. Knowing how to store a scooter for winter with a cover means handling the mechanical side first and the cover second. Skip a step and the cover just seals in whatever damage was already starting.
Why Winterizing Your Scooter Matters
An uncovered scooter sitting outside all winter takes a beating from snow, road salt, and UV rays. But even a covered scooter can suffer if you don't prep it first. Trapped moisture under a cover works on chrome and chain links the same way an open winter does, just slower and sneakier. The battery drains faster in cold temperatures regardless of whether a cover's on it. UV rays still fade paint and crack seats even on cloudy winter days. And mice love a quiet garage corner with a warm exhaust pipe or a seat cushion to nest under.
Short-term storage, say a few weeks between rides, doesn't need the full treatment. A quick wipe-down and a cover will do. But full seasonal storage, three months or more, is a different animal. Fuel sits long enough to gum up a carburetor. A battery left connected can drain to the point of no return. That's the kind of storage this guide is built for.
We'll go in order: clean and prep the mechanical side first, pick a storage spot second, then get into the cover itself, because a great cover over a poorly prepped scooter still ends in rust.
Step 1: Clean the Scooter Thoroughly Before Storage
Wash everything, frame, panels, wheels, before it goes into storage. Road salt and bug residue sitting against paint or metal for months will etch and corrode in ways a quick spring wash can't undo.
Dry it completely. Under the seat, around the headlight housing, anywhere water pools. This part matters more than people think: trapped moisture under a cover is worse than no cover at all, since the cover holds it right against the surface instead of letting it evaporate.
Once it's dry, put a coat of wax or protectant on painted surfaces and lubricate the chain or belt, cables, and exposed hinges. Bare metal left unprotected for months will start showing surface rust before you know it. While you're at it, check and clean the air filter. Dust sitting in there all winter compacts and makes spring startup harder than it needs to be.
Step 2: Prep the Fuel System and Fluids
Fuel left sitting in a tank for months starts to break down. Add a fuel stabilizer, then run the engine for a few minutes so it circulates through the carburetor or injection system, not just the tank.
Fill the tank close to full before storage. An empty or half-empty tank leaves room for condensation to build up on the inside walls, and that moisture ends up in your fuel line.
Check your oil. If it's due for a change, do it before storage rather than after. Old oil carries contaminants that sit against engine parts for months doing nothing good. And top off tire pressure slightly above normal, since cold weather naturally drops pressure over time and you don't want to come back to flat-feeling tires in spring.
Step 3: Protect the Battery
Cold is hard on batteries, and a scooter's electronics draw a small parasitic current even when it's off. Over a few months that adds up. If you're storing longer than a month, disconnect the battery entirely.
If you'd rather leave it connected, use a trickle charger or battery tender, especially in an unheated garage where cold accelerates discharge on its own. A tender keeps it topped off without overcharging.
If you do remove the battery, store it somewhere cool and dry, and keep it off direct concrete if you can; a shelf or wooden surface works better. Check the charge level once a month through winter so you're not caught off guard in spring.
Step 4: Choose the Right Storage Location
Indoor storage, a garage or shed, is always lower risk than outdoor. Less moisture, less temperature swing, less chance of someone walking off with it. If you've got the space, use it.
If the scooter has a center stand, use it. Taking the weight off the tires prevents flat-spotting, where the tire develops a permanent flat section from sitting in one position too long.
Don't park directly on dirt or grass. Ground moisture wicks upward and sits against the tires and undercarriage all winter. A mat, a sheet of plywood, or a couple of pavers underneath breaks that contact and keeps things drier.
If a garage or shed just isn't an option and you're storing against a wall or under an overhang outside, the prep matters even more. Our guide to using a car cover outdoors covers the same waterproofing, wind, and UV concerns that apply here, just scaled to scooter size.
Step 5: Pick the Right Cover for Winter Conditions
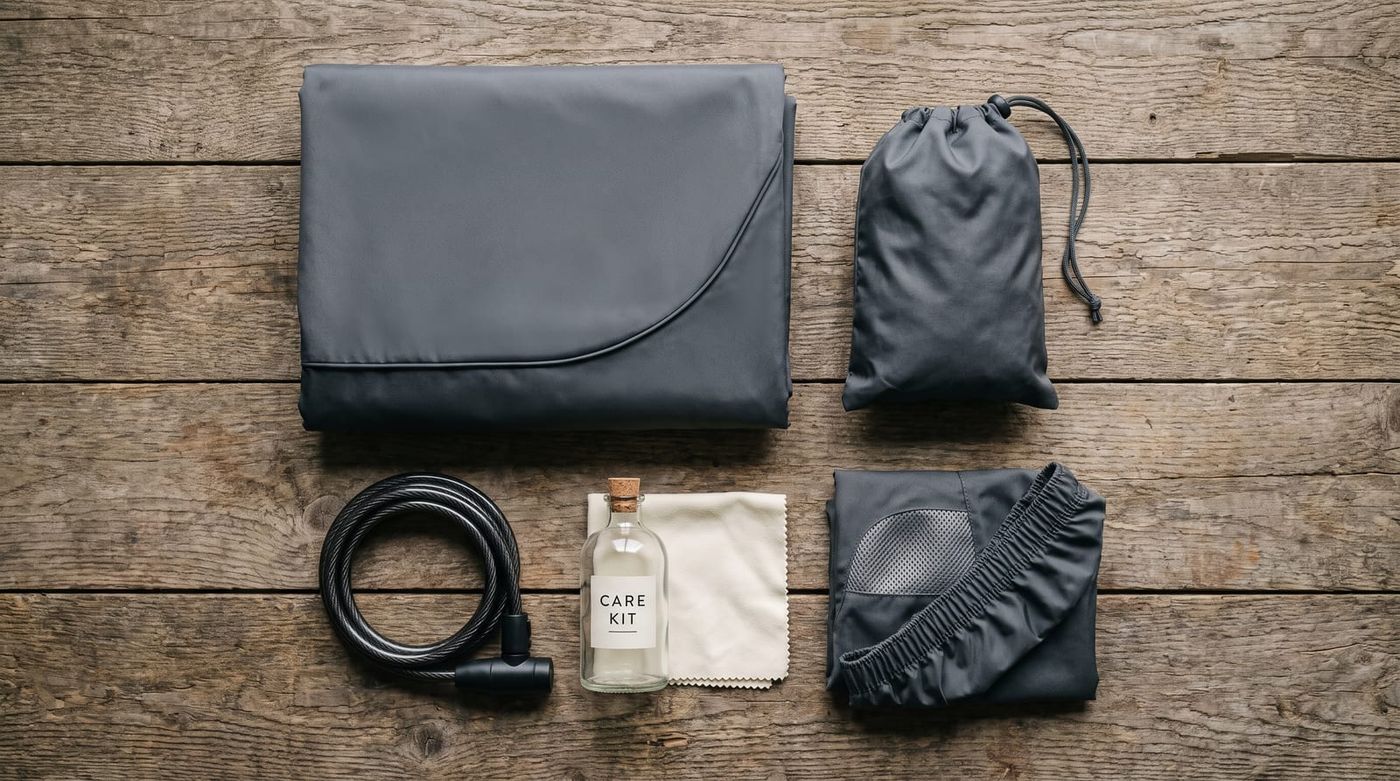
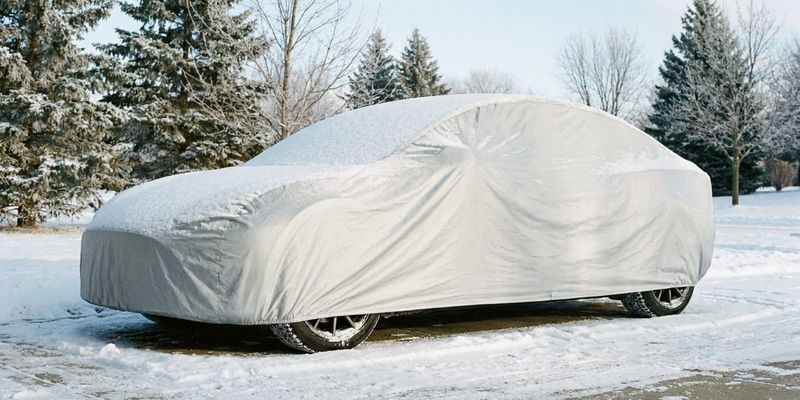
Not all covers are built for winter. You want a waterproof or water-resistant outer layer paired with a breathable inner lining, because a fully sealed, non-breathing cover traps condensation just as badly as no cover does. UV resistance still matters too. Winter sun is weaker, not absent.
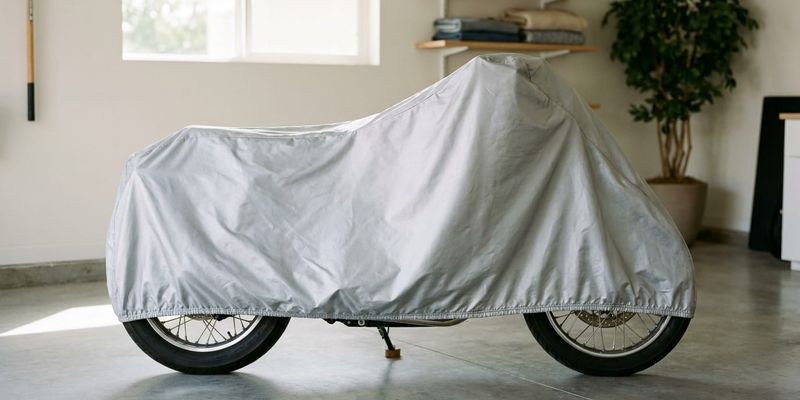
Sizing matters more than people expect. A cover that rides up and exposes the wheels defeats the purpose. Look for one that reaches down near the wheels and has elastic hems or a cinch cord, so wind can't work its way underneath and start flapping it loose.
There's a real difference between a basic all-weather cover and a heavier-duty winter cover built for snow load and freezing rain. If you're in a region that gets real snow accumulation, the heavier option is worth it. If you're storing indoors, you can go lighter, since a basic dust cover handles indoor conditions fine without the bulk of a full waterproof shell. Outdoor storage is where you want the real waterproof car cover protection, not the lightweight version.
Browse the full range of scooter covers to compare weights and materials side by side, or check the brand-specific options if you ride a Vespa, Honda, or Yamaha scooter and want a closer factory fit.
Step 6: Install and Secure the Cover Correctly
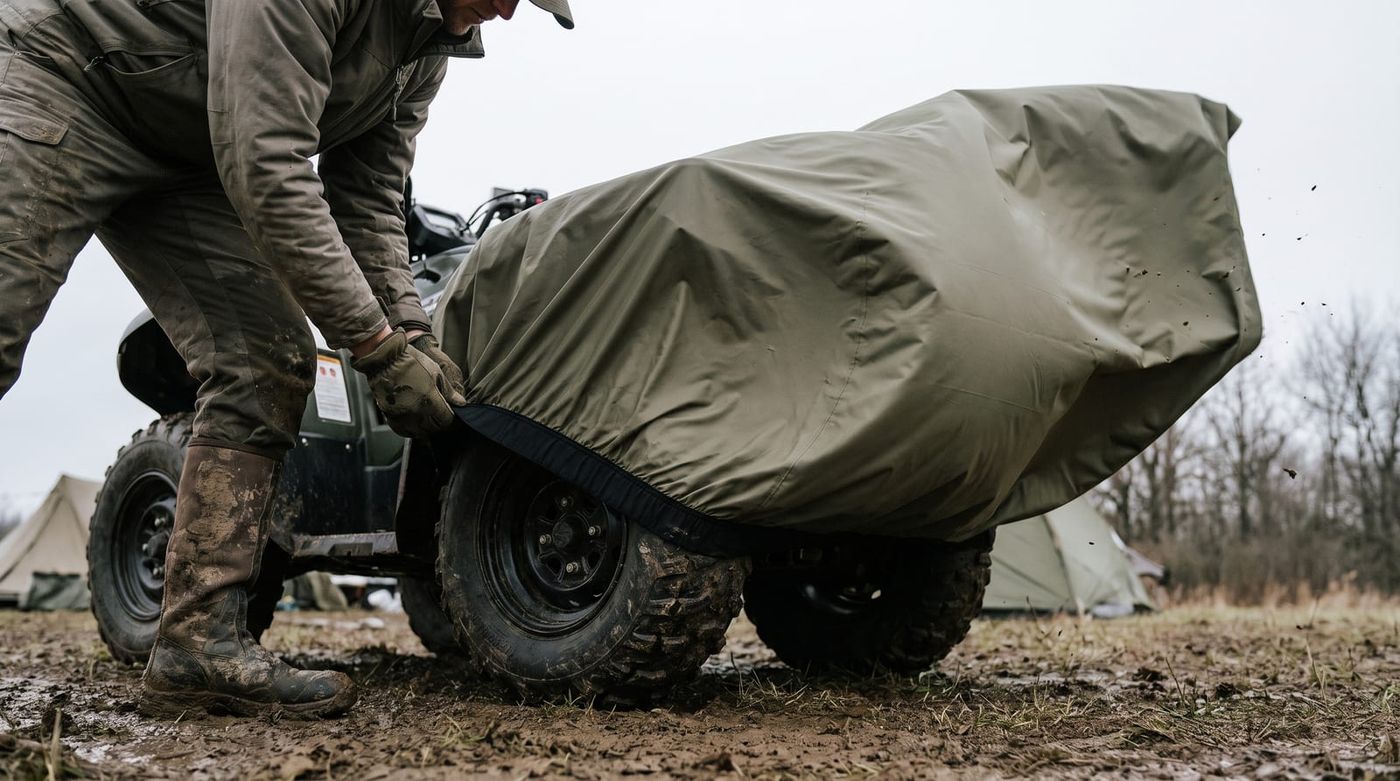
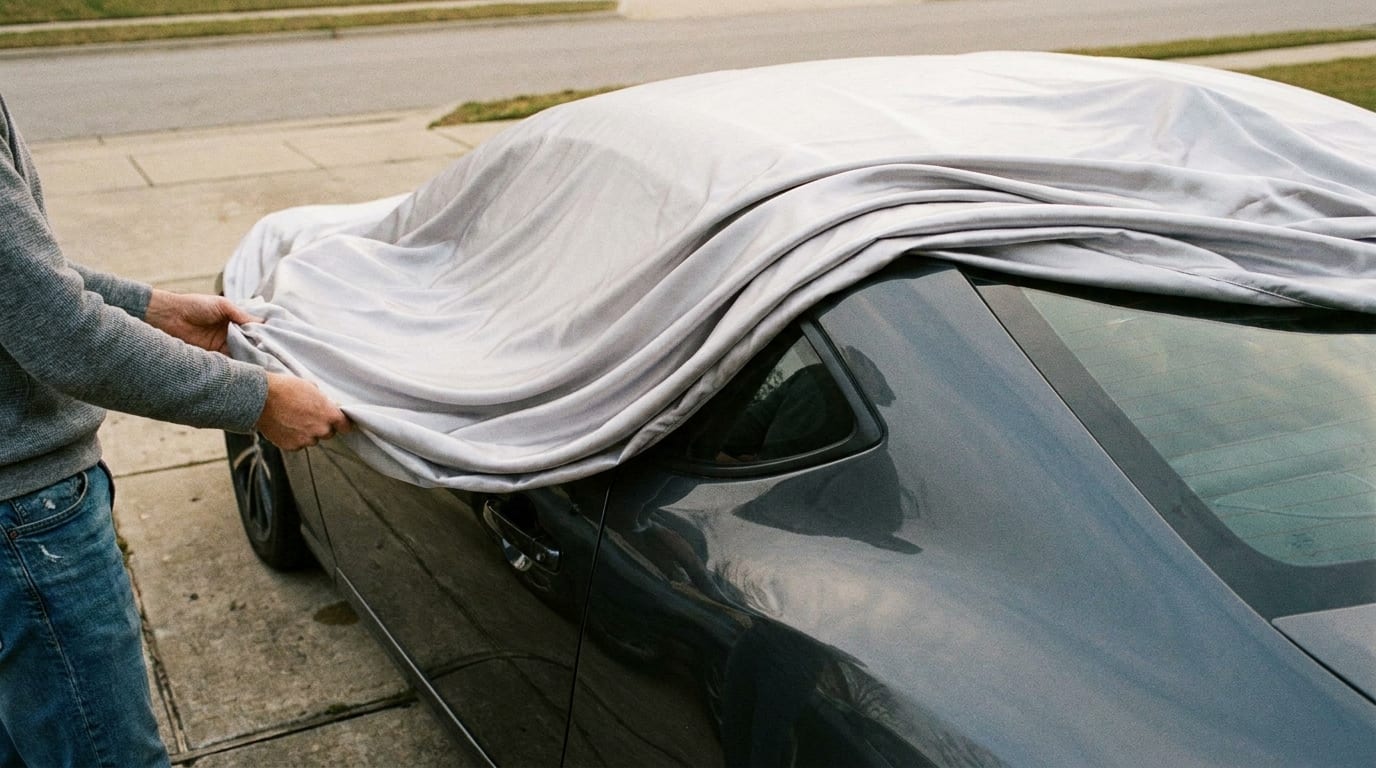
Order matters here. Cover the mirrors and windshield first if your scooter has one, then drape the cover over the seat and front fairing, pulling down evenly on both sides so it settles square instead of lopsided.
Once it's on, secure any built-in straps or grommets underneath the frame. This is what keeps wind from getting under the edge and lifting the whole cover off in a gust.
If you're storing outdoors in a windy spot, run a cable lock through the cover's grommets. It does double duty: deters theft and keeps the cover from blowing away during a storm. Our guide on how to install a cable lock walks through the setup, and if you're dealing with regular high winds, installing gust straps adds another layer of hold.
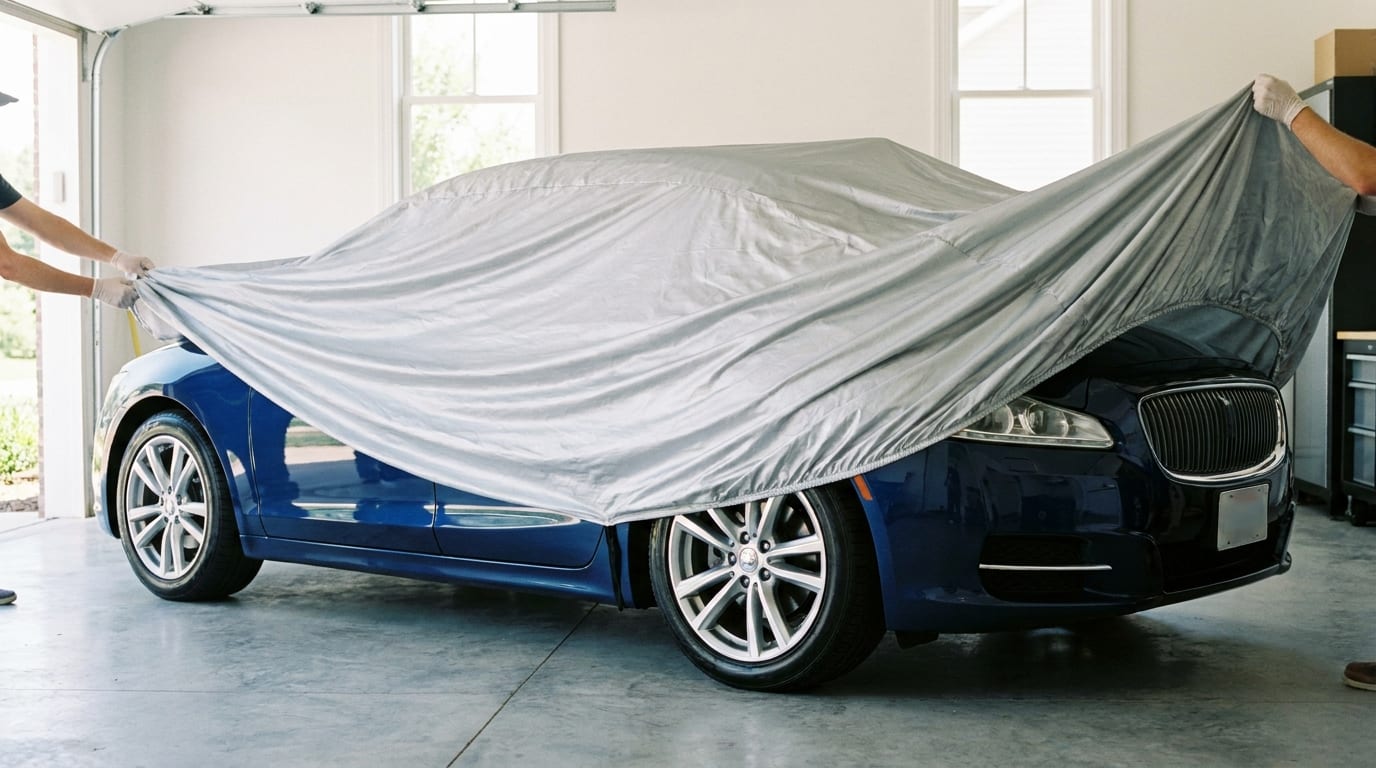
One more thing: let the scooter cool completely before covering it. Throwing a cover over a warm exhaust or engine right after a ride traps heat against the fabric and can scorch or warp it.
Winter Storage Checks and Getting Ready for Spring
Don't just walk away for three months. Check in every couple of weeks: battery charge, tire pressure, and whether the cover's still secured after any storms. Wind has a way of working straps loose over time.
If you get heavy snow, brush it off the top of the cover rather than letting it pile up. The weight stresses seams and straps more than you'd think, especially on a lighter cover.
Come spring, de-winterizing follows the reverse order: fresh fluids if needed, reconnect the battery, check tire pressure again since cold months will have dropped it further than you expect. If you store other seasonal vehicles too, the process is similar across the board. Our jet ski de-winterizing guide covers the same logic for watercraft, if that's part of your garage lineup.
Keeping your cover clean through the season helps it last longer too. A quick read on how to clean a car cover is worth bookmarking for when spring rolls around.
That's really the whole process: clean it, prep the fuel and battery, find it a dry spot, and cover it right. Once you've got that routine down, storing a scooter for winter with a cover stops being a chore and just becomes something you do every fall without thinking twice. If you're still shopping for the right fit, take a look through our scooter cover lineup and find one built for your riding season ahead.