How to Store a Sport Bike for Winter With a Cover: A Step-by-Step Guide
Published
Sport bikes don't like winter. The low stance, exposed plastics, and tuned-for-summer fuel systems make them fussier to store than a cruiser you can just roll into a corner and forget about. If you're figuring out how to store a sport bike for winter with a cover, the cover itself is actually the easy part. What happens before you throw it on is what decides whether your bike fires up clean in April or fights you for two weeks.
Why Winter Storage Prep Matters for Sport Bikes
A cover is the last step, not the whole plan. Toss one over a dirty bike with a half-empty tank and a dying battery, and you've basically built a greenhouse for problems you didn't fix.
Sport bikes have specific weak points here. The fairings and paint are thin, glossy, and sit right out in the open, so UV exposure and temperature swings crack and fade them faster than you'd expect. The bike's light weight concentrates pressure on two small contact patches, which makes flat-spotting tires a bigger risk than on a heavier cruiser or touring bike. And fuel systems on performance engines are tuned tight, so ethanol-blended gas left sitting for months gums up injectors and carbs quicker than you'd think possible.
This guide walks through the full process in order: clean the bike, handle fuel and battery, protect the tires, pick the right cover, install it correctly, then keep checking on it through the winter. Skip a step and the cover's just hiding the damage, not preventing it.
Step 1: Wash and Dry the Bike Before Covering It
Dirt, bug guts, and road salt sitting under a cover for four months don't just look bad. They etch paint and eat into chrome and exhaust finishes while you're not looking.
Give the bike a real wash with a motorcycle-safe soap, not whatever's under your kitchen sink. Then dry it. All of it. Under the seat, around the swingarm, inside the wheel wells where water likes to hide. Trapped moisture under a cover is how mildew gets started, and once it's on the seat foam or wiring, it's not coming off easily.
Once it's dry, a coat of wax on the paint and a plastic or chrome protectant on polished surfaces adds a barrier layer that'll hold up better through months of sitting than bare paint will. It's a small step that pays off in March.
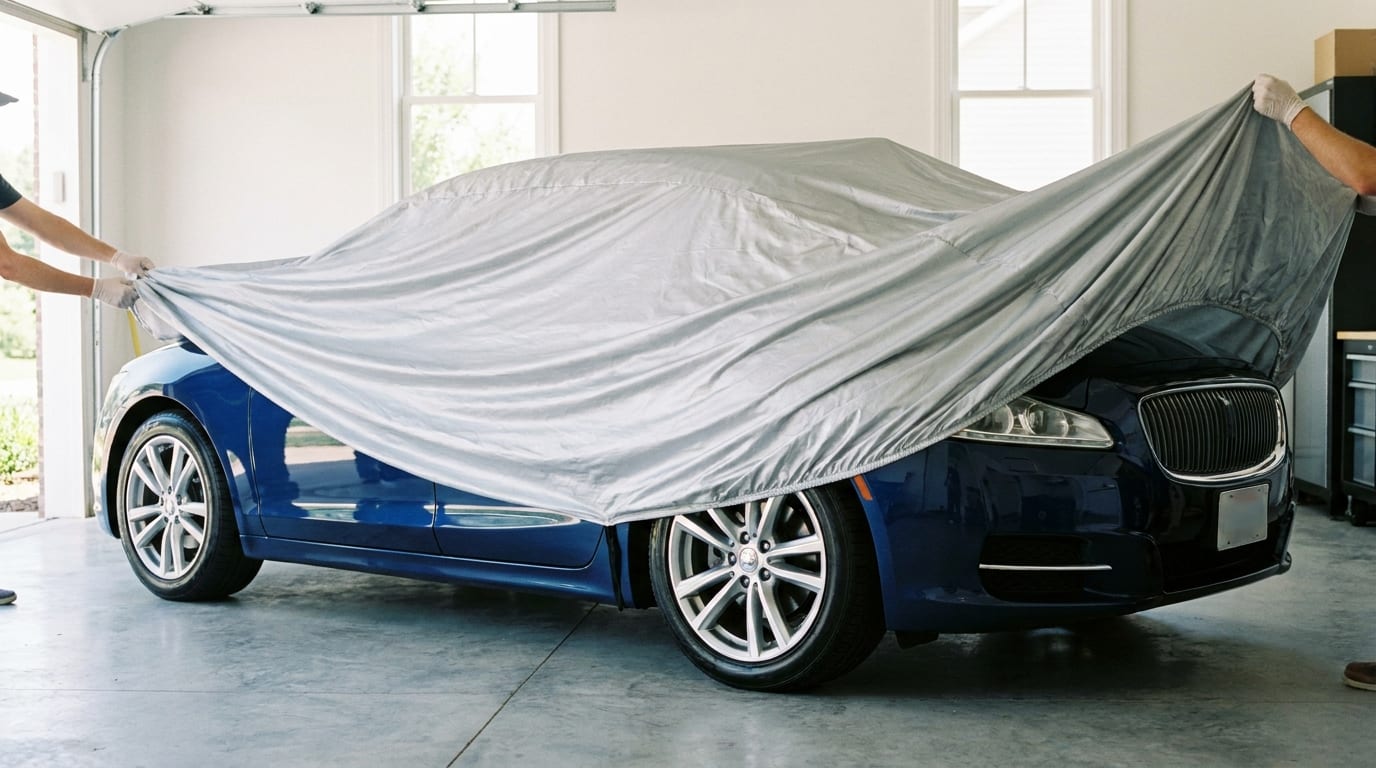
One more thing people skip: check the cover itself before you use it. A cover that's been balled up in a garage corner all summer is going to have dust and grit embedded in the fabric, and that grit will rub against your paint every time wind shifts it. Shake it out, wipe it down, then use it.
Step 2: Prep the Fuel System and Battery
Ethanol-blended gas doesn't age well. Left alone for a winter, it separates and gums up injectors or carb jets, and on a sport bike with tight tolerances, that's an expensive cleanup. Add a fuel stabilizer to a full tank before storage. Full, not half full, because a mostly empty tank leaves room for condensation to build up on the inside walls, and that water ends up in your fuel line.
Tank sizes vary a lot across sport bikes, so how much stabilizer you need depends on the model. A smaller sportbike might hold under 4 gallons, while some liter bikes push past 5. Check your owner's manual and dose the stabilizer bottle accordingly, don't eyeball it. If you're curious how fuel capacity plays into range and tank size across different models, this breakdown of motorcycle fuel range is worth a look.
Battery's the other half of this. Either pull it and store it somewhere temperate, or leave it connected to a battery tender/trickle charger that won't overcharge it. A battery that sits dead all winter usually won't take a charge again in spring, and that's a bike that doesn't start on the first warm day.
Step 3: Protect the Tires and Suspension
Sport bike tires sitting in one spot for months develop flat spots, especially on a concrete garage floor. It's worse here than on heavier bikes because the weight distribution concentrates on a smaller contact patch.
Best fix is a rear paddock stand, and a front stand too if you've got one, so both wheels come off the ground entirely. No stands? Roll the bike forward or back a few feet every couple weeks so it's not resting on the exact same spot of rubber the whole winter.
Before you walk away from it, inflate the tires to the upper end of the manufacturer's recommended PSI range. Tires lose pressure naturally over time, and starting higher gives you a buffer against flat-spotting and against discovering a soft tire in spring.
If stands aren't in the budget and the bike's sitting directly on concrete, throw a mat or piece of plywood under the tires. Concrete pulls moisture out of rubber over time, and that's not something you want happening to tires you'll trust again in a few months.
Step 4: Choose the Right Cover for Where You're Storing It
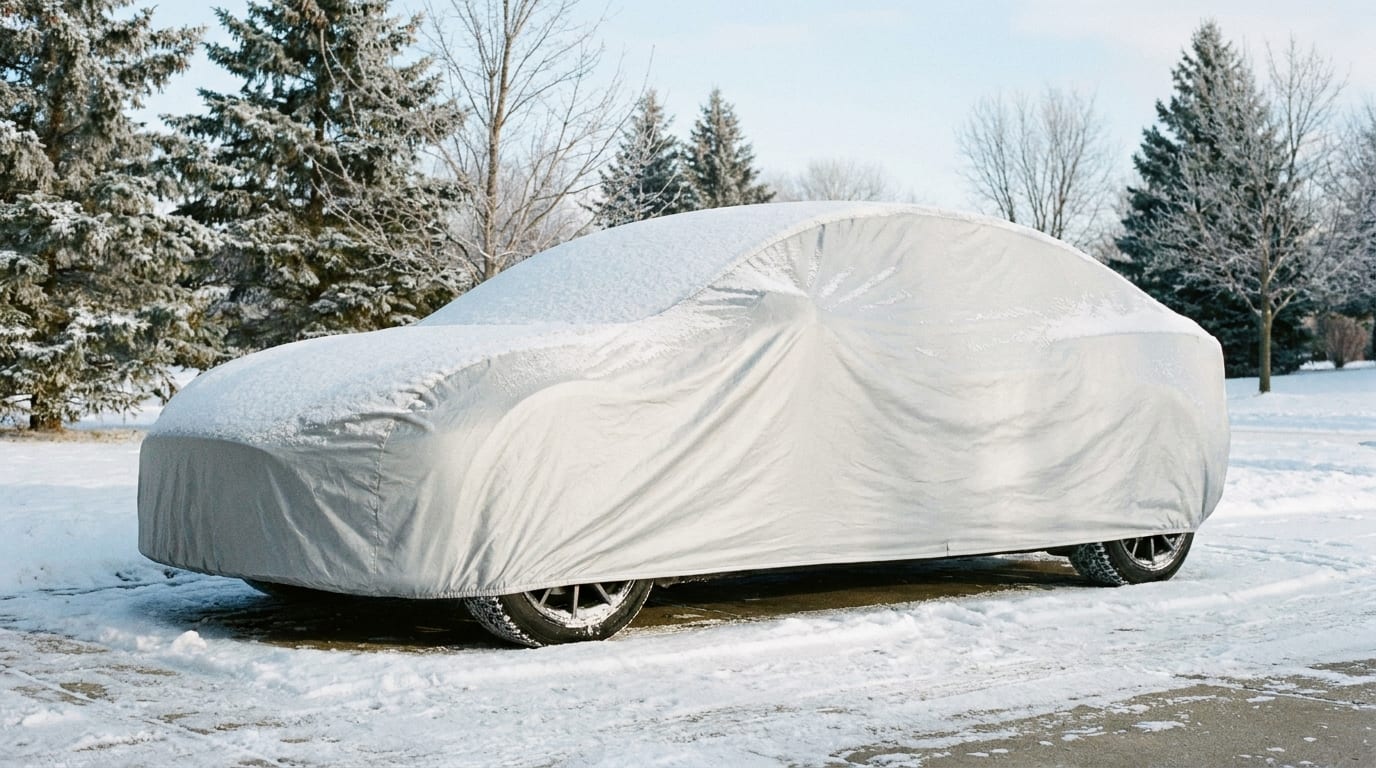
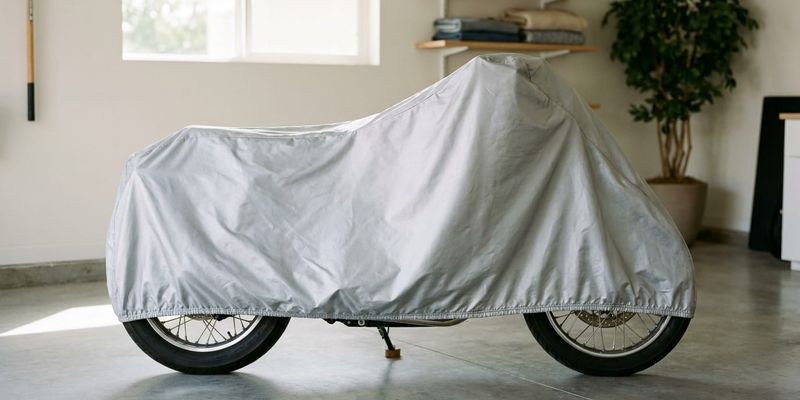
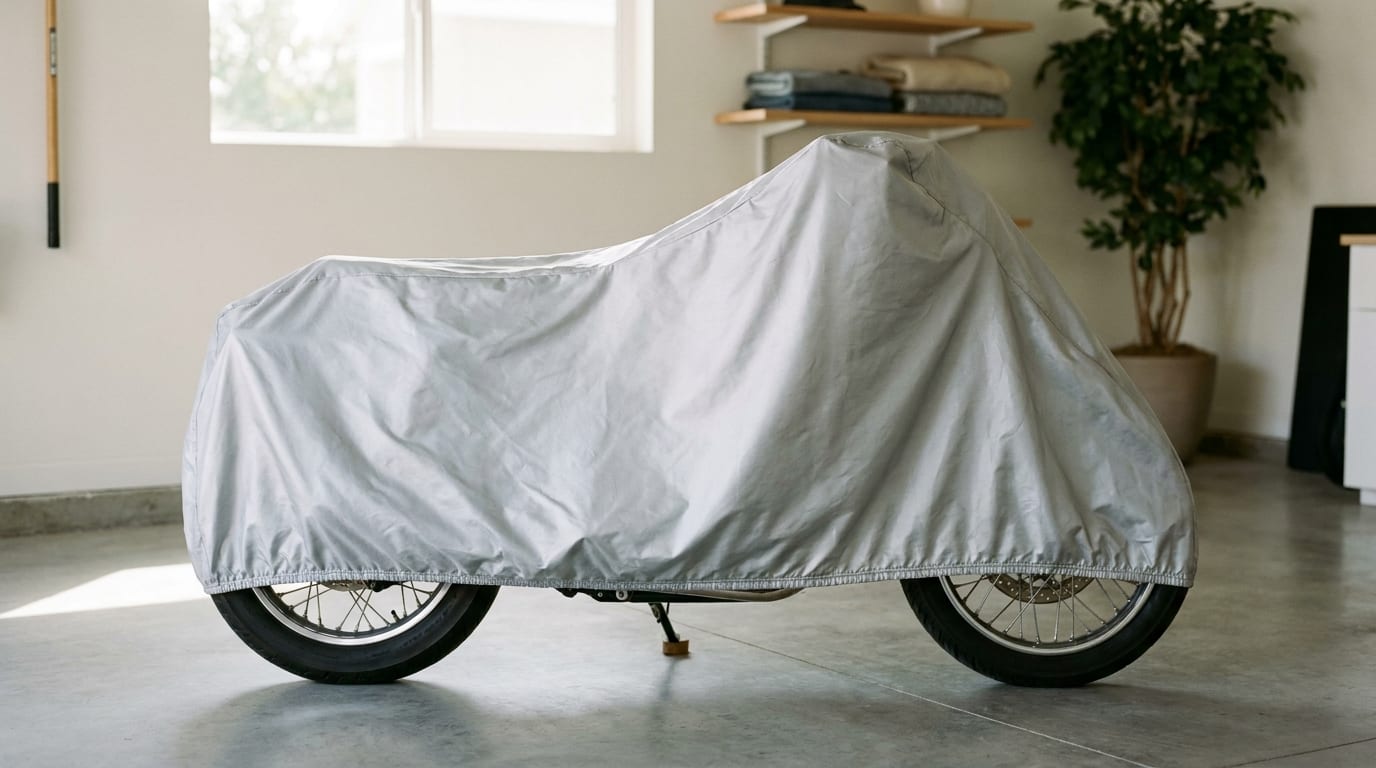
Indoor and outdoor storage call for different covers, and using the wrong one undercuts everything else you just did. A bike kept in a garage mostly needs protection from dust and accidental scratches, so a lighter, breathable indoor cover does the job without overkill. A bike parked outside all winter needs something built for snow, wind, and standing moisture, which means an outdoor cover rated for the elements, not just a dust sheet with a drawstring.
Fairing shape matters more on sport bikes than almost any other motorcycle style. Models like the Yamaha YZF-R6, Kawasaki Ninja, Honda CBR, Suzuki GSX-R, and Ducati Panigale all have aggressive bodywork and windscreens that a generic, loose-fitting cover won't hug properly. Wind gets under the slack fabric and flaps it against the plastic for months, which is basically slow-motion sandpaper. A cover cut for the fairing and screen keeps that from happening. You can browse model-specific options under Yamaha, Kawasaki, Honda, and Ducati covers if your bike's one of these.
Here's the part people get backwards: pure waterproofing isn't actually the goal. A fully waterproof, non-breathable cover traps whatever condensation forms underneath it, and that moisture sitting against your paint and seat all winter causes the same kind of damage you were trying to avoid. You want water-resistant and breathable more than you want a vacuum seal.
Step 5: Install and Secure the Cover Correctly
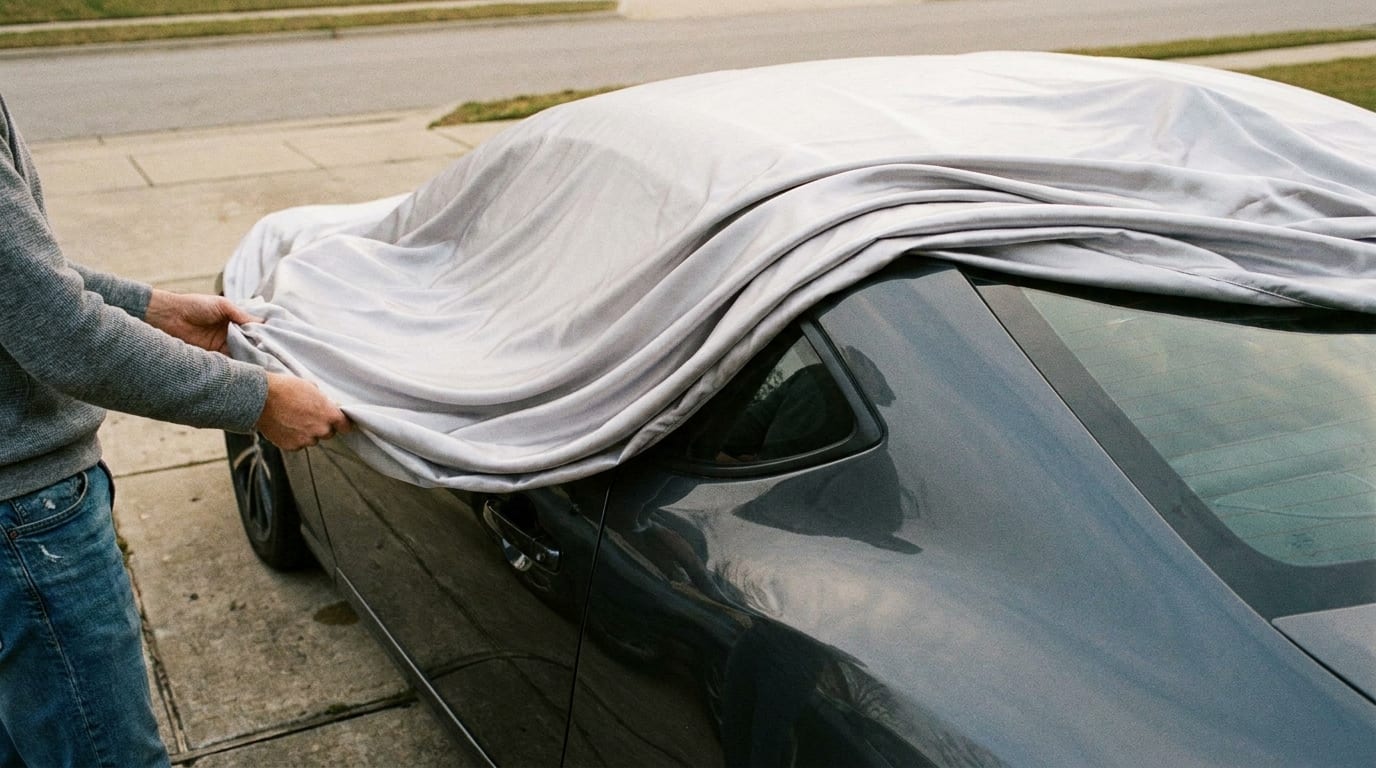
Drape it front to back, not the other way, so wind doesn't catch it like a sail from the nose. Work any built-in straps underneath the frame and cinch them snug, then go back and check that mirror and fairing cutouts are actually seated where they're supposed to be and not bunched up or pulling the fabric tight somewhere it shouldn't. A rushed install here undoes the fit advantage of a model-specific cover. If you want the full walkthrough, this cover installation guide covers it step by step.
Storing outside, add a wind or gust strap. Loose cover fabric flapping in winter gusts rubs against paint for months, and that's a slow way to dull a finish you just waxed. Installing a gust strap takes maybe ten minutes and solves it.
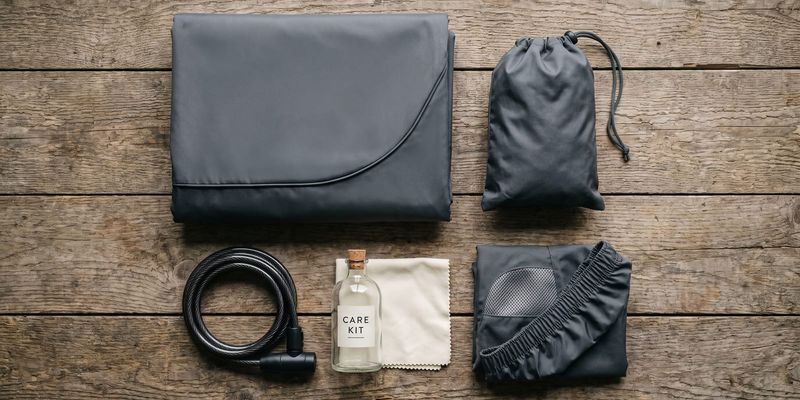
If the bike's outside or in a shared garage, run a cable lock through the cover and around something solid. It won't stop a determined thief, but it's a real deterrent against the opportunistic kind.
Check the fit every couple of weeks through winter. Snow buildup and wind both shift a cover out of place over time, and a cover that's slipped halfway off is worse than no cover, because now the exposed half is catching everything.
Mid-Winter Checks to Keep the Bike Storage-Ready
Don't just cover it and vanish until spring. Check the battery tender connection and charge level every few weeks. These things can trip or fail, and you won't know until you're standing there with a dead battery in April.
Once a month, lift the cover and look underneath. You're checking for moisture buildup, any sign pests have moved in, or straps that have worked themselves loose. Five minutes, worth doing.
If the bike's not up on stands, roll it a bit each time you check on it. Same logic as before, just spread out over the season instead of a one-time fix.
And if it's snowing where you store the bike, brush accumulation off the cover promptly. Wet snow sitting on the fairing area for days adds real weight and keeps the fabric damp against the plastic underneath, which works against everything breathability was supposed to buy you.
Getting Your Sport Bike Ready to De-Winterize in Spring
When the weather turns, the process runs in reverse: pull the cover, reconnect the battery, check your fluids, and do a short test start before you take it anywhere near traffic. None of that is complicated if you did the fall prep right.
That's really the whole point of doing this properly now. A bike that's been cleaned, stabilized, and covered correctly all winter doesn't need a rescue mission in spring, it just needs a once-over and a key turn. If you're still shopping for the right fit, take a look at CarCovers' motorcycle cover lineup to find one built for your specific model, and consider subscribing for more seasonal maintenance guides like this one.