How Do You Attach a Car Cover's Straps and Grommets? Step-by-Step Guide
Published

Straps and grommets are the difference between a car cover that stays put through a windstorm and one that ends up wrapped around your neighbor's mailbox. If you've ever wondered how do you attach a car cover's straps and grommets so they actually hold, the short version is: thread them through the hem loops, cinch them snug underneath the vehicle, and check the tension on both ends. The longer version, with the details that actually matter, takes about six steps. Here's how to do it right.
Why Straps and Grommets Matter on a Car Cover
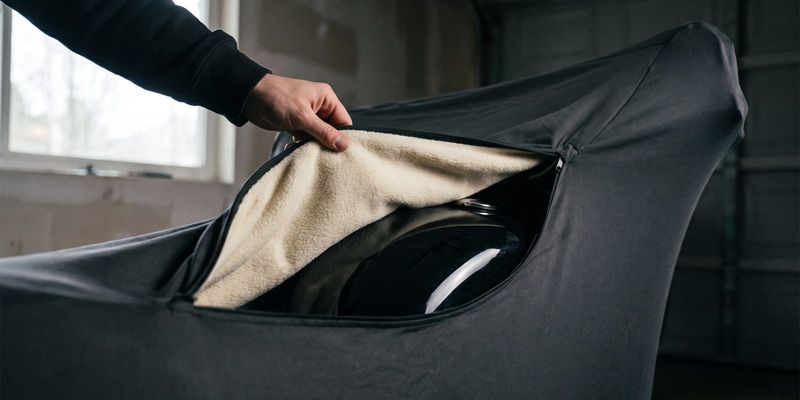
Grommets are the reinforced eyelets stitched into a cover's lower hem. Straps thread through those eyelets and pull the fabric snug against the body, instead of letting it billow like a tent. That's the whole system in one sentence.
Skip this step, or do it half-heartedly, and the cover flaps every time a truck passes or the wind kicks up. Flapping fabric rubs against paint. It also works the stitching loose at the seams over months of use, so a cover that should last years starts fraying in one.
Not every cover has this hardware, either. Basic indoor dust covers usually skip straps and grommets since they're not fighting wind or weather. Mid-tier and premium outdoor covers almost always include them, so check the product description before you assume yours does or doesn't.
Once you know where the anchor points sit, the whole process of how you attach a car cover's straps and grommets takes five to ten minutes. No tools, no guesswork, just a logical order. For the bigger picture beyond straps alone, the full installation walkthrough covers draping, fitting, and storage in one place.
What You'll Need Before Starting
You don't need much: the cover itself, and the straps or cable that came packaged with it (cable-lock covers use a steel cable instead of fabric straps). A soft cloth helps too, if the grommet areas have picked up dust from storage.
Park on level ground first. A car on a slope pulls the cover unevenly as you work, and you'll end up re-threading straps you already tightened. Wash and dry the vehicle before covering it, since trapping grit under the fabric is how you get swirl marks later.
One more thing worth doing before you touch a single strap: check the size tag. Fitted covers aren't symmetrical front to back, so grommets and strap lengths sit differently at each end. Throw it on backward and you'll fight the hardware the whole time. If you're not sure your cover's dimensions match the vehicle to begin with, the car cover sizing guide is worth five minutes before you start strapping anything down. Shopping new instead? A custom-fit cover cuts out a lot of this guesswork since the grommets are placed for your exact vehicle, not a generic size range.
Step 1: Drape the Cover and Locate the Grommets
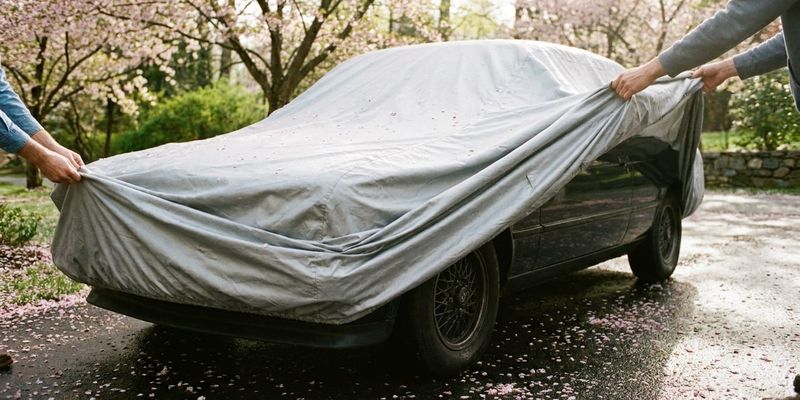
Start at whichever end the label says, front or rear. Let the fabric settle into the body lines on its own instead of yanking it into place. Most covers are cut to drape close already.
Grommets usually sit along the lower hem near the front and rear bumpers. Some covers add a pair at the rocker panels too, for extra tension points along the sides. Walk around the car and spot every one before you touch a strap. For hardware layouts that don't match what's described here, the installation guides hub has diagrams for a lot of common cover styles.
Smooth out wrinkles and center the cover side to side. This matters more than people think. If it sits a couple inches off-center, the grommets on one side pull diagonally instead of straight down, which stresses the stitching unevenly.
Step 2: Thread the Straps Through the Grommets
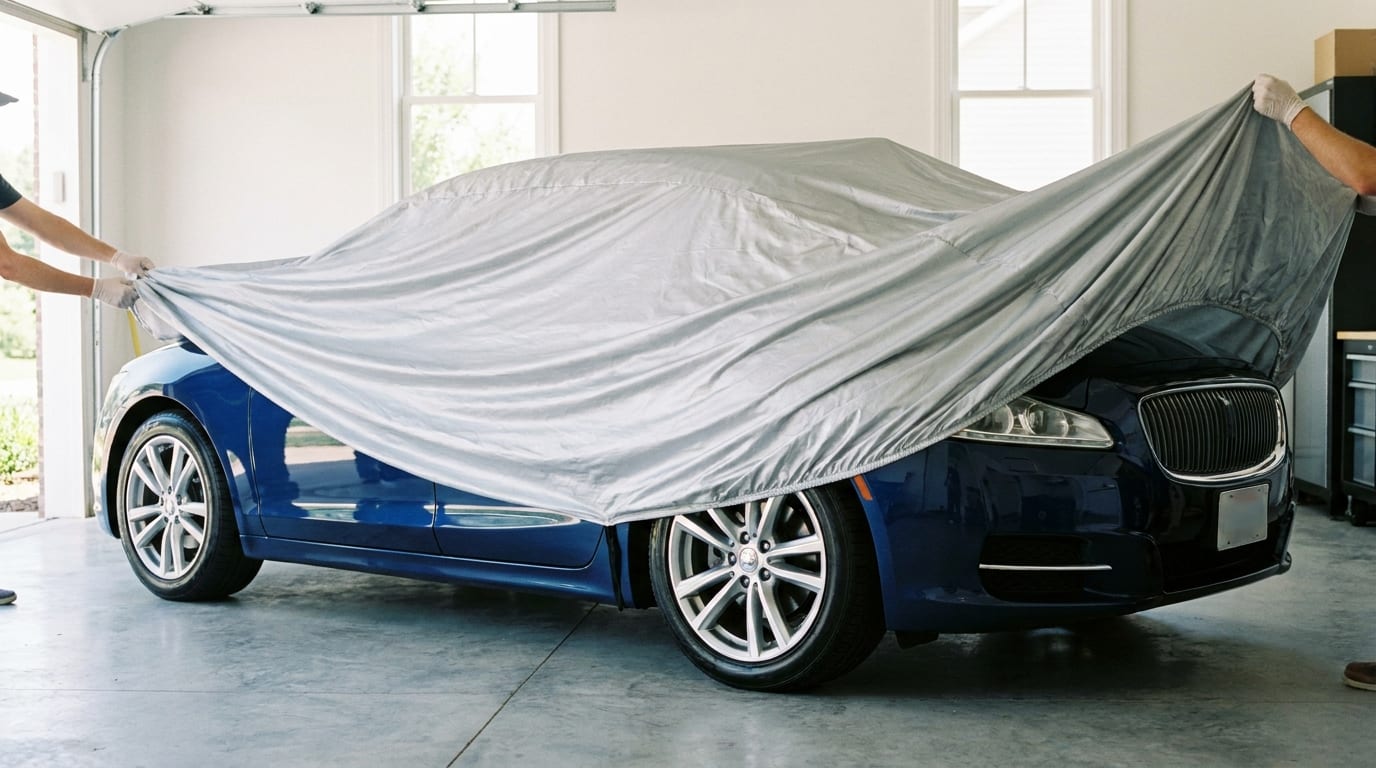
Feed the strap end through the grommet hole from the outside, pushing it toward the underside of the car so it comes out facing the opposite side, ready to meet its buckle partner.
If your cover has both a front and rear strap, which most do, repeat the motion at both ends. That's what pulls the cover taut from two directions instead of one, so it doesn't bunch up in the middle.
Don't let the strap twist as it passes through the grommet. A twisted strap saws against the eyelet edge every time the wind tugs on it, and over a season or two that wears a groove into the material. Keep it flat.
Cable-lock covers work a little differently, since the cable runs through a dedicated channel instead of individual grommets. If that's what you've got, the cable-lock installation guide walks through the locking mechanism specifically.
Step 3: Secure the Straps Underneath the Vehicle
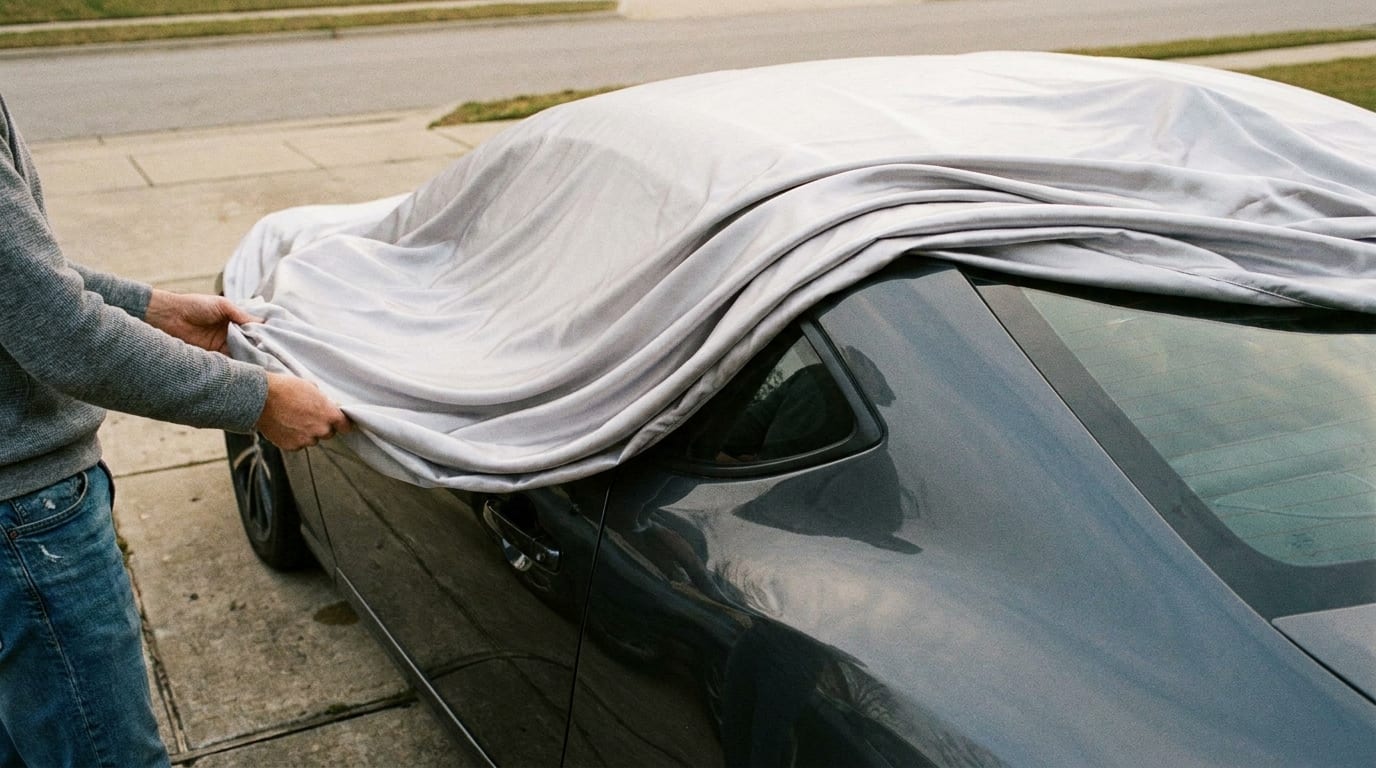
Securing the straps underneath is really the second half of attaching a car cover's straps and grommets correctly, and it's where people rush. Reach underneath and connect the buckle or clip. Pull it snug, firm enough that the cover sits flat against the body, but stop before the fabric starts stretching tight across the panels.
Cam-buckle and ladder-lock straps work the same way: feed the tail through the buckle, pull down, and the cover should settle flush against the bumper edge. You'll feel it stop giving once it's seated right.
Take a second to check where the strap actually sits. It should lay flat against the undercarriage, not draped across the exhaust or snagged on a sharp edge near the frame. A strap melted onto a hot exhaust pipe is a cheap, avoidable mistake.
Step 4: Add Wind or Gust Straps for Extra Hold
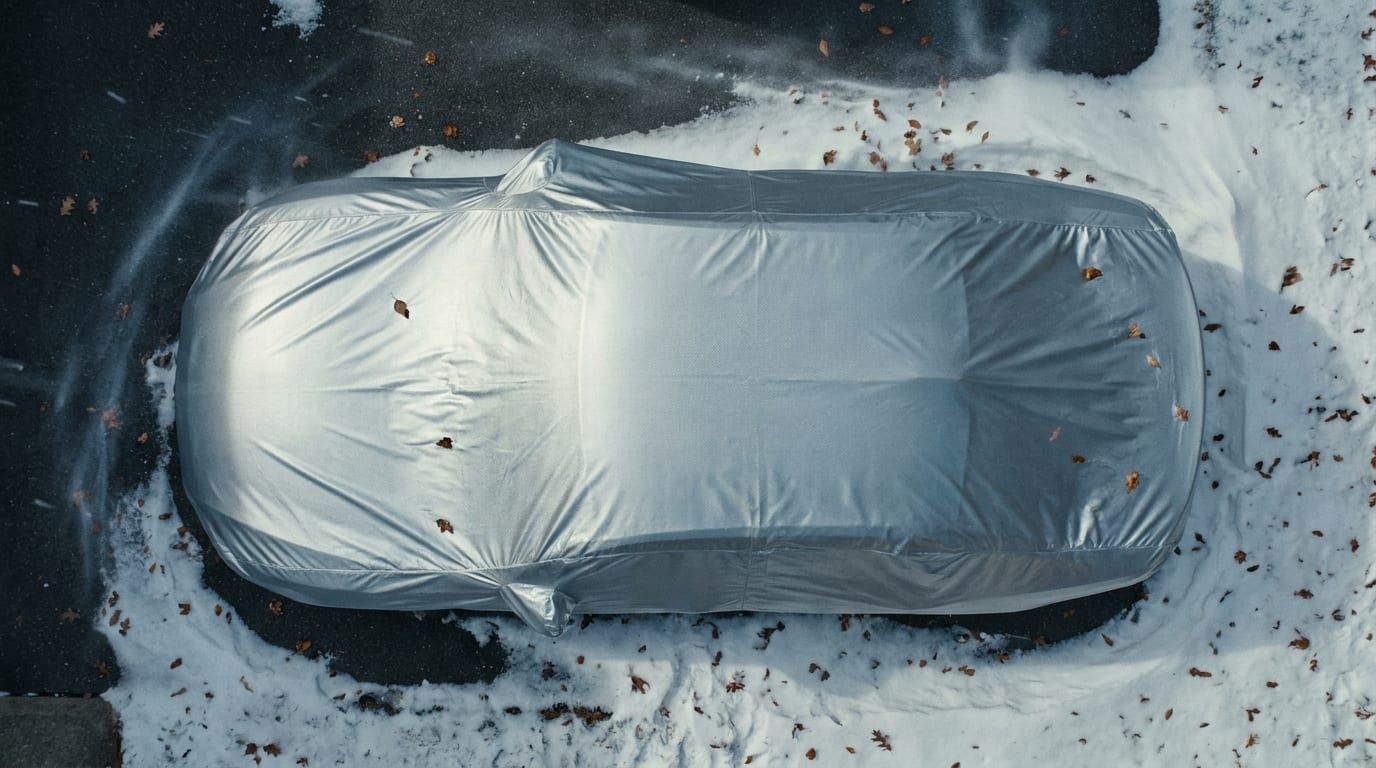
Gust straps are separate hardware from the hem straps, a second layer of elastic or buckled webbing that wraps around the body, usually through the door gaps or under the side mirrors. They're what keep the cover from ballooning in a crosswind even after the hem straps are cinched down.
Clip each end into its matching buckle and adjust the tension evenly on both sides. Uneven tension pulls the cover off-center over time, the same problem as a misaligned drape back in step one.
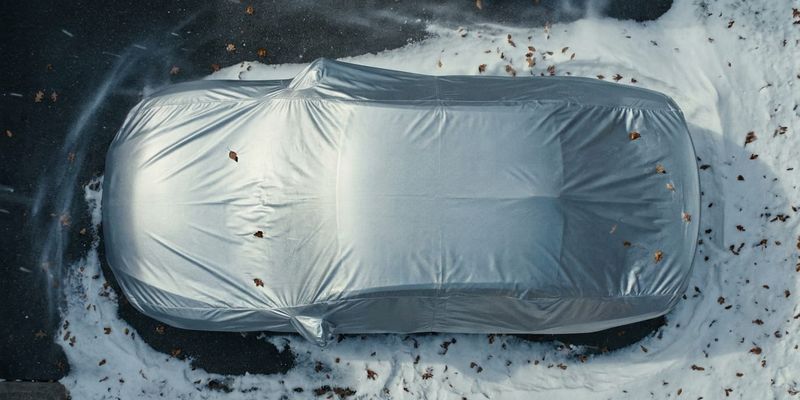
If you're storing the vehicle in an open lot, a driveway with no windbreak, or outdoors for weeks at a stretch, gust straps aren't optional. They're the difference between a cover that survives storm season and one that's shredded by April. That's doubly true if you've gone with an outdoor car cover built for exposure rather than garage storage.
Buckle placement varies by vehicle body style, so check the gust strap installation guide for your model before clipping things in at random.
Common Mistakes to Avoid
A few things trip people up even after they've got the process down:
- Overtightening the straps. It feels more secure, but it stresses the grommet stitching and can tear the fabric around the eyelet after repeated seasons of cinching.
- Leaving straps twisted or crossed underneath the car. This creates uneven tension, which leaves gaps at the hem exactly where wind gets a foothold.
- Skipping the front or rear strap to save time. Doing this on a windy day defeats the entire point of knowing how to attach a car cover's straps and grommets in the first place. Half the hardware, half the protection.
- Forgetting to check strap and grommet condition each season. Straps compressed in a bag all winter can stretch or crack, and you won't notice until one snaps mid-use.
Keeping Straps and Grommets in Good Shape
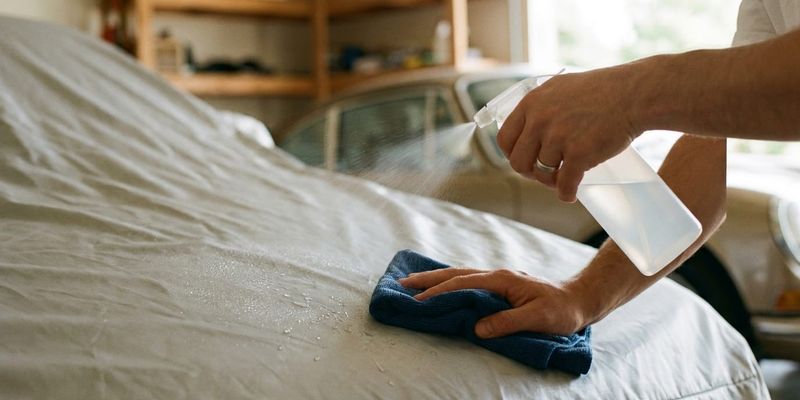
Wipe the grommets down periodically. Dirt sitting in the eyelet acts like sandpaper against the strap material every time you thread it through, and that wear adds up faster than you'd think.
Before each storage season, actually inspect the straps. Look for fraying at the stitched ends or elastic that's gone slack and won't snap back. Replace the strap, not the whole cover, if it's damaged, most covers sell replacement hardware separately.
Washing the cover the right way matters here too, since harsh detergents or a rough scrub brush can weaken the stitching around the grommet reinforcement over time. The cover cleaning guide and this step-by-step cleaning walkthrough both cover safe washing methods that won't compromise the hardware.
And if a grommet or strap fails from a manufacturing defect rather than normal wear, check your warranty coverage before buying a replacement out of pocket. A lot of covers include hardware defects under their terms.
Get a Cover That Fits Right From the Start
None of this works if the cover's the wrong size to begin with. You can thread every strap perfectly and still end up with a cover that sags in the middle or won't reach the ground, because the grommets were never meant to sit where your vehicle's body lines actually are.
So before you blame the straps, double check the fit. A cover sized right needs less adjustment, less fighting with the buckles, and holds its tension longer between retightenings.
Worth considering next time you're shopping: a tighter, more tailored fit makes every step above faster and simpler. And if you want more guides like this one for keeping your vehicle protected through every season, it's worth poking around for more before you head out to the driveway.