


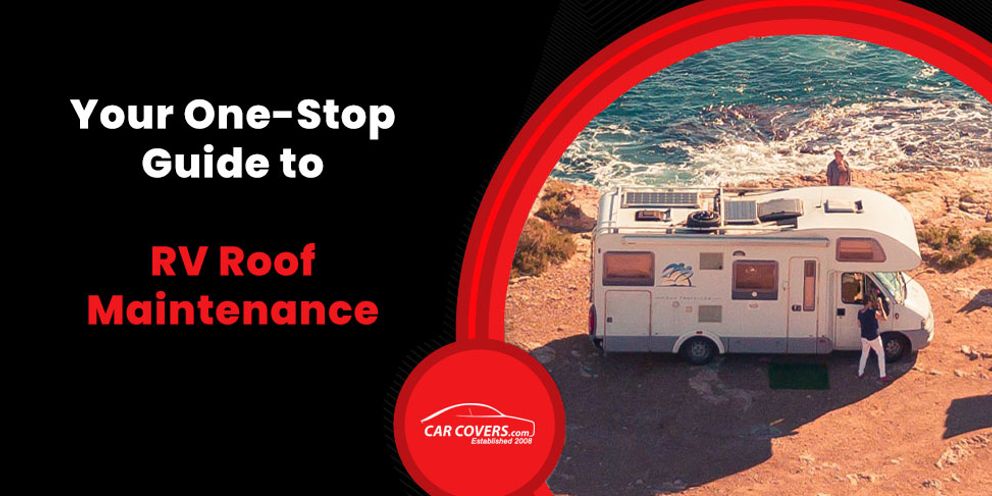
Your One-Stop Guide to RV Roof Maintenance
Your One-Stop Guide to RV Roof Maintenance
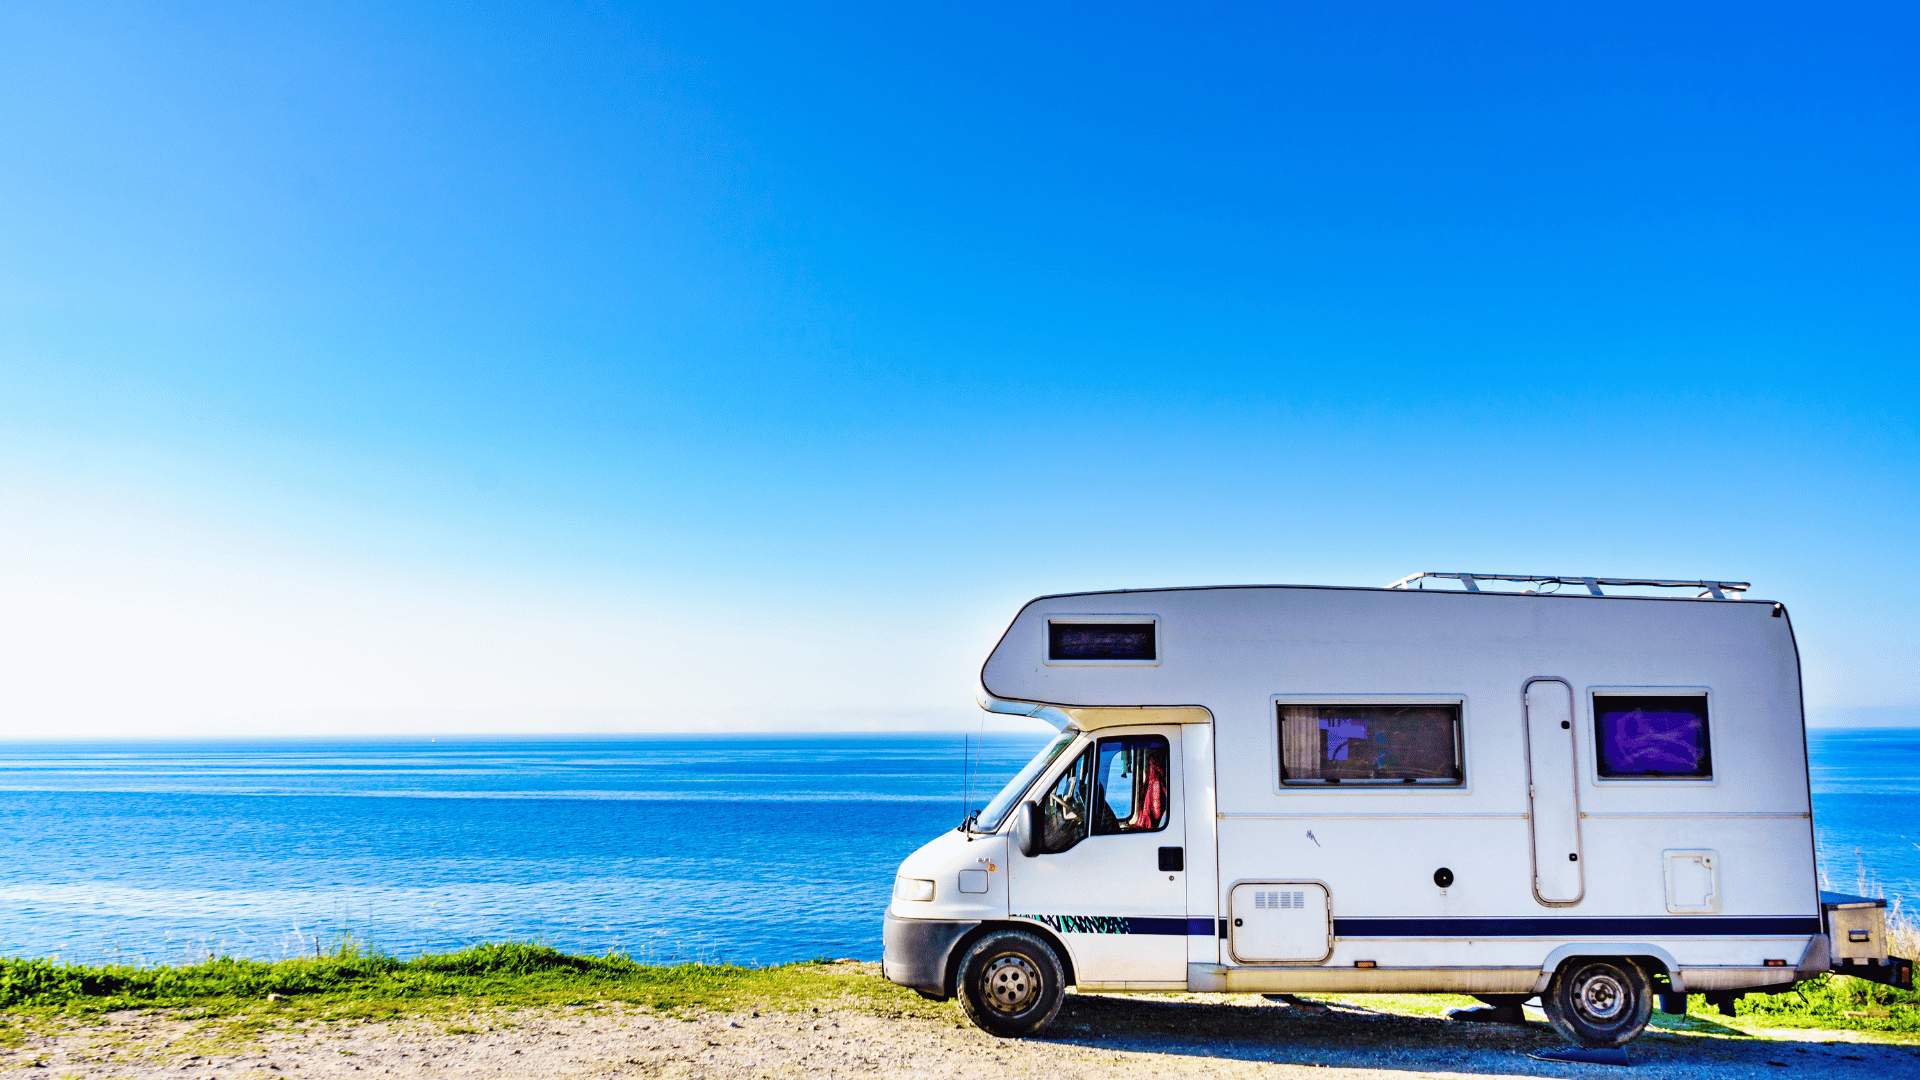
For all the security it provides, RV roof care is often forgotten until a problem arises. Don't make this mistake; you should maintain your roof at least once every three months to prevent costly damages and keep it in tip-top condition.
In this article, we'll discuss everything you need to know about RV roof maintenance. This includes a step-by-step guide on how to maintain, clean, and repair your RV roof.
Let's get right into it!
How to Clean and Repair Your Roof
Maintaining your RV roof is as important as maintaining your RV interior. Here's how to clean and repair your roof to protect your investment.
Step 1: Sweep and Hose It Down
RV maintenance starts with a thorough wash-down. Without a clean roof, you won't be able to immediately notice imperfections and/or damage.
Prepare a hose and a ladder and carefully climb up the roof. If it's your first time climbing the roof of your RV, make sure it's safe to climb up and walk on by checking the RV's manufacturing guide. The guide gives information such as weight limit, roof type, and whether or not it's walkable.
If the RV comes with a built-in ladder on the back, it's likely walkable. Otherwise, it might not be safe for walking. The integrity of the roof can also change over time, so if in doubt, prop a ladder up adjacent to your rig and clean the roof from there.
Start the cleaning process by removing branches and other large objects from the roof. Then, sweep the roof with a long broom to clear the remaining debris and dust.
Pay special attention to the areas around the roof fixtures. While doing so, inspect the roof for cracks and damage so you know what you're dealing with. Check the caulk and seams for leaks or breakage.
Once done, spray it down with a hose.
Regardless of whether you're cleaning from the roof or the ladder, make sure you're wearing non-slip slippers or shoes. Additionally, have someone around to watch what you're doing at all times in case you slip or need anything during the cleaning process.
If you do get on the roof and feel it give in slightly beneath your feet, distribute your weight using a piece of plywood. If you don't have plywood to stand on, position yourself towards the edge rather than the middle.
Step 2: Use the Right Cleaner
RV roofs come in multiple types, with the most popular being rubber, aluminum, fiberglass, and PVC. You should use the right cleaner for your roof type as some cleaners may end up being too corrosive for your roof.
For TPO or EPDM rubber roofs, use a non-abrasive cleaning product specially designed for rubber roofs . If you don't have that to hand, you can also use Murphy's Oil soap and Dawn liquid soap. Avoid products with petroleum distillates as petroleum products can damage rubber roofs.
The same is said with PVC RV roofs. PVC RV roofs don't require UV coating or special cleaners, so good ol' soap and water will do just fine.
As for fiberglass RV roofs, you can clean them with regular car wash soap or non-abrasive detergent. If you're dealing with a lot of mold and mildew, use a mildew remover or bleach diluted in water.
Aluminum roofs, on the other hand, are best cleaned with a designated RV aluminum cleaner . Mild soap works too, but it won't be as effective as aluminum cleaners.
Once you've determined the right cleaning product for your RV roof, you can start scrubbing the roof. For best results, use a medium-bristled brush or long-handled sponge mop. For tougher stains, use a soft bristle brush and focus on removing the dirt on that area.
Clean the roof in organized sections. This way, you won't have to constantly climb off your ladder or go over the same area twice.
Once you've cleaned the dirt and stains off of your RV roof, use a hose to spray it all down. Pay attention to the sides of the roof to prevent residue build-up and mold.
Step 3: Inspect the Roof
Now that the roof is cleared of dirt and grime, you'll be able to inspect it better.
Scan the roof for cracks, scrapes, areas that have lifted from the material, punctures, and other signs of deterioration. Then, check for tears or cuts that might have been caused by tree branches and the like.
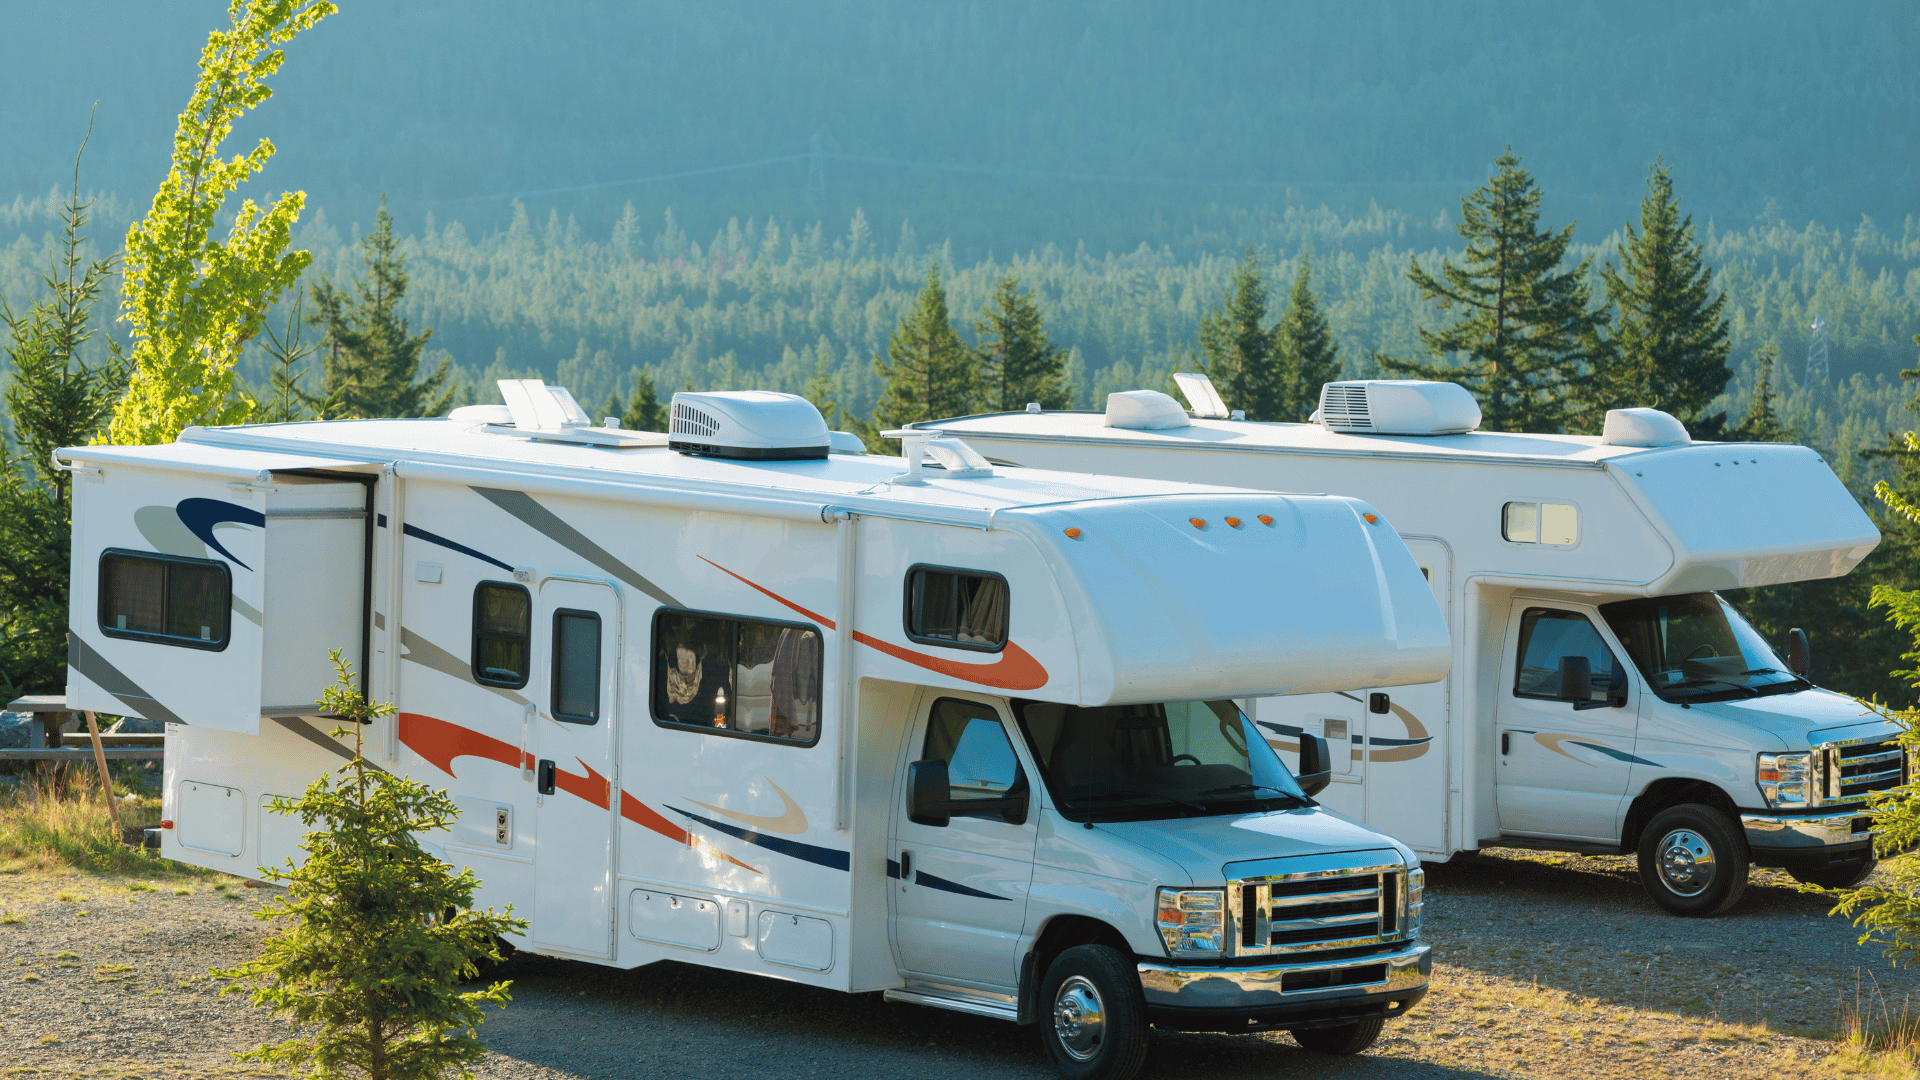
It's also worth looking over the refrigerator roof, holding tank vents, and AC unit for any damage or obstructions. These areas are prone to blockages due to accumulated dirt, mold, and dust.
If you're unsure of the state of the vents, remove the vent caps and inspect them for holes, cracks, or similar damage. Identify the problem areas and take note of everything you want to fix before proceeding with the next step.
Step 4: Repair Damaged Areas

If your roof shows signs of severe deterioration or damage, it's best to call a professional to fix the roof for you. But if you're dealing with minor damage, you can easily fix it yourself with a bit of DIY.
Here's how to repair minor damage depending on your roof type:
TPO/EPDM Rubber Roof
To fix damages on rubber roofs, namely minor holes and tears around your RV roof accessories, use a self-leveling lap sealant.
When applying over cracked or bad Dicor, scrape off as much of the old sealant as you can and clean the area with a damp rag before doing so.
Eternabond Tape is a good alternative to liquid sealant for minor damage. It can cover holes, dents, dings, and bad caulk jobs and works for virtually all roof types and roof accessories.
Remove loose pieces of sealant with your fingers-don't use a hand scraper as this may damage the roof's protective coating-and give the area a gentle scrub with a wet rag. Then, cut the tape, press it in place, and smooth it in with a wallpaper-type roller.
Eternabond Tape has a shelf life of five years. If you have one around that's passed that date, purchase a new roll to ensure its effectiveness upon application.
Fiberglass Roof
When sealing holes in a fiberglass roof, you can either use a Dicor self-leveling lap sealant or sealant formulated for fiberglass RV roofs.
Insert the tube into a caulking gun and steadily apply a line of sealant around the areas you want to fix. If you're having a bit of trouble with gaps, squeeze a bit of sealant on a rubber-gloved finger and push it into the small space.
Fixing damages such as gashes and tears are a bit more involved. You'll need to scuff the surface, apply a new layer of fiberglass fabric, and apply resin to cure said fabric. These repairs are best performed by a professional.
Aluminum Roof
For aluminum roofs, you can't go wrong with an elastomeric sealant suitable for RVs, like Heng's , Henry , or Kool Seal .
Depending on the damage, you can either coat the entire roof with the sealant or just the seams.
Remove loose flaps of sealant with a hand scraper and clean the area with a wet rug and some dish soap. Then, apply the sealant with a paintbrush instead of a roller for thorough coverage. The sealant will dry within 24 to 36 hours.
Step 5: Add Protective Coating
This step is optional but highly recommended for the longevity of your roof. High-quality roof coating protects the RV against UV rays that can discolor, crack, or dry out the material of your roof's exterior. It also adds an extra layer of protection against hazardous objects and debris. Waxes and polishes work as well, but make sure they're suited for your roof type.
When applying the coating to your roof, make sure you do it outside instead of inside the garage. If you do choose to apply it indoors, wear some type of respirator mask and turn on the ventilation as the fumes can be extremely toxic in enclosed spaces. Apply the coating with a medium nap roller or a paintbrush for precise application on corners and vertical surfaces.
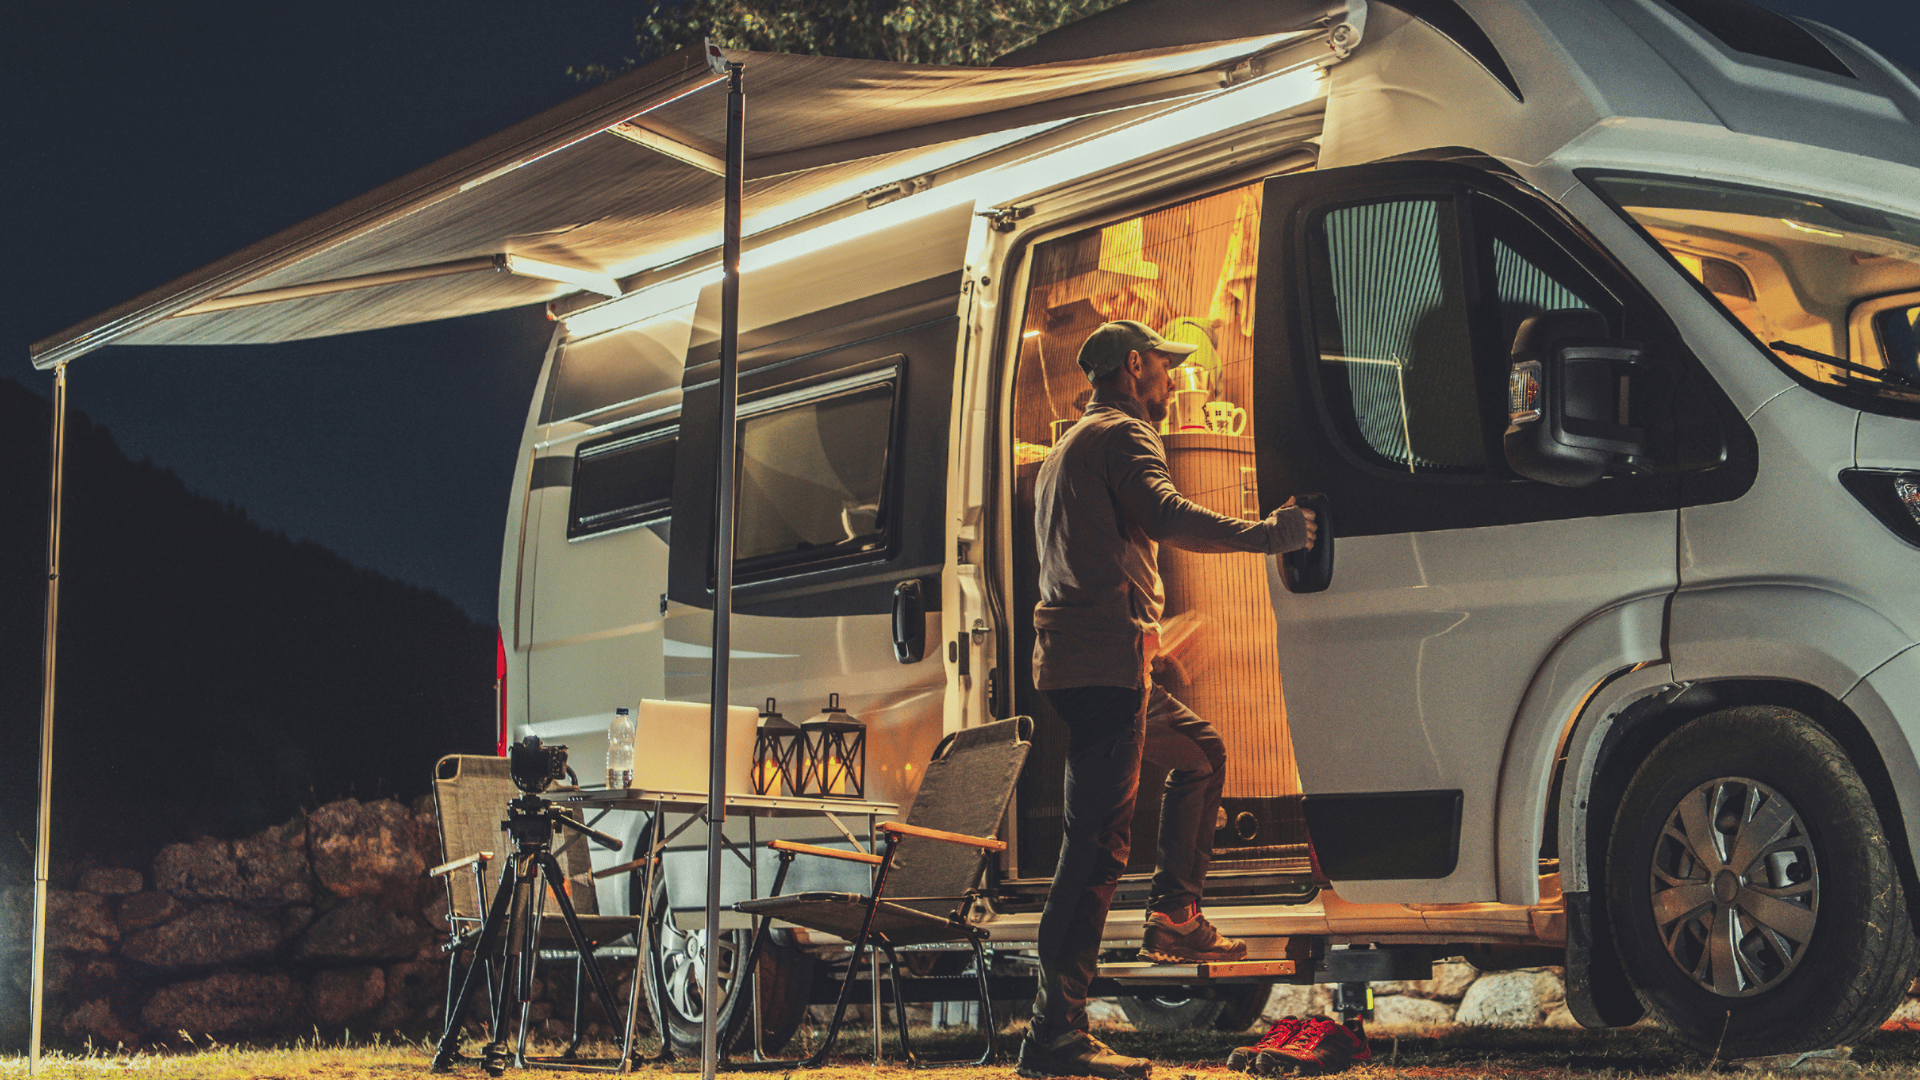
Step 6: Use an RV Cover
Once you've cleaned, sealed, and coated your RV roof, cover it up with an RV cover to protect your RV from future external damage. The cover will protect not only the roof but also the top and side of your camper, as well as the tires, from moisture, sunlight, and airborne debris.
RV covers have the following functions:
- Repel UV rays, thus preventing or at least minimizing UV damage
- Keep interior temperatures at or below 81°F, stabilizing interior and exterior temperatures
- Protect RVs from natural forces such as rain, ice, snow, and sleet, reducing the risk of leaks
- Maintains the integrity of exterior paint and graphics
- Minimizes cracking and fading
- Reduces cleaning, waxing, and roof treatment fees
- Eliminates debris and dirt build-up
RV covers protect your RV from expensive repairs, making them a good investment for long-term use. They're usually made of polypropylene, high-density olefin, or ripstop for maximum protection. Search for a cover that strikes a good balance between durability and environmental breathability.
RV Roof Maintenance and Care
To keep your RV roof in tip-top shape year-round, follow these essential tips:
- Invest in an RV slide topper to prevent pine needles, leaves, branches, bird droppings, and water from accumulating on your RV slides. An RV slide topper also has the benefit of keeping your RV interior cooler by providing shade, resulting in reduced AC usage.
- Annually inspect the condition of your RV roof accessories, particularly the refrigerator roof, holding tank vents, and AC unit.
- Create an RV roof emergency repair kit that you can access at any time. The kit should include a tube of sealant, a roof cleaner, a caulk gun, and a micro sealant tape like Eternabond Tape or Dicor.
- If your RV is parked outside, invest in an RV cover to protect it from sunlight and external forces.
- Avoid cleaners that contain petroleum solvents, citrus ingredients, and harsh abrasives. These may weaken or damage your roof.
Frequently Asked Questions
How many times should I clean my RV roof?
It depends on how you use and store your RV.
Ideally, you should clean your RV roof once every two to three months even if it's not in use as it can accumulate mold over time.
If you're traveling full-time, you should clean your roof at least once a month if only to remove the accumulated dirt and grime.
How can I remove tree sap from my RV roof?
Removing tree sap from an RV roof takes a lot of elbow grease to clean, especially if left to harden.
If you catch the ooze early, it can be removed with warm soapy water and a damp cloth. Otherwise, you can spot-clean the area with either isopropyl rubbing alcohol or vinegar.
Just don't leave the product too long as it may damage the paint of your RV roof. Don't let it run down the sides of your rig either as it can cause streaking.
Can RV covers cause mold?
Mold grows in areas with restricted airflow and high condensation. Most RV covers are breathable and feature vents to maximize airflow, thereby reducing the risk of mold. Still, it's a good idea to let your RV "breathe" every so often to prevent any upcoming growth. You can take this opportunity to inspect crevices for any mold growth.
Wrap Up
The roof of your RV needs to be maintained at least once every three months, depending on how much you use it. Correctly maintaining your RV ensures its longevity and prevents costly issues in the future.
The process of maintaining your RV doesn't take more than an hour, so it won't take much of your time. It certainly beats spending hours fixing a corroded or water-damaged RV. To further protect your rig, invest in an RV cover to shield it from the elements.
Updated